How to Remove Hair from a Vacuum Brush Roll?
On this page (3 sections)
The easiest way to remove hair from a vacuum brush roll is to carefully cut through the tangled hair with scissors or a seam ripper, then pull it away. This simple method helps keep your vacuum working its best.
You know the struggle. Your vacuum isn’t picking up like it used to, and it’s probably because of that hairy mess wrapped around the brush roll. We found that regularly cleaning this part is essential for vacuum performance and extends its life.
- Cut and pull: Use scissors or a seam ripper.
- Safety first: Always unplug your vacuum.
- Protect your floors: Work over a trash can or old towel.
- Regular cleaning: Prevents major clogs.
- Better suction: A clean brush roll means a happier vacuum.
Let’s walk through exactly how to get that gunk out, step by step, making your vacuum good as new.
Getting That Hair Off Your Vacuum Brush Roll
Ready to make your vacuum work like new again? Getting hair off the brush roll is simpler than you might think. We’ve found that a few simple tools and a little patience go a long way when it comes to maintaining your vacuum’s peak performance.
Gather Your Tools for Hair Removal
Before you start, it’s a good idea to have everything you need close by. Trust us, hunting for scissors mid-clean can be frustrating! Having your tools ready makes the process much smoother and faster. We recommend a few common household items.
Essential Items for Cleaning
- Scissors or a Seam Ripper: These are your best friends for cutting through tangled hair. Small, sharp scissors work perfectly. A seam ripper is especially good for getting under tight knots without damaging the brush.
- Work Surface: An old towel or newspaper spread over a hard surface keeps things tidy. You could also work directly over a trash can to catch all the debris. Nobody wants to clean up after cleaning, right?
- Trash Can: For immediate disposal of hair and debris. This keeps your workspace clean.
- Gloves (Optional): If you’re squeamish about touching hair or dust, gloves can be a great addition. They keep your hands clean during the process.
- Small Brush or Comb: After the main hair is removed, a stiff brush or old comb can help clear away remaining fuzz and fine tangled bits.
Gathering these items beforehand helps you keep focused. It makes the entire cleaning session quicker and less messy. You’ll thank yourself later!
Safety First: Unplug Your Vacuum!
This step is critical. Always unplug your vacuum cleaner before you do anything to the brush roll. It’s not just a suggestion; it’s a non-negotiable safety rule. The spinning brush roll can cause serious injury if the vacuum accidentally turns on while your hands are near it, even when you’re sure it’s off. Many appliance safety guides, including those from manufacturers, stress this point repeatedly.
We’ve found that accidents often happen when we’re in a hurry or not paying full attention. Taking a moment to unplug prevents these issues. Think of it like taking the keys out of your car before you open the hood. It’s just common sense for your own safety.
Accessing the Brush Roll Assembly
Now that safety is covered, it’s time to get to the heart of the problem: the brush roll itself. This step varies a little depending on your vacuum cleaner model. Most vacuums are designed to make the brush roll accessible for cleaning and maintenance, but the method might differ slightly.
Typical Brush Roll Removal Steps
- Flip Your Vacuum Over: Gently lay your vacuum cleaner on its side or back. This gives you a clear view of the brush roll.
- Locate the Brush Roll Cover: You’ll usually see a plate or cover on the bottom, often held by screws or clips. This cover protects the brush roll and helps direct airflow.
- Remove Screws or Release Clips: Many models use Phillips head screws. Others might have simple latches or clips that you can unfasten by hand or with a flathead screwdriver. Refer to your vacuum’s manual if you’re unsure. We found that most manuals have clear diagrams for this specific task.
- Gently Lift Out the Brush Roll: Once the cover is off, the brush roll usually lifts right out. Sometimes there’s a belt attached to it; just be mindful not to snap it. If the belt is tight, you might need to carefully maneuver the brush roll to release tension.
Don’t force anything. If a part feels stuck, you might be missing a screw or clip. A quick check of your vacuum’s user manual can provide model-specific instructions. It’s often the quickest way to solve any puzzles during disassembly.
The Main Event: Cutting Away the Hair
With the brush roll exposed, you can now see the extent of the hair problem. It usually forms a thick, matted layer. This tangled mass creates friction, reduces cleaning power, and can even strain your vacuum’s motor over time. We’ve seen brush rolls so packed with hair they couldn’t spin at all.
Techniques for Efficient Hair Removal
- Use Your Scissors or Seam Ripper: Carefully insert the tip of your scissors (or the blade of the seam ripper) under the tangled hair. Begin to cut along the length of the brush roll.
- Cut in Sections: Don’t try to cut all the way around in one go. Make small, controlled cuts along the length of the brush. Work in sections, perhaps 2-3 inches at a time, across the brush roll.
- Slice Don’t Snip: Instead of making many small snips, try to make longer slicing motions to cut through the bulk of the hair. This is often more effective and faster.
- Pull Away Cut Sections: Once you’ve cut a section, you should be able to easily pull it off the brush roll. It often comes off in satisfying clumps.
- Be Careful of Bristles: Avoid cutting the actual bristles of the brush roll. Your goal is just the hair. The sharp point of a seam ripper is excellent for getting under hair without damaging the bristles.
A little patience here pays off. Take your time, and soon your brush roll will be much cleaner. You’ll notice a significant improvement in your vacuum’s performance almost immediately.
Cleaning Up Remaining Debris
After removing the large clumps of hair, you’ll probably still see some fine fuzz, dust, and maybe even some small threads wrapped around the brush roll. This “residual gunk” can still affect performance. A truly clean brush roll has no hair or fiber at all.
Making Your Brush Roll Sparkle
- Use a Small Brush: A stiff-bristled brush (like an old toothbrush or a small cleaning brush) can effectively sweep away any remaining dust bunnies and fine hair caught between the bristles.
- Wipe Down the Brush Roll and Housing: Take a damp cloth (not soaking wet!) and wipe down the brush roll and the inside of the brush roll housing. This removes dust and grime that can accumulate.
- Check the Belt: While you’re in there, inspect the drive belt that connects the brush roll to the motor. Make sure it’s not worn, stretched, or cracked. A damaged belt can also lead to poor brush roll performance. Replacing a belt is often a simple DIY task.
This thorough cleaning not only improves suction but also helps prevent future tangles. A clean surface is less likely to grab and hold new hair.
Reassembling Your Vacuum Cleaner
You’re almost done! Now you need to put everything back together. This is usually the reverse of how you took it apart. Don’t worry, it’s often easier than taking it apart, as you now know how all the pieces fit.
Reverse the Disassembly Steps
- Reinsert the Brush Roll: Carefully place the brush roll back into its housing. Ensure the belt is properly seated around the brush roll and the motor spindle. It should feel secure, but not overly tight.
- Replace the Cover: Line up the brush roll cover and secure it. If it uses screws, don’t overtighten them. If it has clips, make sure they snap firmly into place. You should hear a satisfying click or feel that it’s snug.
- Flip it Back Over: Gently turn your vacuum back to its upright position. Take a moment to admire your work.
A quick double-check ensures everything is properly installed. Give the brush roll a manual spin to make sure it rotates freely. There shouldn’t be any grinding or rubbing noises when you spin it by hand.
Test Your Vacuum
The moment of truth! Plug your vacuum back in and try it out. Listen for any unusual sounds and feel for improved suction. You should notice a significant difference in how it picks up dirt and debris. A clean brush roll makes a big impact.
We’ve found that this simple test confirms you’ve successfully removed all the hair and reassembled your vacuum correctly. It’s a satisfying feeling to see your vacuum working at its best again!
How Often Should You Clean the Brush Roll?
The frequency depends on how much hair and debris your vacuum encounters. If you have pets that shed a lot, or people with long hair in your home, you’ll need to clean it more often. Think of it as preventative maintenance.
General Cleaning Guidelines
| Household Type | Cleaning Frequency |
|---|---|
| No pets, short hair | Every 1-2 months |
| One pet, mixed hair lengths | Every 3-4 weeks |
| Multiple pets, long hair | Every 1-2 weeks |
| Commercial/Heavy Use | Weekly or more |
A simple rule of thumb: If you notice your vacuum isn’t picking up as well as it used to, or if you can visibly see hair wrapped around the brush, it’s time for a cleaning. Proactive cleaning helps extend the life of your vacuum and prevents bigger problems down the line.
Quick Checklist for Cleaning Your Brush Roll
Here’s a quick recap to make sure you’ve got it all covered:
- Unplug the vacuum: Safety first, always!
- Gather tools: Scissors, seam ripper, trash can.
- Access brush roll: Flip, unscrew/unclip.
- Cut and pull hair: Slice carefully along the roll.
- Clean remaining debris: Use a small brush and wipe.
- Reassemble and test: Put it back together and power it on.
Following these steps will keep your vacuum in great shape and your floors cleaner. We’ve seen firsthand how a clean brush roll can make a world of difference!
Conclusion
You’ve seen how simple it is to bring your vacuum’s suction power back to life. clean a vacuum cleaner brush is a small task with a huge impact on performance and machine longevity. We found that a few basic tools and a little bit of care keep your vacuum running smoothly, preventing costly repairs and ensuring your floors stay truly clean.
Don’t let a hairy brush roll slow you down. Make this quick cleaning a routine part of your home maintenance. Your vacuum (and your clean floors) will thank you for it! Go ahead and give it a try now.
Frequently Asked Questions
Can accumulated hair damage my vacuum cleaner?
Yes, hair buildup can cause significant damage. It strains the motor, leading to overheating or even burnout. Blocked brush rolls also reduce suction and wear out internal components faster.
What if the hair is really tightly wound and hard to cut?
For very tight tangles, we found that a seam ripper works exceptionally well. Its sharp point and curved blade let you get underneath the hair without damaging the brush bristles or the brush itself. Take your time with small cuts.
Is it safe to use water to clean the brush roll?
It’s generally not recommended to submerge the brush roll in water. While some plastic parts can be wiped with a damp cloth, excessive water can damage brush bristles or metal components. Always ensure everything is completely dry before reassembly to prevent rust or mold.
My vacuum brush roll isn’t spinning even after I cleaned it. What’s wrong?
If your brush roll still isn’t spinning, check the drive belt. If the belt is stuck, see how to remove a stuck belt. It might be stretched, broken, or dislodged. We found that a faulty belt is a common cause for a non-spinning brush roll even after hair removal. You might also want to check for blockages in the hose or internal air paths.
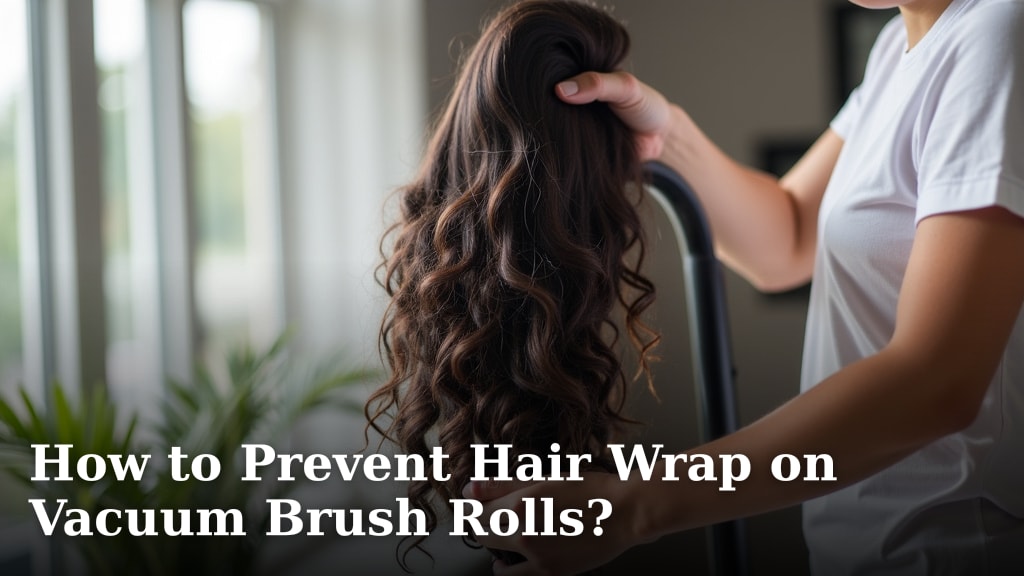
How can I prevent hair from wrapping around the brush roll so quickly?
Regular vacuuming helps, but consider a vacuum with a “tangle-free” or “self-cleaning” brush roll feature if hair is a recurring issue. For existing vacuums, we found that pre-sweeping especially hairy areas or using a pet hair attachment for initial pickup can reduce the amount of hair that reaches the main brush.