How To Make A Robot Vacuum Cleaner?

To make a robot vacuum cleaner, you will need a chassis, motors for movement and suction, a vacuum mechanism, sensors for navigation, a battery, and a microcontroller to program its cleaning path and functions.
Building a robot vacuum requires a blend of mechanical, electronic, and programming skills to bring your automated cleaner to life.
TL;DR: Building Your Robot Vacuum
- Gather essential components like motors, sensors, and a microcontroller.
- Assemble the mechanical structure, including wheels and the vacuum head.
- Wire up the electronic parts, connecting motors, sensors, and the battery.
- Program the microcontroller for movement, obstacle avoidance, and cleaning patterns.
- Test thoroughly, adjust settings, and enjoy your DIY automated cleaner.
How To Make A Robot Vacuum Cleaner?
Building your own robot vacuum cleaner involves assembling various parts and programming them to work together. It’s a fun project combining electronics, mechanics, and coding.
Dreaming Up Your Design: What Do You Need?
Before you even pick up a screwdriver, pause and think. What do you want your robot vacuum to do? Will it clean carpets or hard floors? How big should it be? Asking these questions helps shape your component choices.
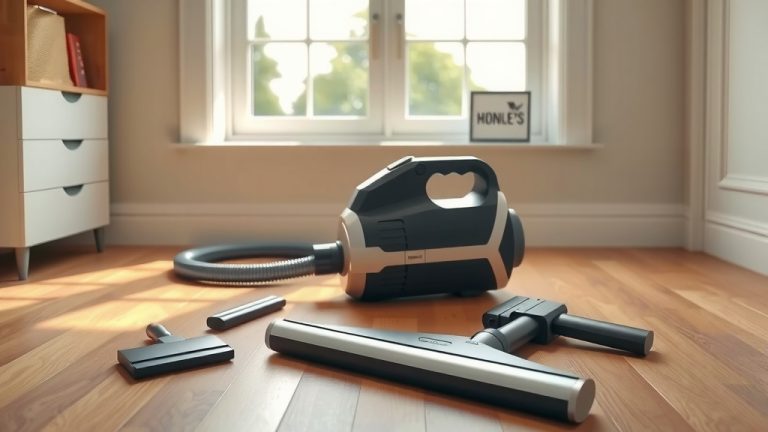
Gathering Your Core Components
Think of these as the essential ingredients for your robot vacuum. You’ll need a way for it to move, a way for it to suck up dirt, and a brain to control everything. It’s a bit like baking a cake – you wouldn’t forget the flour, right?
The Chassis: Your Robot’s Skeleton
The chassis is the base of your robot. You can buy a pre-made robot platform or create one from sturdy plastic or wood. This frame holds all the other parts, so make sure it’s strong enough.
Motors and Wheels: Getting Around
Your robot needs to move. Two DC geared motors are usually enough to drive the wheels. Consider omni-directional wheels for better maneuverability. These allow your robot to turn easily, even in tight corners.
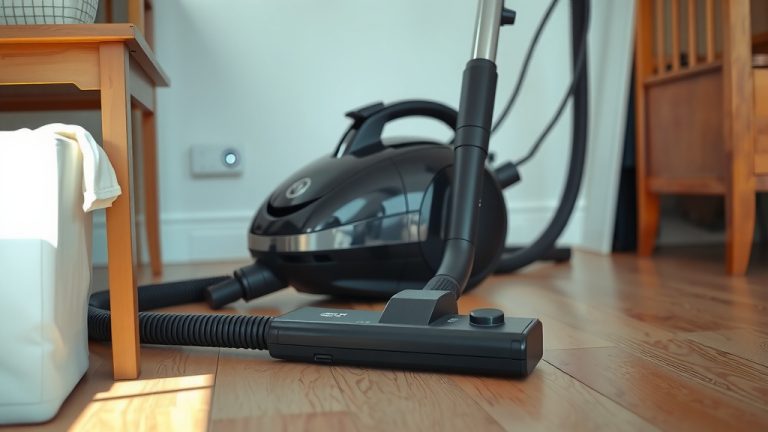
The Vacuum Mechanism: Dirt Destroyer
This is where the cleaning happens. You’ll need a small but powerful vacuum motor. Pair it with a brush roll if you plan to clean carpets effectively. Many experts say a good suction motor is key for performance (Consumer Reports).
The Brain: A Microcontroller
An Arduino or Raspberry Pi board works perfectly as the robot’s brain. This board will receive input from sensors and send commands to the motors. It’s where your robot’s smarts will live.
Sensors: Eyes and Ears for Your Robot
Sensors are how your robot sees the world. You’ll need different types to help it navigate. Without them, it might just bump into everything, which isn’t very efficient.
- Infrared (IR) Sensors: Great for detecting walls and obstacles.
- Ultrasonic Sensors: Offer more precise distance measurements.
- Cliff Sensors: Absolutely vital to prevent your robot from falling down stairs.
- Bumper Switches: Simple contact sensors for detecting physical bumps.
Power Source: The Robot’s Energy Drink
A rechargeable Li-ion battery pack provides the juice for all components. Make sure the battery capacity is high enough for a decent cleaning time. Nobody likes a robot that quits halfway through the living room.
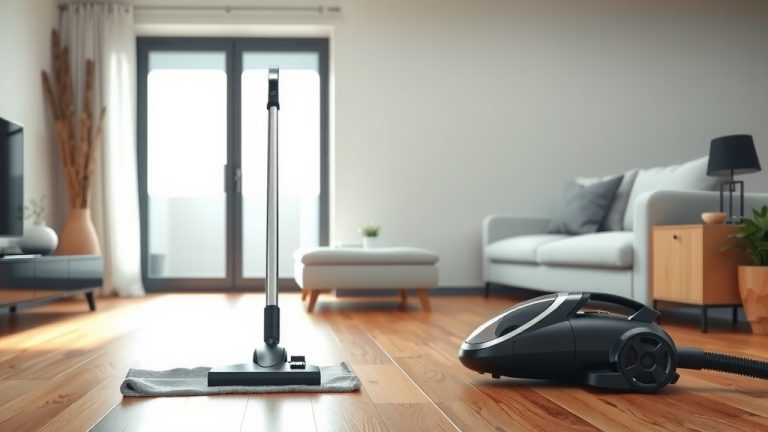
Putting It All Together: Step-by-Step Assembly
This is the exciting part where your robot starts to take shape. It’s like building with LEGOs, but with wires and code! Remember to work carefully and double-check your connections.
Mounting the Motors and Wheels
Attach the DC geared motors to the chassis. Then, securely mount the wheels to these motors. Ensure they are aligned correctly for smooth movement. We found that proper alignment prevents jerky movements.
Installing the Vacuum Unit
Integrate the vacuum motor and dustbin into your chassis. If you’re using a brush roll, position it where it can effectively sweep dirt towards the suction inlet. This step is about making sure the dirt gets where it needs to go.
Wiring the Electronics
Connect the motors, sensors, and battery to your microcontroller. Follow wiring diagrams carefully. Many guidelines point to proper wiring for safety and functionality (IEEE Robotics and Automation Society).
Programming the Microcontroller: Giving It Life
This is where your robot learns to think. You’ll write code to define its behaviors. Start with basic movements, then add obstacle avoidance.
Your program will tell the robot:
| Action | Sensor Input | Robot Response |
|---|---|---|
| Moving Forward | No Obstacle Detected | Wheels Spin Forward |
| Obstacle Avoidance | IR/Ultrasonic Sensor Detects Object | Stop, Turn, Move Backwards |
| Cliff Detection | Cliff Sensor Activated | Stop, Turn Away from Edge |
| Cleaning Pattern | Timer/Area Covered | Follow Pre-programmed Path (e.g., spiral, random) |
Testing and Fine-Tuning Your Creation
Don’t expect perfection on the first try. Test your robot in a small, clear area. Does it move forward? Does it stop before a wall? Adjust your code and mechanics as needed. It’s all part of the journey!
Your Robot Vacuum Checklist
- Is the battery fully charged?
- Do all motors spin correctly?
- Are sensors detecting objects accurately?
- Does it avoid falling off edges?
- Is the vacuum suction strong enough?
Adding Extra Features: Making It Smarter
Once you have a basic working model, you can add more advanced capabilities. Perhaps you want it to return to a charging dock or map its environment. The possibilities are vast.
Mapping and Navigation
For more sophisticated movement, consider adding Simultaneous Localization and Mapping (SLAM) capabilities. This allows your robot to build a map of its surroundings. It’s like giving your robot a memory of its home.
App Control or Voice Commands
Integrate Bluetooth or Wi-Fi modules to control your robot with a smartphone app. Imagine telling your robot, “Start cleaning!” It adds a touch of modern convenience.
Conclusion
Building a robot vacuum cleaner is an ambitious yet rewarding project. It challenges you to combine various technical skills into a functional, helpful device. From selecting the right chassis to writing complex code, each step brings you closer to an automated home cleaning solution. Remember to prioritize safety, test diligently, and don’t be afraid to experiment. Your DIY robot vacuum can be a source of great pride and a practical tool for your home.
Can I use old vacuum cleaner parts for my DIY robot?
Yes, you can absolutely repurpose parts from an old vacuum cleaner, especially the vacuum motor and brush roll. This can save you money and give new life to old appliances, making your project more sustainable.
How much programming experience do I need to build a robot vacuum?
Basic programming experience, especially with Arduino or Python, is very helpful. However, many online tutorials and communities offer step-by-step guides, making it accessible even for beginners willing to learn and experiment.
What are the biggest challenges in building a robot vacuum?
The most common challenges include ensuring effective navigation and obstacle avoidance, achieving sufficient vacuum suction from smaller motors, and managing battery life for extended cleaning cycles. Calibration of sensors is often a tricky part.
Is it cheaper to build a robot vacuum than to buy one?
Often, building a robot vacuum cleaner can be more expensive than purchasing a basic model, especially if you buy all new components. However, if you repurpose parts or prioritize learning and customization, it offers unique value beyond just cost savings.
What safety precautions should I take when building an electronic robot?
Always work with low voltage when possible, disconnect power before making any wiring changes, and ensure all electrical connections are secure and insulated. Be careful with sharp tools and hot soldering irons. Following general electronics safety rules is key.