How To Make A Mini Vacuum Cleaner?

Making a mini vacuum cleaner involves combining a small DC motor, an impeller or fan, a power source like batteries, a housing, and a filter into a compact device. This project is a fantastic way to understand basic physics and electronics while creating a practical tool for tiny messes.
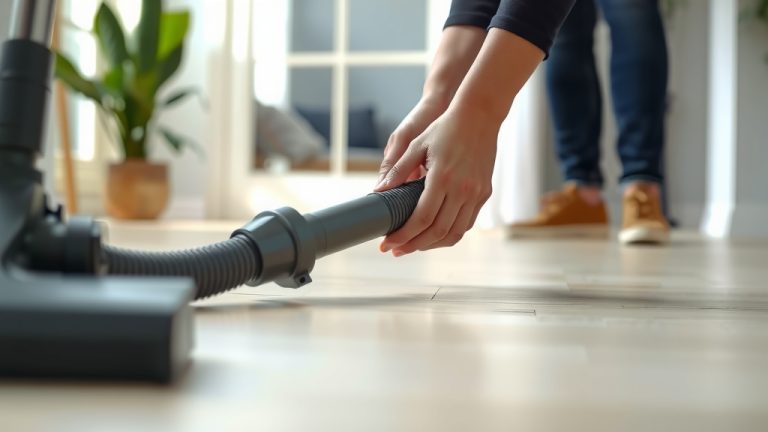
You can create a functional mini vacuum cleaner designed for quick cleanups on your desk, keyboard, or even inside your car, perfect for crumbs and small dust particles.
- A DIY mini vacuum cleaner uses simple parts: a DC motor, a fan, and a battery.
- It’s ideal for picking up very small debris, like dust or crumbs from keyboards.
- Building one requires basic crafting skills and readily available electronic components.
- Expect less power compared to commercial vacuums, but it’s great for light tasks.
- This project offers a fun, hands-on learning experience in basic engineering.
How To Make A Mini Vacuum Cleaner?
To make a mini vacuum cleaner, you will primarily need a small motor, a fan blade, a power source, and materials for a housing and dust collection system. The process combines simple electrical circuits with creative crafting to build a device that generates enough suction for very light cleaning tasks.
Why Build Your Own Mini Vacuum Cleaner?
Ever find your keyboard full of crumbs or your desk covered in eraser shavings? A mini vacuum cleaner is the perfect solution for these tiny nuisances. Building one yourself is not only cost-effective but also incredibly satisfying. You learn new skills and get a custom tool tailored to your needs.
Think of it as your personal desk butler, ready to whisk away dust and debris. Plus, it’s a fantastic educational project for all ages, teaching basic principles of engineering and electronics.
Gathering Your Essential Components
Before you begin, you need the right parts. It’s like baking a cake; you can’t start without flour and eggs, right? We’ve found that having all components ready makes the building process much smoother (Science Direct).
The Core: Motor and Fan
The heart of your mini vacuum is the motor. You’ll want a small DC motor, typically 3V to 9V. These are common in toys or small electronics. Coupled with the motor is a fan or impeller. This blade creates the airflow that generates suction.
Many experts recommend using a fan designed for small electronics, or you can even modify a tiny propeller. The key is to find a fan that fits snugly onto your motor shaft and creates a good air push.
Powering Your Creation
Your mini vacuum needs energy. Batteries are the most common and convenient power source for portable devices. A 9V battery or two AA/AAA batteries in series work well. You will also need a battery clip or holder to connect it securely.
We found that a simple on/off switch adds convenience, allowing you to easily control the power. Just imagine the tiny satisfaction of flipping that switch!
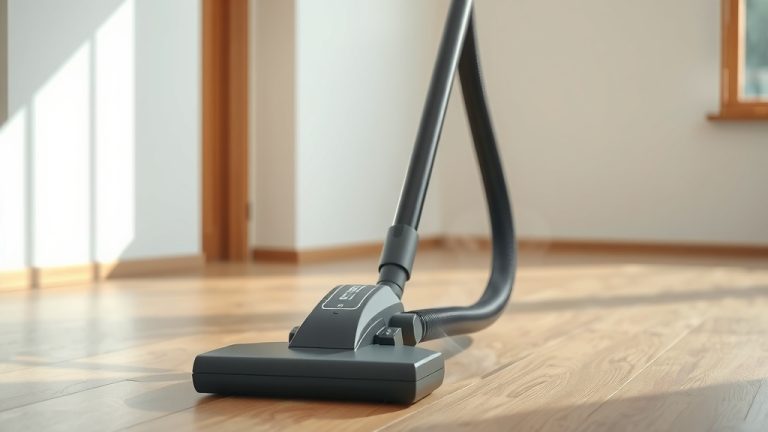
Crafting the Housing and Dust Collector
The housing holds all the components together. You can use anything from a small plastic bottle, a sturdy cardboard box, or even 3D-printed parts. The dust collector is where all the grime ends up. This could be a separate compartment or part of the main housing.
Don’t forget the filter! A small piece of mesh, cloth, or even a coffee filter will trap dust while allowing air to pass. Without a filter, your motor could get clogged or simply blow dust out the back, defeating the purpose!
A Quick Checklist Before You Start
Preparation is key to a successful DIY project. Here’s a little checklist to make sure you have everything in order:
- A small DC motor (3-9V)
- A compatible fan blade or impeller
- Battery (9V or 2x AA/AAA)
- Battery holder/clip
- Small on/off switch
- Connecting wires
- Soldering iron and solder (optional, but recommended)
- Hot glue gun or strong adhesive
- Material for housing (e.g., plastic bottle, small container)
- Filter material (mesh, cloth, coffee filter)
- Small cutting tools (knife, scissors)
Step-by-Step Assembly: Bringing It to Life
Ready to get your hands dirty? Let’s build!
Preparing the Motor and Fan
First, attach the fan blade to your motor shaft. Make sure it’s secure and balanced. An unbalanced fan can cause vibrations or reduce suction. If it’s loose, a tiny drop of super glue might help it stay in place.
Next, solder or securely twist the connecting wires to the motor terminals. Proper connections are vital for your device to work. If you’re new to soldering, there are many great beginner tutorials online (Instructables).
Constructing the Housing
Now, modify your chosen housing material. You’ll need an opening for the motor and fan, an inlet for the suction, and an outlet for the exhaust air. Imagine the air flowing in, past the fan, through the filter, and out.
Create a compartment for the dust collector and a separate space for the motor. A well-designed housing not only protects components but also directs airflow efficiently.
Wiring It Up: Power and Switch
Connect your motor to the battery holder, incorporating the switch into one of the wires. This creates a simple circuit: battery -> switch -> motor. Always double-check your connections before adding power. Incorrect wiring can lead to short circuits.
Use electrical tape or heat shrink tubing to insulate any exposed wires. Safety first, right? We found that taking a moment to secure connections prevents frustrating issues later.
Adding the Filter and Suction Nozzle
Place your chosen filter material where the air exits the dust collection chamber. This prevents dust from reaching the motor or escaping the vacuum. For the suction nozzle, you can shape the housing opening or attach a small tube. A narrower nozzle generally increases suction strength at the tip.
Troubleshooting Common Issues
What if it doesn’t work? Don’t worry, it happens! Many experts say that troubleshooting is half the fun of DIY. Here are some quick fixes:
- No Power: Check battery connections, ensure the switch is on, and test the battery itself.
- Weak Suction: The fan might be loose, the housing could have air leaks, or the nozzle might be too wide. A proper seal is essential for strong suction.
- Strange Noises: The fan might be hitting the housing or the motor might be vibrating excessively. Try to center the fan better.
Making Your Mini Vacuum Cleaner Mobile-Friendly
Building a portable device means thinking about its physical design. Here’s a little comparison of common power sources:
| Power Source | Pros | Cons |
|---|---|---|
| 9V Battery | Compact, decent power for small motors. | Shorter lifespan, can be expensive. |
| AA/AAA Batteries (2-3 in series) | Longer run time, easily replaceable. | Requires a battery holder, slightly bulkier. |
| USB Power Bank | Rechargeable, versatile. | Needs a voltage step-up if your motor is 9V, can be heavier. |
Upgrading Your Mini Vacuum for Better Performance
Once you’ve built your basic model, you might wonder, “Can it do more?” Absolutely! Consider a stronger motor for more suction, or a better-designed impeller. You could also experiment with different filter types for improved dust capture.
Some DIY enthusiasts even add LED lights for illuminating dark corners. The possibilities for upgrades are nearly endless, making this project continually engaging.
Conclusion
Building a mini vacuum cleaner is a rewarding project that marries practicality with scientific curiosity. It’s an accessible way to dive into electronics and basic engineering, leaving you with a functional tool and a greater understanding of how things work. From initial concept to final testing, each step teaches something valuable. So go on, grab your tools, and create something truly useful!
Frequently Asked Questions
What is the most critical component for strong suction in a mini vacuum?
The motor and fan combination is the most critical. A motor with higher RPM (revolutions per minute) coupled with a well-designed fan or impeller that efficiently moves air will create the strongest suction. The fan’s shape and size relative to the housing also play a big role.
Can I use any small DC motor for this project?
While many small DC motors can work, choosing one with sufficient power (often indicated by voltage and current ratings) is important. Motors from old CD players, toy cars, or even small electric toothbrushes are good starting points, but ensure they can handle the load of spinning a fan effectively.
How do I make sure my mini vacuum doesn’t leak air and lose suction?
To prevent air leaks, use strong adhesives like hot glue or epoxy to seal all joints and connections in your housing. Ensure the fan sits snugly within its chamber, and that the dust collection compartment is sealed tightly. Any gaps will reduce the overall suction power significantly.
Is it safe to make a mini vacuum cleaner with young children?
Yes, with proper supervision! This can be an excellent educational project for children. Focus on the assembly parts that don’t involve sharp tools or soldering, such as crafting the housing, connecting wires with alligator clips, and understanding the basic principles. Always supervise when using hot glue guns or cutting tools.
What kind of filter works best for a DIY mini vacuum?
For a DIY mini vacuum, a simple mesh fabric or a piece of non-woven material like a coffee filter works well for capturing larger dust particles. For better filtration, you could layer a small piece of vacuum cleaner bag material or even a thin sponge. The goal is to allow airflow while trapping debris.