
How To Take Apart A Vacuum Cleaner?
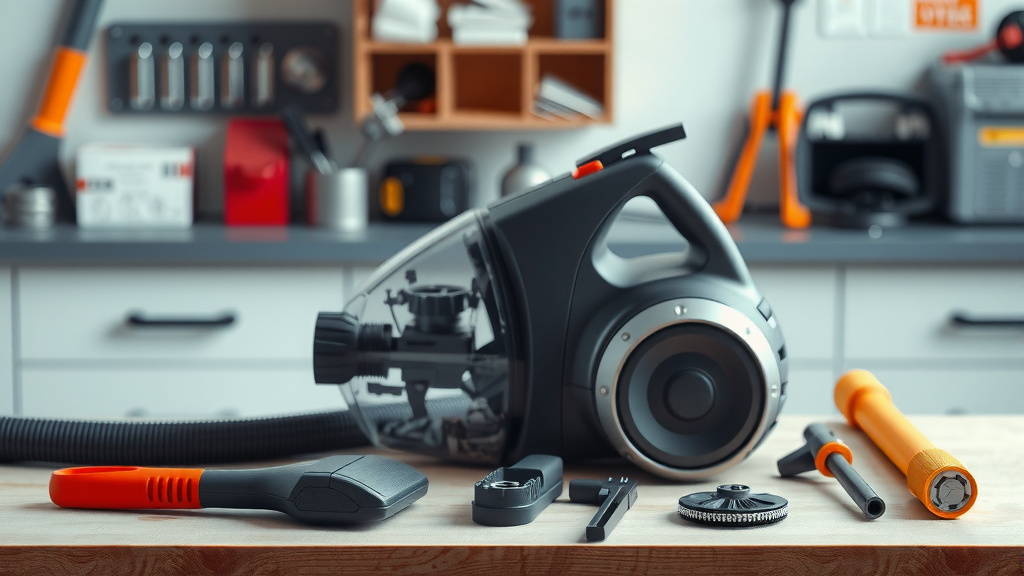
To take apart a vacuum cleaner, first unplug it from the power source to ensure your safety, then consult your owner’s manual for specific model instructions and screw locations.
Generally, you’ll remove the dust bin, filters, and then use a screwdriver to detach covers and access components like the brush roll or hose for cleaning or repair.
TL;DR: How to take apart a vacuum cleaner quickly:
- Always unplug the vacuum first for safety.
- Check your specific model’s manual for unique instructions.
- Gather basic tools like screwdrivers and possibly pliers.
- Start by removing easily detachable parts like the dust bin and filters.
- Carefully unscrew panels and covers to access inner components.
Understanding Why You’d Take Apart Your Vacuum Cleaner
Have you ever noticed your vacuum losing suction, making strange noises, or just not cleaning like it used to? It is a common household puzzle! Often, the solution involves a little detective work and some careful disassembly. We found that clogged hoses, tangled brush rolls, and dirty filters are frequent culprits behind performance issues.
Safety First: Unplugging Your Vacuum
Before you even think about grabbing a screwdriver, the most important step is to unplug your vacuum cleaner. Seriously, don’t skip this. Electricity and tinkering with appliances do not mix. It is about keeping you safe from shocks and preventing accidental starts, which can be dangerous.
How To Take Apart A Vacuum Cleaner?
Taking apart a vacuum cleaner usually involves a series of logical steps, starting with accessible parts and moving to more internal components. You will need a few basic tools and a bit of patience.
Gathering Your Tools
You do not need a whole workshop to start this project. Most vacuum cleaners require pretty standard tools. We recommend having a set of screwdrivers (Philips and flathead), maybe some needle-nose pliers, and possibly a pair of scissors or a seam ripper for cutting tangled hair. A small container for screws is also super helpful.
Consulting Your Owner’s Manual
Each vacuum model is a bit unique, like a puzzle with its own rules. Before you dive in, check your owner’s manual. Many experts say this is the single best step (Consumer Reports). It provides diagrams, screw locations, and specific disassembly instructions for your particular machine. If you cannot find the physical copy, a quick online search for your model number often brings up a digital version.
Starting with the Basics: Dust Bin and Filters
Begin with the easiest parts to remove. The dust bin or bag compartment typically detaches with a simple latch or button. After that, locate and remove any filters. Many modern vacuums have washable HEPA filters that can be gently tapped clean or rinsed (Dyson). Pay attention to how they fit; you will need to put them back the same way.
Accessing the Brush Roll
The brush roll is the heart of your vacuum’s floor cleaning action. It is often where hair, string, and debris get tangled. You usually access it from the bottom of the vacuum head. Look for latches or screws holding a bottom plate or guard in place. Once removed, the brush roll should lift out.
Clearing Brush Roll Tangles
This is where those scissors or seam ripper come in handy. Carefully cut away any hair or string wrapped around the brush roll. Many people are surprised at how much gunk accumulates here! We found that a clean brush roll makes a huge difference in carpet agitation and suction.
Inspecting the Hose for Clogs
A loss of suction often points to a clog in the hose. Detach the hose from both the vacuum body and the wand/attachments. Visually inspect it, looking for blockages. You can use a broom handle or a long, flexible brush to push through any debris. Some hoses have sections that twist apart, making cleaning easier.
Here’s a quick guide to common vacuum parts and their typical issues:
| Vacuum Part | Common Issue | Typical Fix |
|---|---|---|
| Brush Roll | Hair tangles, worn bristles | Cut tangles, replace roll |
| Hose | Clogs, tears | Clear blockages, tape small tears |
| Filter | Dust buildup, odors | Clean/wash, replace if necessary |
| Dust Bin/Bag | Overfull, improper seal | Empty regularly, check seal |
| Belt | Broken, stretched | Replace with a new one |
Removing Outer Casings and Panels
Once the basic external parts are off, you might need to remove outer plastic panels to access motors or internal hoses. Look for screws, often hidden under stickers, rubber feet, or in recessed areas. Keep track of which screws go where; sometimes they vary in length or type. Take photos with your phone as you go – it is a lifesaver for reassembly!
Understanding Internal Components
Inside, you will find motors, fans, and more hoses. Unless you are experienced with electrical repairs, we recommend not tampering with the motor itself. However, you can often visually inspect internal hoses for clogs or disconnections. Sometimes a hose simply pops off its connection point, reducing suction, and just needs to be reattached.
The Reassembly Process
Putting your vacuum back together is basically the reverse of taking it apart. Remember those photos you took? Now is their time to shine! Ensure all screws are tightened, but do not overtighten, as you could strip the plastic.
Quick Reassembly Checklist
- Are all internal hoses reconnected securely?
- Is the brush roll seated correctly and spinning freely?
- Are filters clean and placed in their proper spots?
- Is the dust bin or bag compartment latched tightly?
- Are all exterior panels and screws back in place?
- Did you remember to reattach the power cord securely (if it was removed)?
When to Call a Professional (or Retire It)
Sometimes, the issue is beyond a simple clean. If you find a broken motor, damaged wiring, or complex electrical problems, it is usually best to seek professional help. Many local repair shops specialize in vacuums. Consider the age of your vacuum and the cost of repair versus buying a new one. We found that major motor issues can sometimes make repair uneconomical.
Conclusion
Taking apart your vacuum cleaner can feel daunting at first, but with a little patience and the right steps, it is a very achievable DIY task. Remember to always prioritize safety by unplugging the unit and consulting your manual. You will be surprised how often a simple clean-out can breathe new life into a struggling vacuum, saving you money and frustration. It is like giving your cleaning buddy a much-needed spa day!
Can I take apart a Dyson vacuum cleaner?
Yes, you can take apart most Dyson vacuum cleaners, but they often feature more intricate designs and specialized tools might be required for certain components. Always refer to your specific Dyson model’s manual for precise instructions.
What tools do I need to disassemble a vacuum cleaner?
For most vacuum cleaner disassembly, you’ll primarily need a set of screwdrivers (Philips and flathead), possibly needle-nose pliers, and scissors or a utility knife for cutting tangled hair and debris.
How do I know if my vacuum cleaner needs to be taken apart for cleaning?
You’ll notice signs like decreased suction power, unusual noises, a burning smell, or the brush roll not spinning. These are all indicators that internal components might be clogged or tangled and need a thorough clean.
Is it safe to clean the vacuum cleaner motor?
Generally, it’s not recommended for the average user to clean the vacuum cleaner motor directly. Motors are complex electrical components that can be damaged by moisture or improper handling. Focus on cleaning filters, hoses, and brush rolls, and leave motor issues to professionals.
What should I do if I can’t find my vacuum cleaner’s owner’s manual?
If you can’t find your physical owner’s manual, search online for your vacuum cleaner’s brand and model number. Most manufacturers provide digital copies (PDFs) of their manuals on their official websites, which are excellent resources for disassembly instructions and diagrams.
