
How to Vacuum a Car Interior Thoroughly?
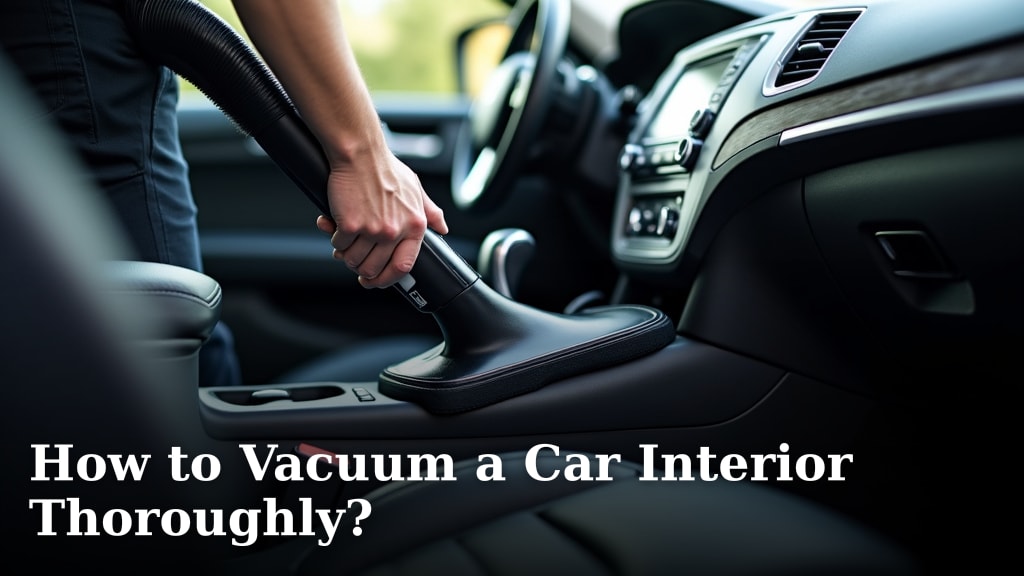
The easiest way to thoroughly vacuum a car interior is to first remove all trash and floor mats, then use a powerful vacuum with the right attachments to reach every nook and cranny. This ensures you get rid of dirt and debris effectively. You want your car to feel fresh, right?
A truly clean car interior isn’t just about looks; it’s about maintaining your vehicle’s value and providing a pleasant driving experience. Regular vacuuming prevents buildup and keeps your car smelling better. We found that a little effort goes a long way for a spotless finish.
TL;DR:
- Prep your car: remove mats and trash.
- Choose the right vacuum and attachments.
- Start from the top down.
- Don’t forget tight spaces and under seats.
- Finish with a final once-over.
Ready to transform your car’s interior from dusty to dazzling? Let’s walk through exactly how to vacuum a car interior thoroughly, step by step, so you can enjoy that “new car” feeling again.
Making Your Car’s Interior Spotless with a Vacuum
Transforming your car’s interior from dusty to dazzling starts with a strategic approach to vacuuming. You want to tackle the mess efficiently, not just move it around.
Gathering Your Vacuuming Arsenal
Before you even think about plugging in a vacuum, let’s talk about what you’ll need. Having the right tools makes all the difference in achieving a truly clean car.
Choosing the Right Vacuum
A household vacuum might seem okay, but a dedicated car vacuum or a powerful shop vac works best. These often have stronger suction and are designed for tough car messes. We found that a good wet/dry shop vac is usually the best bet for car interiors.
- Corded vacuums offer consistent power, so you don’t lose suction halfway through.
- Cordless car vacuums provide amazing flexibility, but check their battery life and power.
- Detailing vacuums are compact and ideal for reaching tight spots, though they may lack overall power.
Essential Vacuum Attachments
Attachments are your best friends when vacuuming a car. They help you reach, lift, and clean every surface effectively. Think of them as specialized tools for different tasks.
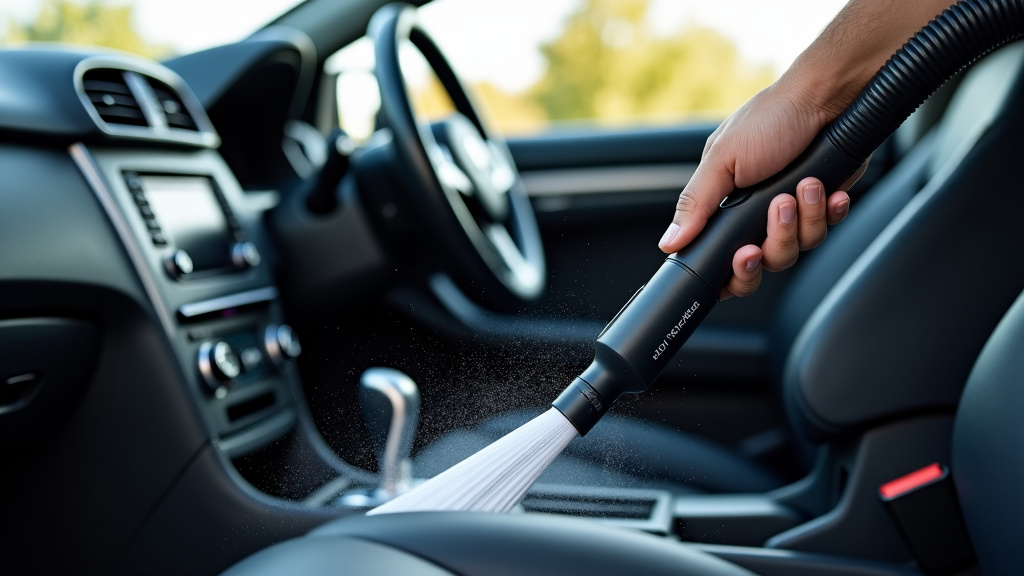
- Crevice tool: This narrow nozzle is perfect for getting into tight spaces like between seats and console gaps.
- Brush attachment: A brush helps agitate dirt and lift it from carpets and upholstery, making it easier to vacuum up.
- Upholstery tool: A wider, flat attachment designed for larger fabric surfaces like seats and floor mats.
- Hose extension: Gives you more reach and flexibility, especially for the trunk or under seats.
Prepping Your Car for a Deep Clean
Preparation is key for any thorough cleaning job, and your car’s interior is no exception. This step saves you time and makes the vacuuming process much more effective.
Remove All Loose Items and Trash
Start by taking everything out of your car. This means papers, cups, toys, and anything else cluttering the floor, seats, and storage pockets. Don’t forget the glove compartment and console. We found that emptying everything out first makes the vacuuming process smoother.
Take Out Floor Mats
Your floor mats are often the dirtiest part of your car. Take them out and shake them vigorously outside the car to remove loose dirt and debris. You can even beat them against a wall or fence post to dislodge more stubborn dirt. Many experts say this step prevents you from simply vacuuming dirt back onto your car’s floor (Automotive Detailing Association).
Loosen Stubborn Dirt
Before vacuuming, use a stiff brush or a detailing brush to loosen any embedded dirt, pet hair, or crumbs from your carpets and upholstery. This step helps the vacuum pick up more debris on the first pass. A quick brush-down can work wonders.
The Step-by-Step Vacuuming Process
Now that your car is prepped and your tools are ready, it’s time to start vacuuming. We’ll guide you through each section, ensuring no spot is missed.
Start from the Top Down
Gravity is your friend here. Begin by vacuuming the headliner (if needed, with a soft brush attachment on low suction) and then the seats. Work your way down to the floor. This way, any dislodged dust or debris falls onto surfaces you haven’t vacuumed yet.
- Vacuum all fabric surfaces first, including seatbacks and door panels.
- Use the upholstery tool for seats and switch to the brush attachment for stubborn spots.
Vacuuming the Seats and Upholstery
Focus on your seats next. Use your upholstery tool or brush attachment to thoroughly vacuum all surfaces. Pay close attention to seams, crevices, and under any seat covers. For fabric seats, working in overlapping passes helps ensure full coverage.
Tackling the Floor and Under Seats
The floor is often the dirtiest area. Use your strongest suction and a good brush attachment for the main carpeted areas. Don’t be afraid to move the seats as far forward or backward as they go to reach underneath. This is where your crevice tool becomes invaluable.
- Reach deep under the seats with the crevice tool or a hose extension.
- Move the front seats all the way back, then all the way forward to get full access.
- Don’t forget the footwells and pedals.
Cleaning Hard-to-Reach Nooks and Crannies
This is where thoroughness really shines. Use your crevice tool to get into every tight spot. Think between the console and seats, air vents, and door pockets. A small detailing brush can help dislodge dust from vents before you vacuum it up.
You might be surprised how much dirt hides in these forgotten areas. We recommend using a small, flexible hose attachment if your vacuum has one for these areas.
The Trunk: Don’t Forget This Often-Overlooked Space
The trunk is an integral part of your car’s interior and often accumulates significant dirt and debris. Give it the same attention as the rest of your vehicle.
Remove everything from the trunk, including any spare tires or toolkits if easily accessible. Vacuum the carpeted floor and side panels thoroughly. If your trunk has a liner, vacuum that too. This step is crucial for a complete clean.
Finishing Touches and Post-Vacuuming Tips
Once you’ve vacuumed every surface, it’s time for the final details. These steps help maintain your clean interior and address any remaining issues.
Re-Vacuuming Floor Mats
Now that you’ve shaken and perhaps even beaten your floor mats, give them a final, thorough vacuum with the upholstery tool. This ensures they are as clean as possible before putting them back in the car. Many detailers suggest a double vacuum pass for mats.
A Quick Checklist for Thoroughness
Before you declare victory, quickly scan your car using this checklist. It’s easy to miss a spot, and this helps ensure you’ve covered everything.
- All floor areas (under seats, footwells) are clear of debris.
- Seats are vacuumed thoroughly, including seams.
- Door pockets and side panels are dust-free.
- Crevices and console gaps are clean.
- Trunk space is spotless.
By following these steps, you’ll not only vacuum your car interior but truly deep clean it. You’ll be amazed at how much better your car feels and looks!
Conclusion
You now have a solid plan to tackle even the dirtiest car interior. By using the right tools and following our step-by-step guide, you can achieve a truly spotless finish. Remember, consistent effort makes a big difference in maintaining your vehicle’s condition and your driving enjoyment. You’ll love that fresh, clean feeling every time you get behind the wheel. Don’t wait; grab your vacuum and transform your car today!
Frequently Asked Questions
How often should I vacuum my car’s interior?
Most experts recommend vacuuming your car interior at least once a month. If you frequently transport pets, children, or food, you might want to vacuum every two weeks to prevent excessive buildup.
Can I use a regular household vacuum for my car?
While you can, household vacuums often lack the powerful suction and specialized attachments needed for a thorough car clean. A shop vac or a dedicated car vacuum typically provides much better results for automotive interiors.
What’s the best way to remove pet hair from car carpets?
For stubborn pet hair, try using a rubber-bristled brush, a squeegee, or even a latex glove to agitate and clump the hair before vacuuming. We found this lifts much more hair than vacuuming alone.
Should I vacuum before or after wiping down surfaces?
It’s generally best to vacuum first. This removes loose dirt and dust that might otherwise get smeared around when you wipe surfaces. Wiping after vacuuming ensures you’re cleaning a pre-dusted surface.
Is it okay to use water when vacuuming car carpets?
Only if you have a wet/dry shop vac designed for liquids. Using a regular vacuum on
