
How to Clean Vacuum Filters without Water?
The easiest way to clean vacuum filters without water is by using a brush and a vacuum cleaner. You can remove dust and debris by gently brushing the filter. Then, use another vacuum with a hose attachment to suck away loosened particles. This method is quick and effective for most filter types, especially those made of paper or foam.
Keeping your vacuum’s filter clean is essential for maintaining its suction power and overall performance. A clogged filter can make your vacuum work harder and reduce its efficiency. Many filters are not designed for wet cleaning, which can damage them. Fortunately, you can effectively clean them using dry methods to ensure your vacuum runs smoothly and lasts longer. To increase your vacuum cleaner’s suction power, regularly empty its dustbin or change the bag, and clean or replace all filters.
- Brush away loose dirt and debris from the filter.
- Use your vacuum cleaner’s hose to suck out stubborn particles.
- Tap the filter gently to dislodge trapped dust.
- Always check your vacuum’s manual for specific filter cleaning instructions.
Ready to get your vacuum back in top shape? Let’s walk through exactly how to clean those filters without any water.
Keeping Your Vacuum Filters Clean Without Water
Your vacuum cleaner’s filter is like its lungs. When it’s clean, your vacuum breathes easy and works its best. A dirty filter means less suction and a vacuum that struggles. Cleaning without water is often the safest way. Many filters can be damaged by moisture. Let’s get those filters looking like new, the dry way!
Why Dry Cleaning is Your Best Bet
Water can be a vacuum’s enemy, especially for certain filter materials. Some filters are made of paper or a dense foam. If these get too wet, they can break down or become misshapen. This means they won’t fit back properly or might not filter air effectively. Moisture can also lead to mold or mildew growth. This is not something you want circulating in your home. Therefore, dry cleaning methods are often recommended by manufacturers. Water can be a vacuum’s enemy, especially for certain filter materials like HEPA filters.
Protecting Your Filter’s Integrity
Think of your filter like a delicate piece of art. You wouldn’t blast it with a hose, right? The same principle applies here. Many modern vacuums use HEPA filters or other specialized materials. These are designed to trap tiny particles. Getting them saturated can ruin their structure. This is why many manuals suggest tapping or brushing. It’s about maintaining their filtering ability.
Avoiding Mold and Mildew Issues
Nobody wants a smelly vacuum. If a filter stays wet for too long, it can become a breeding ground for mold and bacteria. This is especially true if you store your vacuum in a damp place. The air coming through the filter would then carry these unpleasant spores. Cleaning without water prevents this issue entirely. You ensure cleaner air for your home.
Your Essential Dry Cleaning Toolkit
You don’t need fancy equipment to clean your vacuum filters. Most of what you need is probably already around your house. A few simple tools will make the job much easier. Let’s gather what you’ll need before we get started.
The Mighty Brush: Your First Line of Defense
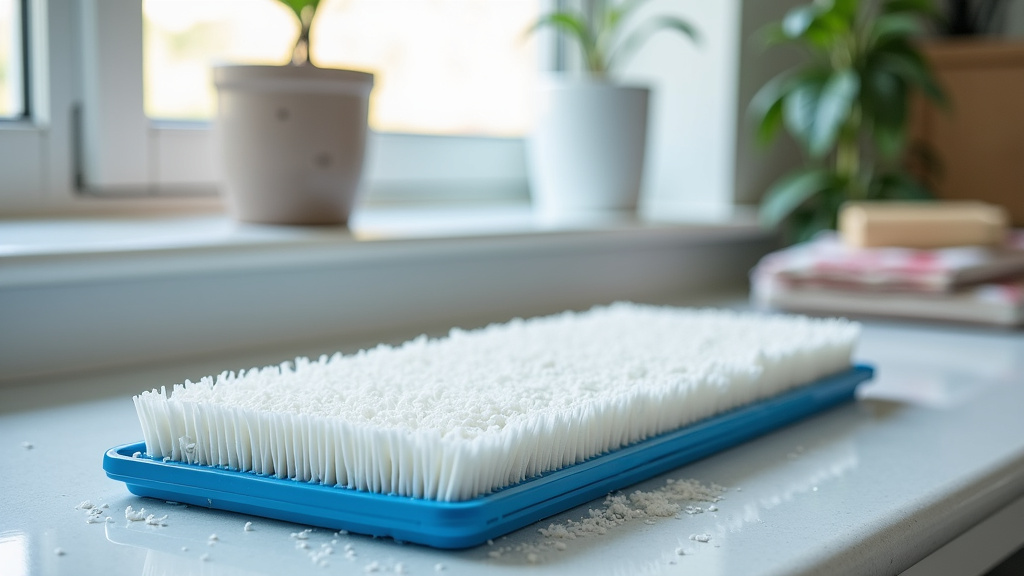
A good cleaning brush is your most important tool. You’ll want a brush with soft to medium bristles. A stiff brush might damage delicate filter material. Some vacuums come with a small cleaning brush. If yours didn’t, a soft toothbrush or a pastry brush can work wonders. The goal is to gently loosen dirt.
The Power of Your Vacuum’s Own Hose
This might sound a bit like a hack, but it’s highly effective. Using your own vacuum’s hose attachment is a fantastic way to deep clean. It sucks up the dust you’ve loosened. This prevents you from just breathing it all in. It’s a neat and tidy way to finish the job. Make sure you use the hose attachment for this.
Other Helpful Items
You might also find a dry cloth useful for wiping down the filter housing. A trash can or plastic bag is essential for containing the dust you remove. Having good lighting will help you see all the hidden dust bunnies.
Step-by-Step Guide to Dry Filter Cleaning
Now that you have your tools, let’s get to it. Follow these steps carefully. Your vacuum will thank you for it. Remember to check your vacuum’s manual first!
Step 1: Locate and Remove the Filter
First, you need to find your vacuum’s filter. It’s usually located near the dustbin or the motor. Check your manual if you’re unsure. Once you find it, carefully remove it. Most filters just pull or twist out easily. Be gentle; you don’t want to force anything.
Step 2: The Gentle Tap and Brush Method
This is where the brushing and tapping come in. Take the filter outside if possible. This keeps your indoor air clean. Hold the filter over a trash can or a plastic bag. Gently tap it against the side of the bin. You’ll be surprised how much dust falls out. Next, use your cleaning brush. Gently brush away any remaining dust. Work from the inside out. Be thorough but don’t scrub hard. You are trying to dislodge dust, not damage the filter.
Focus on Stubborn Dust
For areas where dust is really caked on, you might need a bit more effort. Use the brush in short, firm strokes. You can also try gently flexing the filter material. This can sometimes break free trapped particles. Avoid any actions that could tear or deform the filter.
Step 3: Using Your Vacuum’s Hose Attachment
This is the secret weapon for a truly clean filter. Once you’ve brushed and tapped, it’s time for the vacuum. Take the hose attachment of your *clean* vacuum. Set your vacuum on a high suction setting. Carefully run the hose attachment over the filter’s surface. Go back and forth, focusing on all the crevices. The powerful suction will pull out much finer dust particles. This is often more effective than brushing alone. It gets the dust deep within the filter material.
Getting Into All the Nooks and Crannies
Use the crevice tool attachment if you have one. This allows you to get into tighter spots. Pay special attention to the pleats if your filter has them. These areas tend to hold the most dust. Don’t rush this part. The more dust you remove now, the better your vacuum will perform.
Step 4: Inspect and Reinstall
Once you’re done, inspect the filter closely. Hold it up to the light. Can you see light passing through it easily? If it still looks heavily clogged, you might need to repeat the brushing and vacuuming steps. If the filter appears clean and undamaged, it’s ready to go back in. Carefully place it back into its housing. Make sure it’s seated correctly. A poorly seated filter won’t work properly.
When to Consider Replacement Instead of Cleaning
Sometimes, no amount of cleaning will bring a filter back to life. There are signs that indicate it’s time for a new one. Don’t hesitate to replace it if needed. A new filter can make a world of difference.
Signs Your Filter Needs Replacing
If your filter is torn, warped, or has holes, it needs to be replaced. These damages compromise its ability to filter air. Also, if it just won’t come clean after multiple dry cleaning attempts, it’s probably time. Some filters have a distinct odor that doesn’t go away. This could mean it’s permanently saturated with particles and odors. Many manufacturers recommend replacing filters every 6-12 months. This depends on usage and the type of filter.
The Cost-Benefit of a New Filter
A new filter might seem like an added expense. However, consider the benefits. A clean, new filter restores your vacuum’s suction power. It also ensures it runs more efficiently, potentially saving energy. Plus, it guarantees better air quality in your home. It’s an investment in your vacuum’s longevity and your home’s cleanliness.
Checklist: Quick Dry Filter Cleaning
Here’s a quick rundown to make sure you’ve got it covered:
- Locate and remove the filter from your vacuum.
- Take it outside to avoid spreading dust indoors.
- Tap the filter gently over a trash receptacle.
- Brush away loose debris with a soft brush.
- Use your vacuum’s hose to suction remaining dust.
- Inspect the filter and replace if damaged or too dirty.
| Method | Pros | Cons | Best For |
|---|---|---|---|
| Dry Cleaning | Quick, no waiting for drying. Protects filter material. Prevents mold. Easy for most filters. | May not remove deeply embedded odors. Can be messy if not done outdoors. | Paper, foam, HEPA filters. Regular maintenance. |
| Wet Cleaning | Can remove deeply embedded dirt and odors. May extend life for some washable filters. | Requires long drying time (24-48 hrs). Risk of mold/mildew. Can damage non-washable filters. | Specific “washable” filters only. Stubborn grime. |
By following these dry cleaning methods, you can keep your vacuum filters in excellent condition. This ensures your vacuum works efficiently and keeps your home dust-free. Happy cleaning!
Conclusion
You’ve learned that keeping your vacuum filters clean without water is not only possible but often the best approach for their longevity and your home’s air quality. By using simple tools like a brush and your vacuum’s own hose, you can effectively remove dust and debris. Remember to always check your manual for specific instructions for your model. Don’t forget to inspect your filters regularly, and when they show signs of wear or can’t be cleaned sufficiently, it’s time for a replacement. Take the next step by giving your vacuum’s filter a good dry cleaning today!
Frequently Asked Questions
Can I really clean my vacuum filter without any water at all?
Yes, absolutely! Many filters are designed to be cleaned dry to protect their material. You can use tools like a brush to loosen dirt and your vacuum’s hose attachment to suck it all away. This method is often recommended to prevent damage and mold growth.
How often should I be cleaning my vacuum filters?
It’s a good idea to clean your filters at least once a month, or more often if you have pets or allergies. Checking them visually every couple of weeks can help you gauge when they need attention. Regular cleaning ensures your vacuum maintains optimal suction power.
What kind of brush should I use to clean my vacuum filter?
You should use a soft-bristled brush, like a toothbrush or a pastry brush, to gently loosen dust. Avoid stiff bristles, as they can potentially damage delicate filter materials like paper or fine HEPA filters. The goal is to dislodge dust, not scrub the filter aggressively.
My filter still smells musty after dry cleaning. What can I do?
If a dry cleaning doesn’t remove odors, the particles might be deeply embedded, or the filter might be reaching the end of its life. Sometimes, odors indicate permanent saturation. In such cases, it’s best to replace the filter to ensure your home air stays fresh.
How do I know if my filter is too dirty to clean and needs replacement?
Look for visible damage like tears, holes, or warping. If the filter consistently appears heavily clogged even after thorough dry cleaning, or if it retains persistent odors, it’s likely time for a new one. Many manufacturers suggest replacement every 6 to 12 months, depending on usage.
