How To Service A Vacuum Cleaner?
To service a vacuum cleaner, you typically need to empty the dustbin, clean or replace filters, untangle the brush roll, and inspect hoses for blockages.
Regular servicing of your vacuum cleaner helps maintain its suction power, extends its lifespan, and ensures it operates efficiently, catching more dust and allergens.
Here’s a quick overview of what you’ll find in this guide:
- Regular vacuum maintenance keeps your home cleaner and extends appliance life.
- You’ll need basic tools like scissors, a screwdriver, and a cleaning cloth.
- Key steps involve emptying the bin, cleaning filters, and clearing the brush roll.
- Knowing when to clean or replace parts can prevent bigger issues.
- Simple checks can often fix common vacuum problems yourself.
How To Service A Vacuum Cleaner?
Servicing your vacuum cleaner involves a few straightforward steps like cleaning the filter, clearing the brush roll, and checking for clogs to keep it running smoothly.
This routine maintenance ensures your vacuum cleaner maintains its cleaning power and prevents unexpected breakdowns, saving you money on repairs.
Why Regular Vacuum Service Makes a Difference
Have you noticed your vacuum isn’t picking up dirt like it used to? A common reason is a lack of regular care.
A well-maintained vacuum cleaner works harder and smarter, not just longer. It keeps your air cleaner too.
Beyond Just Suction Power
We found that regular servicing impacts more than just how much dirt your vacuum picks up. It affects air quality.
Many experts say a clean filter means fewer allergens recirculating in your home (Allergy & Asthma Foundation of America).
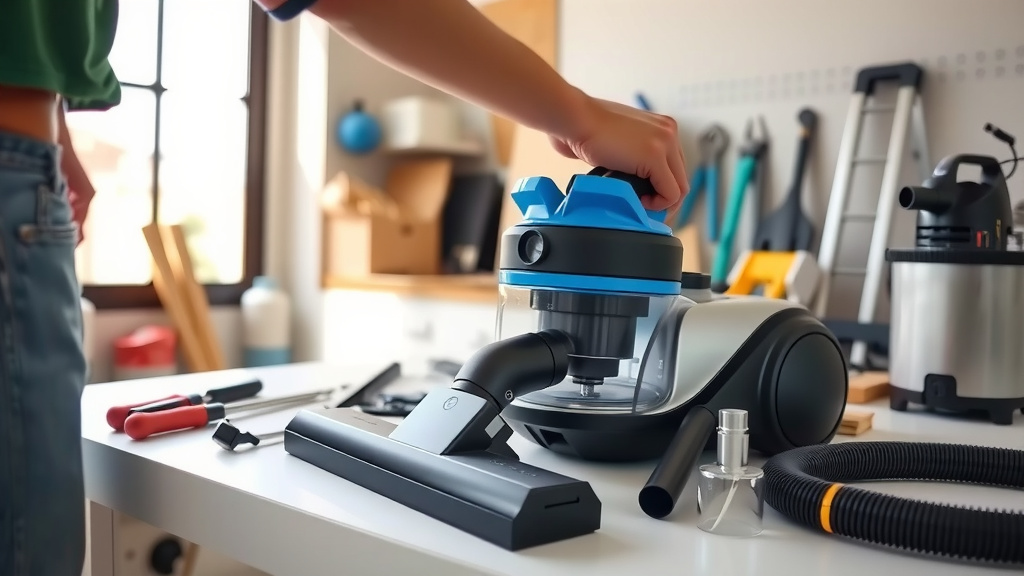
Gather Your Essential Tools First
Before you begin, gather a few simple items. Think of it like preparing for a mini home repair project.
You’ll likely need a pair of scissors, a small screwdriver, a dry cloth, and maybe a soft brush.
Safety is Your Starting Point
This is really important: always unplug your vacuum cleaner before doing any kind of service or inspection.
It’s like hitting the pause button on your vacuum’s electrical connection. You want zero power flowing.
Step 1: Unplug and Visually Inspect
After unplugging, take a good look at your vacuum. Are there any obvious signs of damage?
Check the cord for frays or cuts. A damaged cord is a safety concern that needs professional attention.
Step 2: Empty and Clean the Dustbin or Bag
This might seem obvious, but it’s the foundation of good vacuum care. A full bin or bag reduces suction.
For bagless vacuums, empty the dirt cup. Give it a quick wipe with a dry cloth to prevent dust buildup.
Tips for Bagged Vacuums
If your vacuum uses bags, don’t wait until it’s overflowing. Replace it when it’s about two-thirds full.
A completely full bag strains the motor and diminishes cleaning ability, as we’ve often observed.
Step 3: Check and Clean Filters
Filters are your vacuum’s lungs. They trap fine dust and allergens, keeping them out of the air you breathe.
There are different types, and each needs specific care. Understanding this is key to healthy vacuum function.
Here’s a general guide for common filter types:
| Filter Type | Cleaning Method | Frequency (Approx.) |
|---|---|---|
| Foam/Sponge Filters | Rinse with cool water, air dry 24 hours. | Every 1-3 months. |
| Pleated/Cartridge Filters | Tap against a trash can to remove dust. | Every 1-3 months. |
| HEPA Filters | Some are washable, others require replacement. Check manual. | Replace every 6-12 months (if not washable). |
Step 4: Untangle the Brush Roll
This is where hair, string, and carpet fibers often gather. It’s like a hair salon for your vacuum!
Carefully snip away any tangled hair or debris with your scissors. Be extra careful not to cut the bristles.
Why a Clean Brush Roll Matters
A brush roll clogged with hair can’t spin properly. This means it won’t agitate carpets effectively.
It can also strain the motor, potentially leading to overheating and early wear, research indicates.
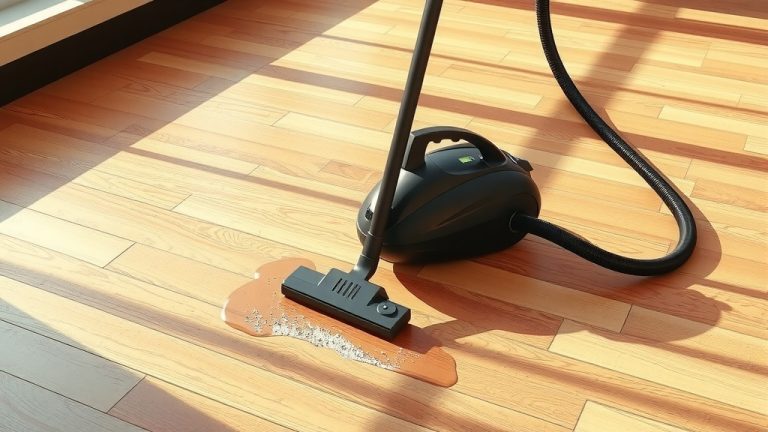
Step 5: Inspect Hoses and Attachments
Blockages in the hose are common culprits for poor suction. Have you ever lost a sock to your vacuum?
Remove the hose and carefully check for any clogs. A broom handle can help dislodge stubborn debris.
Don’t Forget the Attachments
Your vacuum’s attachments also need a quick check. Bits of fluff and dust can get stuck inside.
Give them a wipe down. A clean attachment means better cleaning performance on those tricky spots.
Step 6: Check the Drive Belt (For Uprights/Canisters)
For many upright and some canister vacuums, a drive belt connects the motor to the brush roll.
Open the brush roll housing (refer to your manual). Check the belt for signs of wear, stretching, or breakage.
When to Consider a Replacement
A stretched or cracked belt won’t turn the brush roll effectively. This is a common reason for poor carpet cleaning.
Replacing a worn belt is often an inexpensive fix that can greatly improve your vacuum’s effectiveness.
When to Call a Professional for Help
Sometimes, a vacuum problem goes beyond basic home maintenance. When do you throw in the towel?
If you notice burning smells, unusual noises, or complete loss of power, it’s probably time for an expert.
Vacuum Cleaner Service Checklist
Keep this handy checklist in mind for your routine maintenance:
- Unplug the vacuum before starting.
- Empty the dustbin or replace the bag.
- Clean or replace all filters.
- Remove hair and debris from the brush roll.
- Check the hose for blockages.
- Inspect the power cord for damage.
Common Issues & Quick Fixes
Many vacuum problems have simple solutions. Is your vacuum making a weird noise?
Often, it’s just something caught in the brush roll or a loose attachment. A quick check can save you worry.
How Often Should You Service Your Vacuum?
The frequency depends on how often you use it and if you have pets. More usage means more often.
For most households, a quick check and clean once a month, with a deeper service every 3-6 months, works well.
Conclusion
Servicing your vacuum cleaner isn’t a chore; it’s an investment in a cleaner home and a longer-lasting appliance. By following these straightforward steps, you can keep your vacuum operating at its best, ensuring it tackles dirt and dust with maximum power. Regular care truly makes a difference in your cleaning experience and the life of your machine. So, roll up your sleeves and give your trusty vacuum the attention it deserves!
Why is my vacuum cleaner losing suction power?
Loss of suction usually comes from a full dustbin or bag, clogged filters, a blocked hose, or a brush roll tangled with hair. Checking these areas first will often solve the problem.
Can I wash all vacuum filters?
No, not all vacuum filters are washable. Some, like many HEPA filters or paper pleated filters, should only be tapped clean or replaced. Always check your vacuum’s user manual to confirm if your specific filters are designed for washing.
How do I know if my vacuum belt needs replacing?
You’ll typically know if your vacuum belt needs replacing if the brush roll isn’t spinning, even though the motor is running. Other signs include a burning rubber smell or visible cracks, stretching, or breakage on the belt itself.
What should I do if my vacuum smells burnt?
If your vacuum smells burnt, immediately turn it off and unplug it. This often indicates a motor issue or something severely tangled in the brush roll causing strain. Clear any obstructions and if the smell persists, seek professional repair.
Is it safe to use generic vacuum bags or filters?
Using generic bags or filters can sometimes be fine, but always ensure they are a precise fit and match the specifications of your vacuum cleaner. Ill-fitting or low-quality generics might hinder performance or even damage your machine over time.