How To Deodorize A Vacuum Cleaner?
To deodorize a vacuum cleaner, start by emptying the dust bin or replacing the bag immediately, then thoroughly clean or replace all filters.
Address hidden debris in the brush roll, hose, and attachments to effectively eliminate the root causes of unpleasant vacuum smells.
- Empty your vacuum cleaner’s dust bin or change the bag after every use.
- Clean or replace filters regularly to prevent trapped odors from circulating.
- Inspect and clean the brush roll and hose for tangled hair or hidden debris.
- Use natural deodorizers like baking soda or essential oils for a fresh scent.
- Maintain a consistent cleaning schedule to stop smells before they even begin.
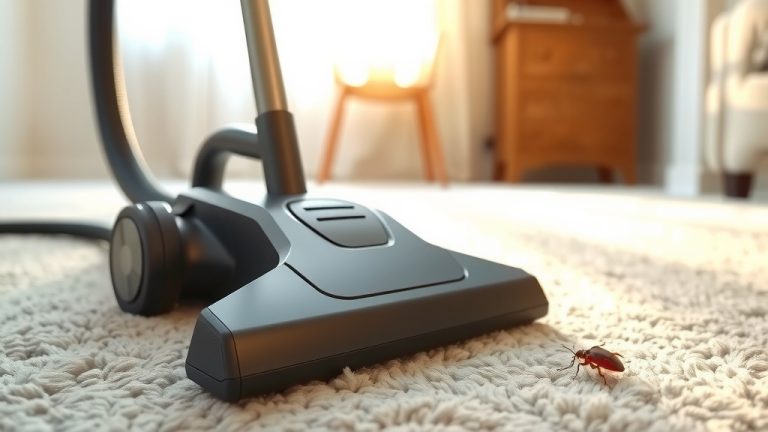
Ever noticed that peculiar smell wafting from your vacuum cleaner? You’re not alone. It’s a common issue that can turn your cleaning routine into a less-than-pleasant experience. But don’t fret! We understand how frustrating a smelly vacuum can be, especially when you’re trying to make your home smell good. Think of it like this: your vacuum works hard, sucking up all sorts of things. Sometimes, those things can start to make your machine a little stinky. We’re here to guide you through making your vacuum smell fresh again, just like you genuinely care about a clean home.
How To Deodorize A Vacuum Cleaner?
To deodorize a vacuum cleaner, you must systematically clean each component, including the dust bin, filters, brush roll, and hose, and then apply natural odor absorbers.
Why Does Your Vacuum Stink?
Your vacuum is like a hungry monster, devouring dust, dirt, pet hair, and even microscopic particles. Over time, some of these things can get trapped and start to decompose. Perhaps you vacuumed up something damp by accident? Or maybe lingering pet odors are creating a lingering funk? Many experts say that moisture and organic matter are the primary culprits behind vacuum odors.
The First Line of Defense: Emptying and Cleaning
The simplest, yet most effective, step to combat vacuum odors starts with its primary dirt collector. Think of it as hitting the reset button on your vacuum’s freshness.
Tackling the Dust Bin
Is your vacuum bagless? Then the dust bin is where all the grime collects. We often find that a full dust bin is the number one cause of bad smells. After each use, empty the bin into an outdoor trash can. Then, give it a quick wipe down with a damp cloth and a drop of dish soap. Make sure it’s completely dry before reattaching it. This simple habit makes a big difference (Environmental Protection Agency).
Bagged Vacuums: A Quick Change
If you have a bagged vacuum, don’t wait until the bag is bursting at the seams. A full bag means more trapped odors. We found that changing the bag when it’s about two-thirds full helps prevent smells from building up. Some bags even have activated charcoal layers to help with odor absorption. Have you checked if yours does?
Filter Facts: The Scent Barrier
Filters are your vacuum’s lungs, trapping tiny particles. But if they’re dirty, they can also trap odors and blow stale air back into your room.
Washable Filters: A Fresh Start
Many modern vacuums have washable filters. Check your manual to see if yours does. We recommend rinsing these filters under cool running water until the water runs clear. Allow them to air dry completely for at least 24 hours before putting them back. A damp filter can lead to mold and an even worse smell! Research often connects dampness with mold growth (CDC).
Non-Washable Filters: When to Replace
Some filters, like certain HEPA filters, are not designed to be washed. Trying to wash them can damage them and make them less effective. For these, replacement is the only option. Many manufacturers suggest replacing these filters every 3-6 months, depending on use. When was the last time you replaced yours? A new filter can work wonders for both performance and smell.
Deep Dive: Hoses, Brush Rolls, and Attachments
Sometimes the smell isn’t in the bin or filter. It’s hiding in the nooks and crannies, especially where debris can get stuck.
Clearing the Hose
Have you ever had something get stuck in your vacuum hose? It’s like a traffic jam for smells! Disconnect the hose and carefully check for any blockages. Use a broom handle or a long, flexible brush to push through any debris. A quick rinse with a mild soapy solution and thorough drying can also help. Just remember, full dryness is key.
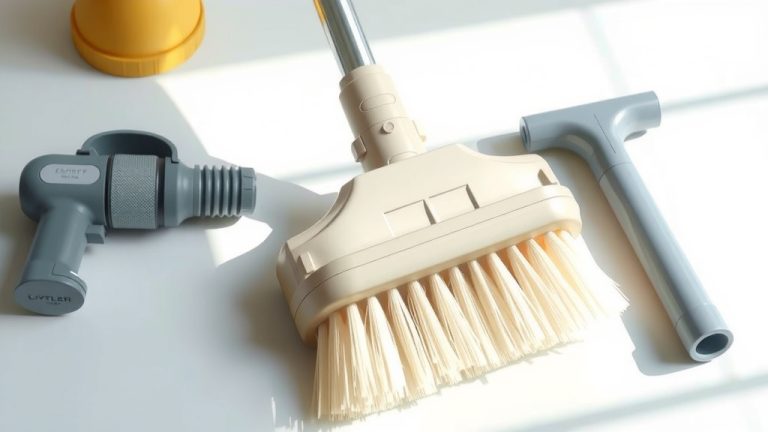
De-tangling the Brush Roll
The brush roll can become a tangled mess of hair, string, and even food particles. This is a common spot for odors to cling. Carefully remove any hair or debris using scissors or a seam ripper. Some brush rolls can be removed for easier cleaning. A clean brush roll also improves your vacuum’s cleaning power.
Attachments Deserve Love Too
Don’t forget the small attachments! They pick up grime from corners and upholstery. Give them a good wash in warm, soapy water. Ensure they are bone-dry before storing them away. It’s a small step, but it helps keep the whole system fresh.
Here’s a quick comparison of common odor sources and their fixes:
| Odor Source | Common Cause | Quick Fix |
|---|---|---|
| Dust Bin / Bag | Full, trapped organic matter | Empty/Replace; wash bin |
| Filters | Dust buildup, mold from dampness | Clean/Replace; ensure dry |
| Hose / Brush Roll | Trapped hair, food, debris | Clear blockages; manual cleaning |
Deodorizing Power: Natural Solutions
Once you’ve cleaned away the source of the smell, you can introduce some pleasant scents and powerful odor neutralizers.
Baking Soda: The Odor Absorber
Baking soda is a household superhero when it comes to absorbing odors. After cleaning your dust bin or changing your bag, sprinkle a small amount of baking soda inside. You can also sprinkle it on your carpet before vacuuming to neutralize smells in the fibers. Research suggests baking soda is a great natural absorbent (NIH).
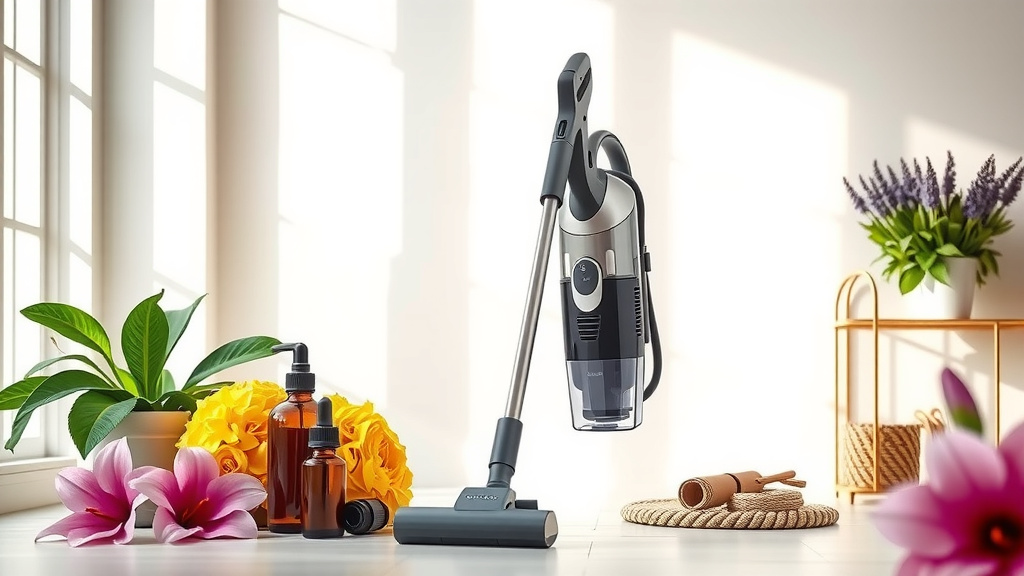
Essential Oils: A Scented Boost
For a refreshing scent, try essential oils. You can place a few drops on a cotton ball and tuck it into the dust bin or new vacuum bag. Many experts suggest using scents like lemon, tea tree, or lavender for a clean smell. Avoid applying oils directly to filters or motor parts, as this can cause damage or reduce air flow.
Scented Sachets or Dryer Sheets
Similar to essential oils, a scented dryer sheet or a small sachet can be a quick fix. Simply place one inside the dust bin or a fresh vacuum bag. As the air flows through, it will pick up a pleasant fragrance. This offers a nice, subtle scent without being overpowering.
Activated Charcoal for Stubborn Smells
If you have a particularly stubborn odor, activated charcoal is a powerful absorbent. Place a small pouch of activated charcoal (available at pet stores or online) inside your vacuum’s dust bin when not in use. It will absorb lingering odors without adding any scent. Just remove it before you start vacuuming.
Maintaining a Fresh Vacuum: Prevention is Key
The best way to deodorize your vacuum cleaner is to keep it from smelling in the first place. A little consistent effort goes a long way.
Regular Cleaning Habits
Make cleaning your vacuum part of your routine. Empty the bin and check the brush roll after every few uses. Washable filters can be rinsed monthly, and bags replaced as needed. Think of it as preventative maintenance for a fresh-smelling home.
Storing Your Vacuum Right
Where you store your vacuum can also impact its smell. Avoid damp areas like basements, which can encourage mold growth. Store it in a dry, well-ventilated space. This helps ensure that any residual moisture can evaporate, keeping it fresh.
Here’s a quick checklist to keep your vacuum odor-free:
- Empty the dust bin or change the bag after every use.
- Check and clean your filters regularly (washable or replace).
- Inspect the brush roll for tangled hair and debris.
- Clear the hose of any blockages.
- Wipe down attachments after cleaning.
- Use a natural deodorizer like baking soda or essential oils.
Conclusion
A fresh-smelling vacuum cleaner isn’t just a dream; it’s entirely achievable with a few simple steps and consistent habits. Remember, your vacuum is a powerful tool, but it also needs a little care to stay at its best. By understanding the common culprits behind bad odors and taking proactive measures, you can ensure your cleaning efforts leave your home smelling truly clean. We hope these tips help you transform your vacuum from a source of a strange smell into a welcome part of your home maintenance routine. Happy cleaning!
How often should I clean my vacuum’s filters?
For washable filters, many experts suggest rinsing them monthly, or more frequently if you have pets or use your vacuum often. Non-washable filters should typically be replaced every 3 to 6 months. Always check your vacuum’s user manual for specific recommendations.
Can I use household cleaners inside my vacuum cleaner?
It’s generally not recommended to use harsh chemical cleaners directly inside your vacuum cleaner’s motor or electrical components. Stick to mild dish soap and water for washable parts like the dust bin or hose, and ensure everything is completely dry before reassembly. Chemicals can damage parts or leave residue.
What if my vacuum still smells after cleaning everything?
If you’ve cleaned all components and the smell persists, it might indicate a deeper issue. Check for hidden debris deep within the internal ducts, or consider replacing older filters entirely. Sometimes, a very old motor can also contribute to a faint, burning smell, which might warrant professional inspection.
Is it safe to put essential oils directly into the vacuum bag?
Placing a few drops of essential oil on a cotton ball or dryer sheet before putting it into a new vacuum bag is generally safe. However, avoid pouring liquid essential oils directly into the bag, as they could potentially soak through the paper or react with plastic components, which is not ideal.
Can dampness cause vacuum odors?
Absolutely! Vacuuming up anything damp or wet, even slightly, can trap moisture inside the machine. This creates a perfect breeding ground for mold and mildew, leading to very unpleasant, musty odors. Always ensure you only vacuum dry surfaces and allow any washed parts to dry completely.