
Why Is My Robot Vacuum Not Charging?
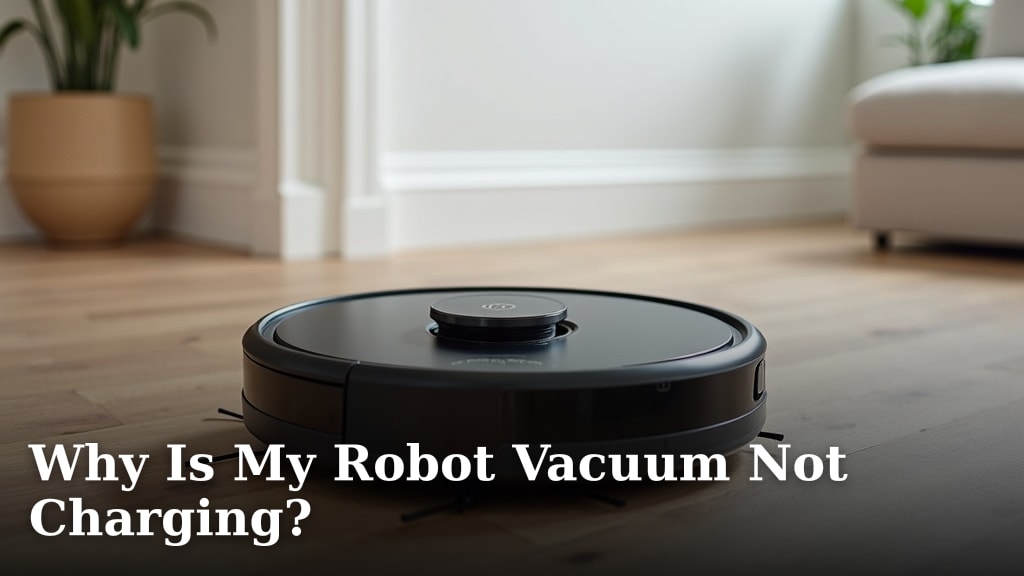
Your robot vacuum isn’t charging probably because of a power supply issue, a problem with its docking station, or dead contacts. Sometimes, its battery might be completely depleted.
You’re not alone if your trusty robot vacuum isn’t buzzing with power. Many robot vacuum owners face this frustrating problem. We’ve researched and found these simple reasons cover nearly all charging issues.
TL;DR:
- Check the power outlet.
- Clean the charging contacts.
- Inspect the charging dock.
- Test the battery itself.
Let’s walk through common reasons and fixes for why your robot vacuum isn’t charging. We’ll help you get your little helper back on track.
Common Reasons Why Your Robot Vacuum Won’t Recharge
There are several common culprits when your robot vacuum isn’t taking a charge. Many are simple to fix yourself. Let’s look at the most frequent issues.
Power Supply Problems
Is your robot vacuum completely dead? The first place to check is the power source itself. Think of it like any other appliance; if it’s not getting electricity, it can’t work.
Is the Outlet Working?
It sounds obvious, but a dead wall outlet is a classic problem. Sometimes an outlet stops working, or a circuit breaker trips. Have you checked if other devices work in the same outlet? Plug in a lamp or phone charger to test it out. If nothing powers on, the outlet is likely the issue.
Another common scenario is a loose plug connection. Make sure the charging dock’s power cord is securely plugged into both the wall and the charging dock itself. A simple wiggle can sometimes confirm this. We find this happens more often than you’d think!
Trouble with the Power Cord?
Your robot vacuum’s power cord can take a beating. It might get twisted, pulled, or even chewed by pets. Look closely at the cord for any visible damage like cuts, frays, or kinks. A damaged cord can’t deliver power correctly (Consumer Reports). If you spot any damage, you’ll need to replace it. Using a damaged cord can be a safety hazard, so don’t risk it.
Charging Dock and Contact Issues
The charging dock is your robot vacuum’s home base. It needs to make good contact to transfer power. We’ve found this area is a very frequent source of charging problems.
Are the Charging Contacts Clean?
Your robot vacuum has metal charging contacts (usually two small plates or pins) on its underside. The dock also has matching contacts. These get dirty over time with dust, pet hair, and debris. This grime creates a barrier, preventing the electrical connection. It’s like trying to talk through a thick window!
Use a clean, dry cloth or a cotton swab slightly dampened with rubbing alcohol to gently wipe both sets of contacts. Don’t use abrasive cleaners or too much liquid. Rubbing alcohol evaporates quickly and leaves no residue. This tiny step often fixes the problem (Robot Vacuum User Forums).
Is the Dock Properly Placed?
Your robot vacuum’s charging dock needs a clear path and a stable setup. If the dock is against a wall, ensure it’s not too close to other objects. Sometimes, furniture or even a stray shoe can block the robot’s ability to “see” the dock and align itself. Make sure the dock is on a flat, even surface. If it’s tilted, the contacts might not align properly.
Also, check for any debris underneath or around the dock that might be stopping the robot from docking correctly. Little obstacles can make a big difference.
Battery-Related Problems
Even if the power supply and dock are perfect, the battery itself can be the problem. Batteries have a finite lifespan, and they can also become too drained to accept a charge.
Completely Depleted Battery
If your robot vacuum was left off the charger for a long time, its battery might have completely drained. When this happens, it can enter a “deep discharge” state. Some robot vacuums have safety features that prevent charging a completely dead battery. It won’t even show a light.
What can you do? Try manually placing the robot vacuum onto the charging dock, making sure the contacts align perfectly. Leave it there for several hours, or even overnight. Sometimes a slow, sustained charge can “wake up” the battery. We’ve seen this fix many seemingly dead robots. (Battery Care Guides).
Old or Degraded Battery
All rechargeable batteries have a limited number of charge cycles. After a few years, your robot vacuum’s battery might simply be at the end of its life. It might not hold a charge very well, or it might not charge at all. Symptoms include a very short run time or the vacuum dying quickly after being fully charged.
Many manufacturers offer replacement batteries. Check your robot vacuum’s model and look for a trusted replacement. While this involves a small cost, it can give your vacuum a whole new lease on life. This is often an easy DIY fix if you follow the instructions.
Software and Internal Issues
Sometimes, the problem isn’t physical. It could be a glitch in the robot vacuum’s brain or internal workings.
Software Glitches Requiring a Reset
Just like your phone or computer, your robot vacuum has software that can sometimes get stuck. A simple restart can clear up a lot of mysterious issues. Many robot vacuums have a reset button, often located near the power switch or under a small panel. Consult your user manual for the exact location and instructions.
Performing a reset can sometimes kickstart the charging process. It essentially tells the robot, “Hey, wake up and try again!” This is a good troubleshooting step before assuming a bigger problem.
Internal Wiring or Component Damage
If you’ve checked everything external and the battery, there might be an issue inside the robot vacuum. This could be a loose wire, a disconnected sensor, or a fault with the internal charging circuit board. This is less common but can happen. Damage from falls or bumps can also lead to internal issues.
Unless you’re very comfortable with electronics repair, internal damage usually requires professional service. Trying to fix it yourself can void warranties or cause more harm. In some cases, depending on the age and cost of your robot vacuum, it might be more economical to consider a replacement unit.
Quick Troubleshooting Checklist
Feeling overwhelmed? Here’s a quick checklist to guide you through the most common fixes for a robot vacuum that won’t charge:
- Test the wall outlet with another appliance.
- Ensure the power cord is firmly plugged into both the wall and the dock.
- Inspect the power cord for any visible signs of damage.
- Clean the metal charging contacts on both the robot and the dock.
- Verify the charging dock is stable, clear of obstructions, and correctly aligned.
- Manually place the robot on the dock and leave it for several hours.
- Consider if the battery is old and needs replacing.
- Perform a factory reset on your robot vacuum as per its manual.
When to Consider Professional Help or Replacement
You’ve tried all the troubleshooting steps, and your robot vacuum still isn’t charging. Now what? It’s time to weigh your options.
| Scenario | Recommendation |
|---|---|
| Warranty still active | Contact manufacturer support for repair or replacement. |
| Brand new, never charged | Return to retailer for exchange (might be a factory defect). |
| Old unit, expensive repair | Evaluate cost of new vs. repair; often a good time to upgrade. |
| Internal damage suspected | Seek professional repair if confident in cost, or replace. |
If your robot vacuum is older and repairs are costly, a new model might offer better battery life and improved features. It can be like comparing the cost of repairing an old car to buying a new, more reliable one. Sometimes, letting go is the best option.
Conclusion
Don’t let a non-charging robot vacuum get you down! As you’ve seen, most issues boil down to simple fixes like a dirty contact or a power cord problem. You now have a comprehensive checklist and the knowledge to troubleshoot effectively. By methodically working through the steps, you can often revive your trusty cleaner and save yourself the cost of a professional repair or replacement.
Remember, regular maintenance and a keen eye for detail are your best tools. Give these solutions a try, and you’ll likely have your automated helper back to work in no time, keeping your floors spotless.
Frequently Asked Questions
How can I tell if my robot vacuum battery is dead or just fully discharged?
If your robot vacuum shows no lights, doesn’t respond to buttons, or has been off the charger for a very long time, it’s likely fully discharged. A truly “dead” battery might not hold a charge after troubleshooting or significantly reduce run times.
Is it safe to leave my robot vacuum on the charger all the time?
Yes, most modern robot vacuums are designed to be left on their charging dock connected to power continuously. This ensures they are always ready to clean. They have built-in battery management systems to prevent overcharging.
Can extreme temperatures affect my robot vacuum’s charging?
Yes, charging can be affected by extreme temperatures. Your robot vacuum charges best at room temperature. If it’s too hot or too cold, the battery might not charge efficiently or at all, as a safety measure.
My robot vacuum makes a noise when trying to dock but never connects. What’s wrong?
This often points to an alignment issue or obstruction. Check for anything blocking its path or preventing it from sitting flush on the dock. Also, ensure the dock is on a flat, stable surface so contacts can meet.
How often should I clean the charging contacts on my robot vacuum?
It’s a good practice to clean the charging contacts on both your robot vacuum and its dock monthly or whenever you notice charging inconsistencies. Dust and debris build up quickly, interfering with the connection over time.
