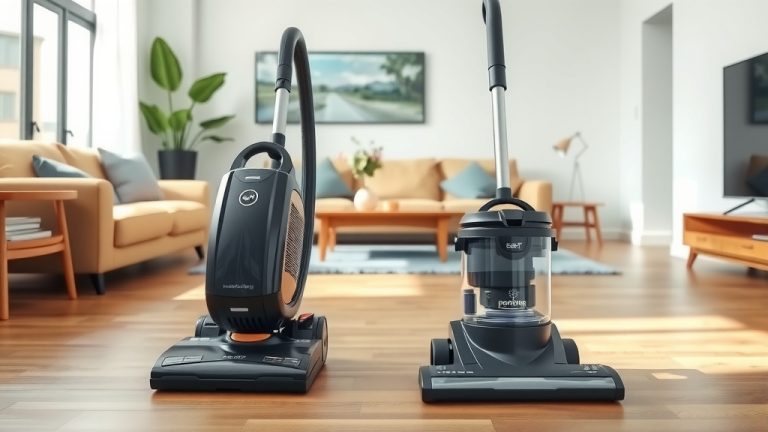
How To Remove Dog Smell From Vacuum Cleaner?

To remove dog smell from your vacuum cleaner, begin by emptying the dustbin and cleaning or replacing all filters. A thorough cleaning of internal components with baking soda can also help neutralize stubborn pet odors, leaving your appliance fresh.
Tackling dog smell in your vacuum cleaner requires breaking down the odor-causing elements, primarily focusing on trapped pet dander, hair, and any moisture. A systematic clean is key to truly eliminate the smell.
In a rush? Here’s the quick scoop on getting your vacuum cleaner smelling fresh again:
- Regularly empty your vacuum’s dustbin or change its bag, making sure to discard pet hair outside.
- Clean or replace all filters, as these are primary spots for odor accumulation.
- Utilize baking soda by sprinkling it inside the dustbin or vacuuming it up from your carpet to neutralize odors.
- Deep clean components like the hose, brush roll, and attachments to remove trapped debris.
- Establish a consistent cleaning routine for your vacuum to prevent future dog odors from settling in.
How To Remove Dog Smell From Vacuum Cleaner?
To effectively remove dog smell from your vacuum cleaner, you need a multi-step approach focusing on emptying debris, deep cleaning all components, and neutralizing odors at their source. This process involves more than just a quick wipe down; it targets hidden pet dander and hair.
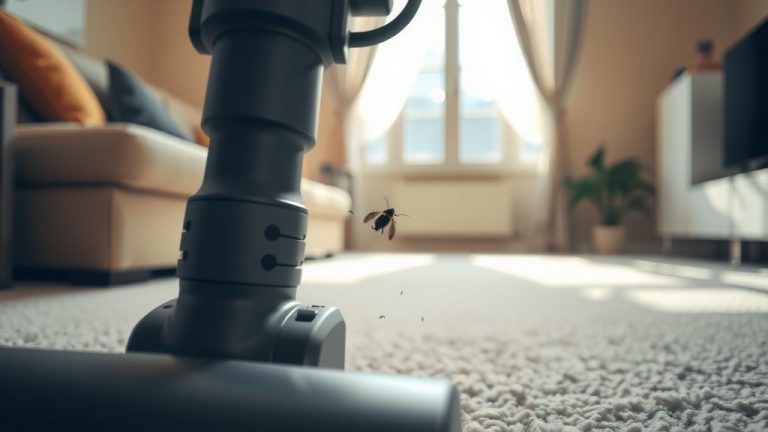
Why Does My Vacuum Cleaner Smell Like Dog?
You’re not alone if your vacuum smells like a wet dog! The primary culprits are usually trapped pet hair, dander, and microscopic dirt particles that get sucked deep inside. Over time, these organic materials decompose, releasing those unmistakable odors.
Sometimes, a slight bit of moisture, perhaps from cleaning a spill or damp carpet, can mix with these elements, making the smell even more potent. It’s a breeding ground for unpleasant aromas that your nose instantly picks up.
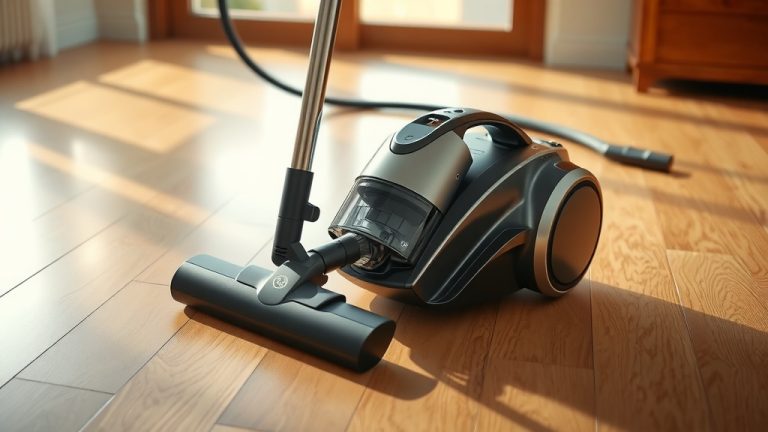
Essential First Steps: Emptying and Cleaning
Before any deep cleaning, you must completely empty your vacuum. Whether you have a bagless model or one with bags, getting rid of the accumulated gunk is the absolute starting point for freshness.
Remove all visible pet hair and debris from the dustbin or bag compartment. You might be surprised by how much is packed in there, contributing to that lingering dog scent.
The Dustbin Dilemma
For bagless vacuums, empty the dustbin thoroughly, preferably outdoors. This prevents dust and pet odors from recirculating inside your home. Give the bin a quick wipe down with a damp cloth.
Bagged Vacuum Best Practices
If you have a bagged vacuum, change the bag more frequently than usual when battling odors. A full bag means more decomposing organic material, which equals a stronger smell. Don’t wait until it’s overflowing.
Tackling Filters: The Real Odor Traps
Filters are unsung heroes that catch dust and allergens, but they also trap odors. They are often the primary source of smell in a dirty vacuum cleaner. Ignoring them means the smell will persist.
Many experts say that neglecting filter maintenance is the fastest way to a smelly vacuum (Environmental Protection Agency). Knowing your filter type helps you clean it correctly, ensuring maximum odor removal.
Washable Filters: A Fresh Start
If your vacuum has washable filters, remove them and rinse them under cool, running water until the water runs clear. Use a mild soap if needed, but rinse thoroughly to remove all residue.
Allow the filters to air dry completely, for at least 24 hours, before putting them back. Putting a damp filter back can introduce moisture, leading to mold and a worse smell. Patience is a virtue here.
Replacing Non-Washable Filters
For non-washable HEPA or carbon filters, replacement is the only option. These filters are designed to capture microscopic particles and odors, but they have a finite lifespan. You’ll notice the difference immediately when you put in a brand-new filter.
We found that replacing filters every 3-6 months, especially in homes with pets, drastically improves air quality and vacuum performance. It’s a small investment that makes a big impact.
Baking Soda: Your Odor Neutralizer
Baking soda is a natural wonder for absorbing odors. It works by neutralizing acidic and basic odor molecules, rather than just masking them. This makes it an excellent choice for your vacuum.
Many cleaning experts recommend baking soda for pet odors because it’s safe, inexpensive, and very effective. It’s a simple trick that yields powerful results (Cleveland Clinic).
Using Baking Soda in the Dustbin
After emptying and cleaning your dustbin, sprinkle a tablespoon or two of baking soda inside. This will help absorb any remaining smells as you vacuum. It’s a passive way to fight odors continually.
Baking Soda for Carpets (Indirect Method)
For a twofold approach, sprinkle baking soda liberally on your carpets and let it sit for about 15-20 minutes. Then, vacuum it up. As the baking soda passes through your vacuum, it will help to clean and deodorize the internal components, leaving both your carpet and vacuum smelling fresher. Just make sure your vacuum can handle fine powders.
Deep Cleaning the Guts of Your Vacuum
The hose, brush roll, and attachments can harbor a surprising amount of pet hair and gunk, leading to persistent odors. These areas are often overlooked but are critical to clean.
Think of it as cleaning the arteries of your vacuum; if they’re clogged or dirty, the whole system suffers. A comprehensive cleaning of these parts can really make a difference.
Hose Clean-Up
Disconnect the hose from the vacuum. Look through it for any blockages, such as large hairballs or toys. You can use a broom handle or a long brush to push through any clogs. Then, wash the inside of the hose with warm, soapy water, rinse well, and let it air dry completely.
Brush Roll Rescue
Carefully remove the brush roll (if possible for your model). Use scissors or a seam ripper to cut away tangled pet hair, strings, and other debris. Wipe down the bristles and the brush roll housing with a damp cloth and mild cleaner. Ensure everything is dry before reassembling.
Advanced Odor-Fighting Techniques
Sometimes, despite all efforts, some residual smells might linger. These advanced techniques can offer that extra layer of freshness your vacuum needs. They target deeper odors that standard cleaning might miss.
Activated Charcoal Pouches
Activated charcoal is another fantastic odor absorber. Place a small pouch of activated charcoal inside your vacuum’s dustbin or bag compartment when it’s not in use. It will slowly pull odors from the air, leaving a neutral scent. Remember to replace the pouch periodically.
Citrus Peels or Essential Oils (Carefully!)
For a natural, pleasant scent, you can place a few dried citrus peels (orange, lemon) inside the dustbin or bag. Some people even put a drop or two of essential oil on a cotton ball and place it in the vacuum bag (never directly on plastic parts). Be mindful not to use too much, as strong scents can irritate.
Preventative Measures: Stopping Smell Before It Starts
The best way to deal with dog smell is to prevent it from building up. A consistent maintenance routine for your vacuum is far more effective than trying to fix a deeply ingrained problem. It saves you time and keeps your home smelling clean.
Consider it like brushing your teeth; a little daily effort prevents bigger issues down the line. A proactive approach to vacuum care will serve you and your pets well.
Grooming Your Pet More Often
Regular brushing of your dog reduces shedding and dander around your home. Less pet hair on floors means less hair ending up in your vacuum, which directly translates to fewer odors. It’s a win-win for everyone.
Vacuuming Frequency
Vacuum more often! Daily or every-other-day vacuuming in pet-heavy areas prevents hair and dander from settling deep into carpets and upholstery. This keeps your vacuum from becoming overloaded with odor-causing particles, thereby reducing overall smell.
Vacuum Cleaner Maintenance Frequency
Here’s a simple guide for how often to clean or check key vacuum components, especially when you have pets:
| Component | Recommended Frequency |
|---|---|
| Dustbin / Bag | After every use or when 3/4 full |
| Washable Filters | Every 1-2 months |
| Non-Washable Filters | Every 3-6 months (or per manufacturer) |
| Hose & Attachments | Every 3 months, or as needed |
| Brush Roll | Monthly, or as needed for tangles |
Quick Checklist for a Fresh Vacuum
Keep this handy checklist near your cleaning supplies to ensure your vacuum stays fresh and odor-free:
- Empty the dustbin/change the bag after each significant use.
- Check and clean your washable filters regularly, allowing them to dry fully.
- Replace non-washable filters according to the manufacturer’s recommendations.
- Inspect the hose and brush roll for clogs or tangled hair monthly.
- Use baking soda periodically to neutralize stubborn odors.
- Consider adding activated charcoal for continuous odor absorption.
Conclusion
Removing dog smell from your vacuum cleaner is a completely achievable task, but it requires more than just a surface clean. By systematically addressing each component – from emptying the bin and cleaning filters to tackling the hose and brush roll – you can truly eliminate those unpleasant pet odors. Remember that regular maintenance and preventative steps are your best defense against future smells. A clean vacuum ensures a cleaner, fresher home for everyone.
How often should I clean my vacuum cleaner’s filters?
For homes with pets, we found it is best to clean washable filters every 1-2 months and replace non-washable filters every 3-6 months. This frequency ensures maximum odor filtration and maintains suction power. Always follow your vacuum’s specific guidelines.
Can I use household cleaning sprays inside my vacuum for dog smell?
It’s generally not recommended to spray liquid cleaning products directly inside your vacuum’s components, especially electrical parts, as this can cause damage or create a residue that attracts more dirt. Stick to dry cleaning methods or mild soap and water for washable parts that can be completely dried.
Will changing my vacuum bag more frequently stop the dog smell?
Yes, changing your vacuum bag more frequently can significantly reduce dog smell, especially if you have a high-shedding pet. The bag is where pet hair and dander accumulate, and changing it often removes the source of the odor before it becomes too strong.
My vacuum smells even after cleaning everything. What’s next?
If the smell persists after a thorough cleaning, consider replacing all filters (even if not due) and checking for any deep clogs in the hose or internal air pathways that might be harboring odor-causing debris. Using activated charcoal in the dustbin can also help absorb any lingering, deep-set odors.
Are there specific vacuum cleaner models better for pet owners to avoid smells?
Many experts say that vacuums designed specifically for pet owners often come with features like multi-layered filtration, specialized brush rolls to handle pet hair, and sealed systems to prevent odors from escaping. These features can significantly help manage dog smells right from the start. However, even these require regular cleaning to stay fresh.