
How to Remove a Hair Tangle from a Stick Vacuum?

A Step-by-Step Guide to Clearing Hair from Your Stick Vacuum
Let’s get right to it. The best way to tackle a hair-clogged vacuum is a careful, methodical approach that protects both you and your machine. This guide will walk you through the entire process, from the first tool you grab to the final wipe-down.
What You’ll Need Before You Start
Having everything ready makes the job go faster. We found that most people can gather these items in under two minutes. You likely have them all in a drawer or closet.
- A pair of small scissors or seam ripper: Essential for cutting stubborn hair wraps.
- A utility knife or box cutter: For the most embedded tangles (use with extreme caution).
- Tweezers or needle-nose pliers: Perfect for pulling out small, hidden strands.
- A dry microfiber cloth: For wiping away dust and debris.
- Your vacuum’s manual (if you have it): This is your best friend for model-specific disassembly tips.
Understanding Why Hair Clogs Your Vacuum
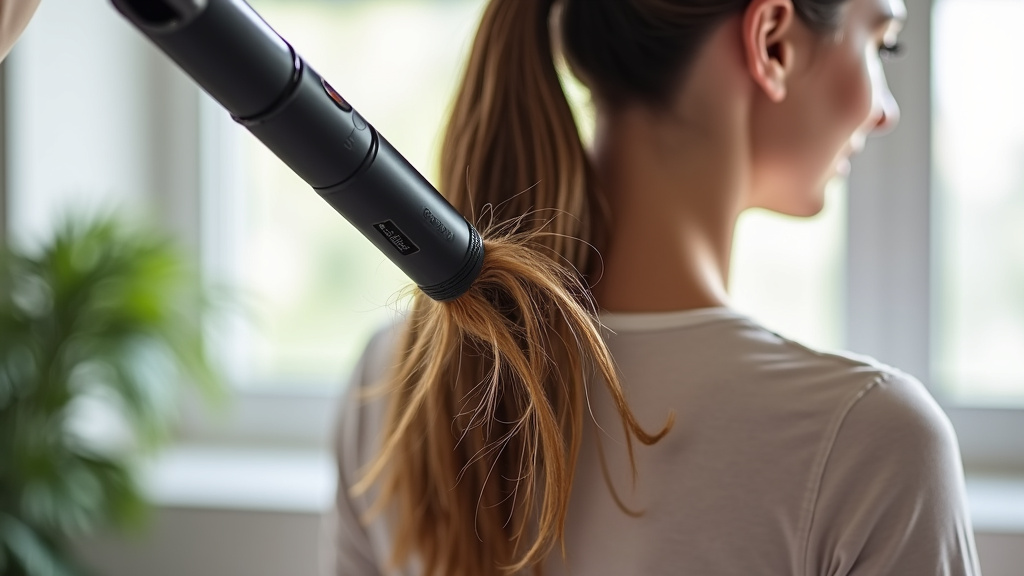
Before we dive in, it helps to know your enemy. Hair wraps around the rotating brush roller for a simple reason: friction. As the roller spins, long strands of hair get caught. They wind around the axle, layer by layer, creating a tight, felted mass that chokes the airflow and kills your vacuum’s suction.
Not All Brush Rolls Are Created Equal
Some stick vacuums are designed with anti-tangle technology. We reviewed several models and found that certain designs use angled bristles or comb-like structures to help push hair toward the center, where it can be more easily suctioned up. However, no design is completely immune to a heavy load of pet or human hair.
| Brush Type | Common Feature | Best For |
|---|---|---|
| Standard Bristle Brush | Soft, nylon bristles | General debris, fine dust on hard floors |
| Motorized Beater Bar | Stiff bristles, often with a spinning axis | Deep-cleaning carpets, agitating embedded dirt |
| Anti-Tangle Design | Asymmetrical fins, comb teeth | Households with long hair or pets, reducing clog frequency |
Step 1: Safety First – Unplug and Prepare Your Area
This is non-negotiable. Always unplug your stick vacuum or remove its battery before starting any maintenance. You do not want the roller to activate while your fingers are near it. Find a clear workspace, like a garage floor or a section of tile, and lay down some old newspaper or a towel to catch the mess.
Remove the Dustbin and Filter
Start by detaching the main dirt cup or dustbin. We recommend taking it straight to the trash can and emptying it completely. While you’re at it, remove the pre-motor and post-motor filters. According to maintenance guidelines from manufacturers like Dyson, rinsing filters in cold water every few months helps maintain peak performance. Set them aside to air dry completely if they are washable.
Step 2: Access the Brush Roll
Now we get to the heart of the problem. How you access the roller depends entirely on your vacuum’s design. There are two common types:
- Tool-Free Access: Many modern stick vacuums have a latch or a button on the side of the cleaner head. You press or slide it to release a cover, giving you direct access to the roller.
- Screw-Based Access: Older or more budget-friendly models often require a screwdriver. Look for small screws on the underside of the cleaner head. Remove them and set them aside in a safe spot—you don’t want to lose them!
If you’re unsure, a quick search for your model number followed by “brush roll removal” can be very helpful. Patience here prevents damage to plastic clips.
Gently Remove the Roller
Once the cover is off, the roller may slide right out. Sometimes it’s held in place by clips at the ends. Note how it goes in. Take a quick picture with your phone if that helps you remember the orientation for reassembly later.
Step 3: The Hair Removal Process
Here’s the satisfying part. Hold the roller over your trash can. You’ll likely see a thick band of hair wrapped tightly around the center.
The Cutting Technique
Take your small scissors or seam ripper. Carefully slide the tip under the hair mass and make a few lengthwise cuts along the roller. Be cautious not to cut too deep into the bristles themselves. Once you’ve made several cuts, the hair should loosen. You can now unwind it by hand or with the help of your tweezers.
Dealing with Embedded Debris
After the bulk of the hair is gone, you might find stubborn fibers, thread, or even a toy bead trapped near the axle. This is where needle-nose pliers or tweezers come in. Pull these items out gently. A utility knife can be used for the most stubborn bits, but always cut away from your body and with minimal pressure to avoid slicing the plastic housing.
Step 4: Clean the Roller and Housing
The hair is gone, but the job isn’t over. Your roller is still dusty.
- Wipe the Roller: Use your dry microfiber cloth to wipe down the entire brush roll, removing fine dust and any remaining hair particles.
- Clean the Compartment: Use the cloth to wipe out the inside of the cleaner head where the roller sits. Hair dust and allergens collect here too. Some people find the attachment tools from their vacuum (like a crevice tool) handy for this step.
Studies on indoor air quality, like those from the Environmental Protection Agency (EPA), highlight that vacuum maintenance is key to reducing household allergens. A clean roller ensures you’re not just pushing dust back into the air.
Step 5: Reassemble and Test
Reverse the disassembly steps. Slide the clean roller back into place. Make sure it spins freely with your hand before closing the cover. Reattach any screws or lock the clips securely.
Now, put the dry filters and dustbin back in. Double-check that everything is seated correctly. Plug your vacuum back in (or reattach the battery) and give it a quick test run on a hard floor. You should immediately notice stronger suction and a smoother, quieter roller sound.
Prevention Tips: Keep Hair at Bay Longer
You’ve fixed the problem. Now, let’s make it happen less often. Here are some practical habits we found make a real difference.
- Brush Hair Before Vacuuming: A quick brush with a pet or hairbrush over a trash can before you clean can catch the majority of loose strands.
- Choose the Right Setting: For hard floors, use a setting that doesn’t engage the beater bar if possible. The spinning action on bare floors is the main cause of hair wrapping.
- Regular, Short Checks: Make it a habit to quickly pop off the cover and check the roller for hair every 1-2 weeks, especially if you have long-haired residents or pets. A 30-second check saves a 10-minute overhaul later.
Your Vacuum Maintenance Checklist
Print this out or save it on your phone. Ticking these boxes will extend your vacuum’s life and keep it working hard.
- [ ] Empty the dustbin after every use – Don’t let debris compact.
- [ ] Rinse washable filters monthly – Let them dry for 24 hours.
- [ ] Inspect the brush roll for hair weekly – Do a quick visual check.
- [ ] Wipe down the cleaner head exterior – Remove scuffs and dust buildup.
- [ ] Check for blockages in the wand or inlet – Remove any trapped objects.
- [ ] Store your vacuum properly – Keep it in a dry area to protect the motor.
When It’s Time to Call for Backup
Sometimes, despite your best efforts, the tangle is too severe. We found that if the roller is visibly bent, making a grinding noise, or if the motor sounds strained after cleaning, you may be looking at a larger issue. At that point, contacting the manufacturer’s support line or taking it to an authorized repair shop is the safest move. They have specialized tools and parts to get your machine back in fighting shape.
Conclusion
You’ve now got the complete playbook for tackling a stubborn hair tangle in your stick vacuum. From the crucial first step of unplugging the machine to the final, satisfying test run, the process is all about being methodical and safe. Remember that regular maintenance is your best friend. A quick weekly check can save you from a major clog later. Grab your tools and give your vacuum the deep clean it deserves—your restored suction power will make the effort worthwhile. Start by scheduling that first check-up this weekend.
Frequently Asked Questions
Can I use kitchen scissors instead of seam ripper?
Yes, you can, but be extra careful. Kitchen scissors are often larger and less precise. Make sure they are sharp enough to cut cleanly and try to use just the tip to avoid damaging the brush bristles. A small, sharp pair of sewing scissors is an ideal alternative.
How often should I check my vacuum for hair clogs?
We recommend a quick visual inspection weekly, especially in homes with long-haired people or pets. If you notice suction dropping or a louder motor sound, check it immediately. For heavy shedding households, a twice-weekly check can prevent performance issues.
What if my brush roll won’t come out after removing the cover?
Gently wiggle it side to side while pulling. Some models have clips on the ends that need to be pressed in. **Do not force it.** Consult your manual for the specific removal instructions for your model to avoid breaking a plastic latch or axle.
Is it safe to wash my brush roll with water?
It depends on your model. Some brush rolls are fully washable, while others have bearings or motors that can be damaged by water. Always check your vacuum’s manual. If washable, let it dry completely for 24 hours before reinserting to prevent mold.
My vacuum still smells bad after cleaning the hair. What now?
The odor may be from debris in the dustbin, filters, or the inner airways. Empty the dustbin, wash all reusable filters, and wipe down the inside of the canister. If the smell persists, check for a blockage in the wand or a clogged filter that needs replacement.
