How To Make A Vacuum Cleaner For Science Project?
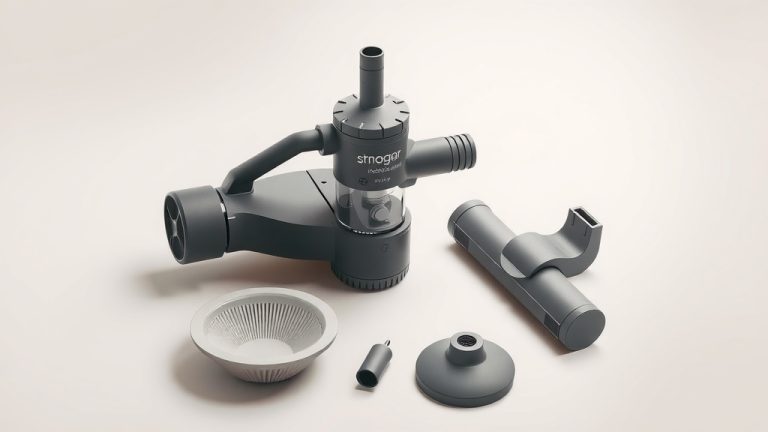
To make a vacuum cleaner for a science project, you will mainly need a motor, a fan or propeller, a container, a filter, and a power source. The core idea is to create a strong airflow and suction, trapping dust and debris inside a collection chamber.
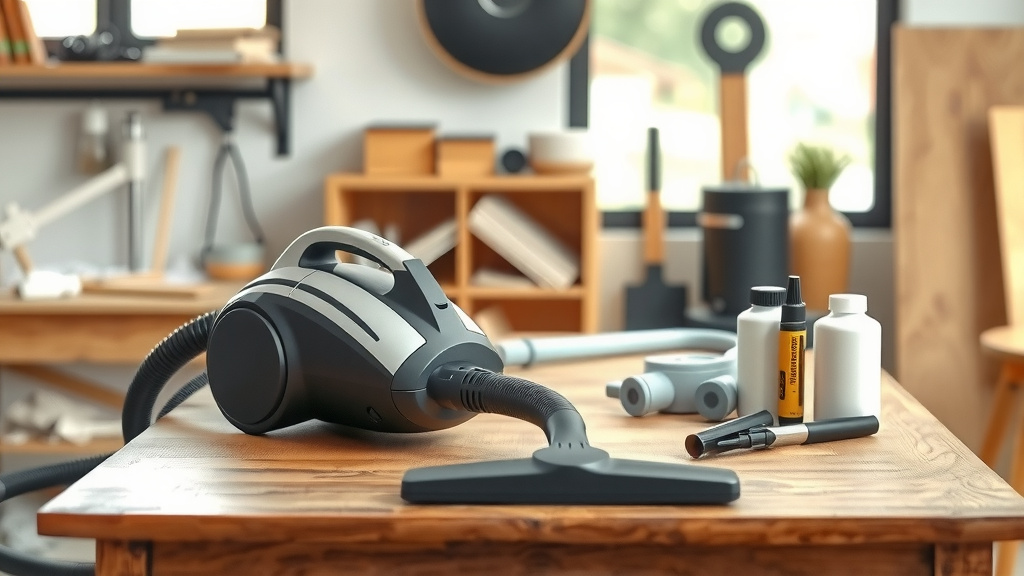
You can build a simple DIY vacuum cleaner by using readily available household items like a plastic bottle, a small DC motor, and a fan blade, demonstrating the principles of air pressure and suction effectively.
- You can create a basic vacuum cleaner using everyday items like bottles and small motors.
- The main components are a motor, a fan to create suction, a container, and a filter.
- The science behind it involves creating a low-pressure area inside, which pulls in air and dust.
- Safety is key; always supervise during construction and testing, especially with electrical parts.
- This project teaches principles of airflow, pressure, and basic electrical circuits in a fun way.
How To Make A Vacuum Cleaner For Science Project?
Making a vacuum cleaner for a science project is a fantastic way to understand physics and engineering. You’ll explore how air pressure and mechanical motion combine to create suction. We found that the simplest designs often teach the most valuable lessons.
Understanding the Core Science
Before grabbing tools, let’s understand the magic behind a vacuum. A vacuum cleaner works by creating a lower air pressure inside its body than the pressure outside. This pressure difference pulls air, along with dust and debris, into the device. It’s like sipping through a straw; you create a vacuum, and the liquid gets drawn up.
The spinning fan inside the vacuum pushes air out, which creates this essential low-pressure zone. This zone then acts like a magnet for dirt. Many experts agree that understanding this principle is the first step to a successful project (Physics Classroom).
Gathering Your Materials
You don’t need fancy parts to build a working model. We found that many common household items can be repurposed. Think about what you already have that can help create suction and hold dirt.
Essential Components Checklist
- Small DC motor (from a toy car or old fan)
- Small fan blade or propeller (can be cut from plastic)
- Plastic bottle or small container (for the body and collection)
- Battery pack (e.g., AA batteries) and connecting wires
- Switch (optional, but good for control)
- Fine mesh or cloth (for a filter)
- Duct tape or strong adhesive
- Scissors or a craft knife
Step-by-Step Construction Guide
Ready to build? This guide will help you assemble your very own vacuum cleaner. Remember, patience is a virtue, and safety is always first, especially when cutting or working with electricity.
Preparing the Body
Take your plastic bottle, perhaps a 2-liter soda bottle. You’ll need to cut it to form the main vacuum chamber and the nozzle. We recommend using a sharp craft knife under adult supervision for these cuts. Cut the bottom section off to create an opening for the dirt. This becomes your collection area.
Installing the Motor and Fan
This is where the magic happens. Make a small hole in the bottle cap, just large enough for the motor shaft. Attach the fan blade to the motor shaft. Mount the motor inside the bottle cap, with the fan blade facing inwards, into the main body of the bottle. Ensure the motor is secure and the fan can spin freely.
The fan needs to push air out from the back of the bottle. This action will pull air in through the front opening. It’s a fundamental aspect of creating effective airflow.
Adding the Filter System
A vacuum needs a filter to stop the dust from blowing right back out. Cut a piece of fine mesh or a thin cloth, like an old T-shirt, to fit inside the bottle, between the fan and the collection chamber. This acts as your initial dust barrier. Secure it with tape or by tucking it into a groove.
Research shows that multi-stage filtration is best for real vacuums (EPA), but for a science project, a simple filter shows the concept well. You want to trap the dust, not just circulate it.
Wiring the Power Source
Connect your motor to the battery pack using wires. If you have a switch, wire it between the battery and the motor. This lets you turn your vacuum on and off easily. Always double-check your connections to avoid short circuits. Many experts suggest using a low-voltage DC motor for student projects (Science Buddies).
Crafting the Nozzle
You need an opening to suck up debris. Use the cut-off bottom part of your bottle or another small bottle to create a funnel-like nozzle. Attach this to the front opening of your main bottle body using tape. This helps to concentrate the suction onto a smaller area.
Testing Your Creation
Now for the exciting part! Put some lightweight debris, like breadcrumbs or small paper scraps, on a surface. Turn on your vacuum. Does it suck up the items? Experiment with different nozzle shapes or fan speeds. You might find that a smaller nozzle creates stronger suction. Observing its performance is key.
Troubleshooting Common Issues
Did your vacuum not suck? Don’t worry, that’s part of the learning! Here are some common fixes:
Is the fan spinning? Check battery connections. Is it spinning the right way? The fan should push air out the back. Is there an air leak? Seal any gaps with more tape. Strong suction needs an airtight system.
Tips for Better Suction
We found that sealing all gaps with tape makes a big difference. Also, ensuring the fan blade is oriented correctly to push air out is crucial. A stronger motor or a better-designed fan blade can also improve performance significantly.
| Component | Purpose | Common Issue | Simple Fix |
|---|---|---|---|
| Motor | Generates fan power | Not spinning | Check battery/wires |
| Fan Blade | Creates airflow/suction | Spinning wrong way | Flip connections or blade |
| Container | Body, collects debris | Air leaks | Seal with duct tape |
| Filter | Traps dust | Dust escaping | Use finer mesh/cloth |
| Nozzle | Concentrates suction | Weak pickup | Make opening smaller |
Presenting Your Project
When presenting, explain the science: how the motor spins the fan, creating low pressure. Show how the filter works. Discuss challenges you faced and how you solved them. This shows your understanding and problem-solving skills. Your teacher will appreciate your effort and thought process.
Safety Considerations
Always have adult supervision when cutting materials or working with electrical components. Use low-voltage batteries to avoid any risk. Ensure no loose wires are exposed. Emphasize that safety comes before anything else in any science project.
Conclusion
Building a vacuum cleaner for your science project is a rewarding experience. You’ll learn about air pressure, motors, and practical design. It’s a hands-on way to see physics in action. Remember to experiment and have fun with your design! You’ve just created something amazing.
What is the main principle behind a homemade vacuum cleaner?
The main principle involves creating a pressure difference: a motor-driven fan pushes air out of the vacuum’s chamber, which creates a lower air pressure inside. The higher external air pressure then pushes air, along with dust, into the low-pressure area, effectively “sucking” up debris.
Can I use any small motor for my science project vacuum cleaner?
You can use most small DC motors, like those from old toys or hobby kits, but its power output will directly affect suction strength. A motor designed for higher RPM (revolutions per minute) will generally create better airflow and, therefore, stronger suction.
How important is the seal in a DIY vacuum cleaner?
The seal is incredibly important. Any air leaks around the fan, filter, or container body will reduce the pressure difference, drastically weakening the suction. Using duct tape or hot glue to create an airtight seal around all connections is crucial for an effective homemade vacuum.
What kind of filter works best for a simple science project vacuum?
For a simple science project, a fine mesh screen, a piece of breathable cloth (like an old cotton t-shirt), or even a coffee filter can work well. The goal is to trap larger dust particles while allowing air to pass through freely. Avoid anything too thick that restricts airflow excessively.
What safety precautions should I take when building this project?
Always have adult supervision, especially when using sharp tools like scissors or craft knives. Ensure all electrical connections are secure and insulated, and use low-voltage batteries to prevent electrical hazards. Never allow exposed wires to touch each other or your skin when powered on.