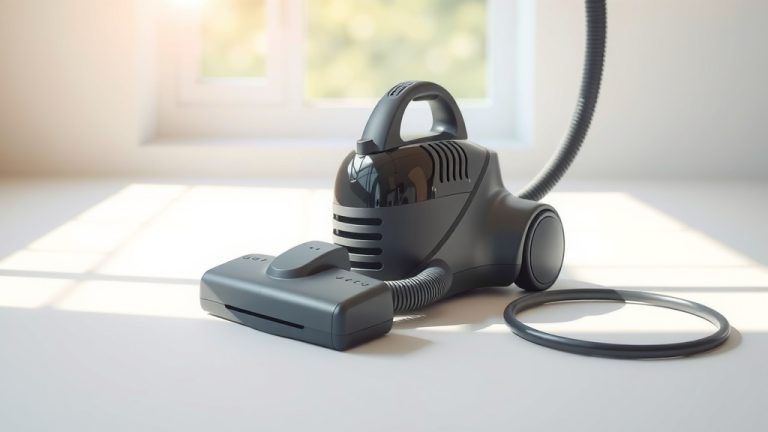
How To Deep Clean A Vacuum Cleaner?
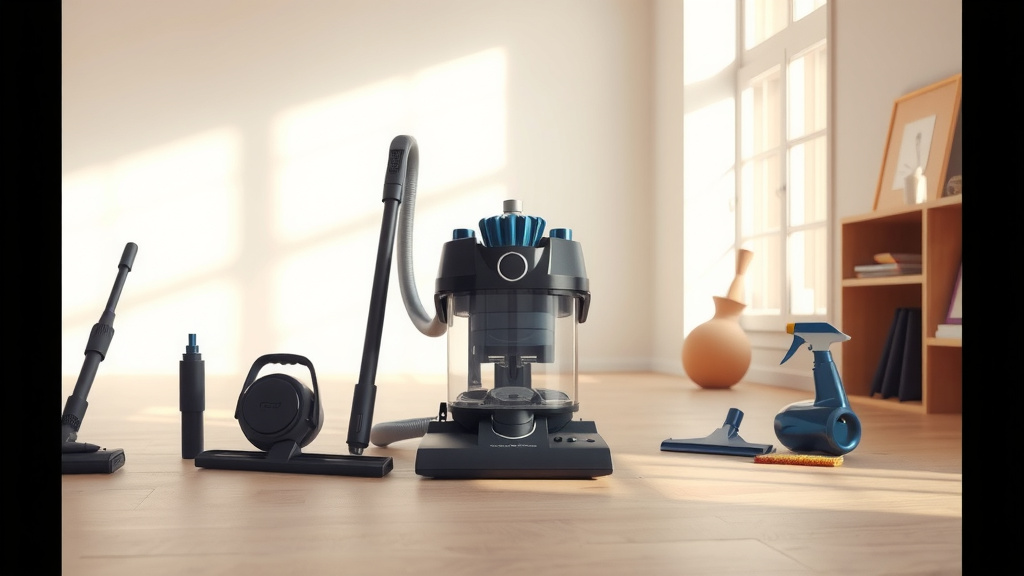
To deep clean a vacuum cleaner, you must first unplug it for safety and then empty the dust bin or replace the bag. Afterward, disassemble key components like the brush roll, filters, and hose, thoroughly cleaning each part to remove trapped dirt and debris.
This process restores suction, extends your vacuum’s life, and ensures it effectively picks up grime, preventing redistributed dust and allergens in your home.
- A deep clean restores your vacuum’s suction power and longevity.
- Always unplug your machine before starting any cleaning or maintenance.
- Filters, brush rolls, and hoses are the main areas to tackle for debris.
- Allow all washed parts to dry completely before reassembly to avoid mold.
- Regular deep cleaning means a cleaner home environment for you and your family.
How To Deep Clean A Vacuum Cleaner?
Deep cleaning your vacuum cleaner brings back its suction power and extends its lifespan significantly. It helps your machine work like new, ensuring a truly clean home.
Think of your vacuum cleaner as the heart of your clean home. If the heart isn’t working well, the whole system suffers, right? We found that a dirty vacuum can spread dust and allergens, making your cleaning efforts pointless (National Asthma Council Australia).
Let’s get that workhorse sparkling again. You might be surprised at the difference it makes.
Safety First: Unplug and Empty
Before you touch anything, always unplug your vacuum from the wall. This isn’t just a recommendation; it’s a non-negotiable safety rule. Nobody wants a shock or an unexpected spin from the brush roll.
Once unplugged, empty the dust bin or change the bag. This step clears the primary collection point and prevents more dirt from spreading while you work. It’s like clearing the slate before you start painting.
Tackling the Dust Bin or Bag Housing
If you have a bagless vacuum, take the dust bin to a trash can outside. Give it a good tap to loosen any lingering dust. A quick rinse with cool water can remove sticky residue, but make sure it’s completely dry before putting it back.
For bagged vacuums, remove the old bag and wipe down the inside of the bag housing. Sometimes dust escapes the bag, creating a fine layer inside. A damp cloth will do the trick.
Giving Your Filters a Fresh Start
Your vacuum’s filters are like its lungs, trapping tiny particles so they don’t get blown back into your air. Many experts say cleaning these regularly is key for air quality (EPA).
There are generally a few types: foam, felt, or HEPA. Check your vacuum’s manual for specific cleaning instructions.
Washing Foam and Felt Filters
If your filters are washable, gently tap them over a trash can first. This removes loose dust. Then, rinse them under cool, running water until the water runs clear.
Gently squeeze out excess water and let them air dry completely. This can take up to 24 hours, so plan ahead. Putting a damp filter back can damage your vacuum and lead to mold.
Cleaning or Replacing HEPA Filters
Most HEPA filters are not washable. They are designed to trap microscopic particles and washing them can damage the delicate filter media. Tap them gently to remove surface dust.
If your HEPA filter is looking grey and worn, it is likely time to replace it. Research shows that replacing HEPA filters at recommended intervals maintains filtration efficiency (Consumer Reports).
The Brush Roll: A Hair Magnet
The brush roll is where all the action happens, agitating carpets to lift dirt. It’s also where hair, string, and fibers love to get tangled. A clogged brush roll spins poorly, meaning less dirt picked up.
Turn your vacuum over and locate the brush roll. You might need a screwdriver to open a plate protecting it. Once exposed, use scissors or a seam ripper to carefully cut away tangled hair and threads.
Be gentle and avoid cutting the bristles themselves. A stiff brush can help dislodge stubborn debris from the bristles. We found that a clean brush roll makes a noticeable difference in carpet cleaning.
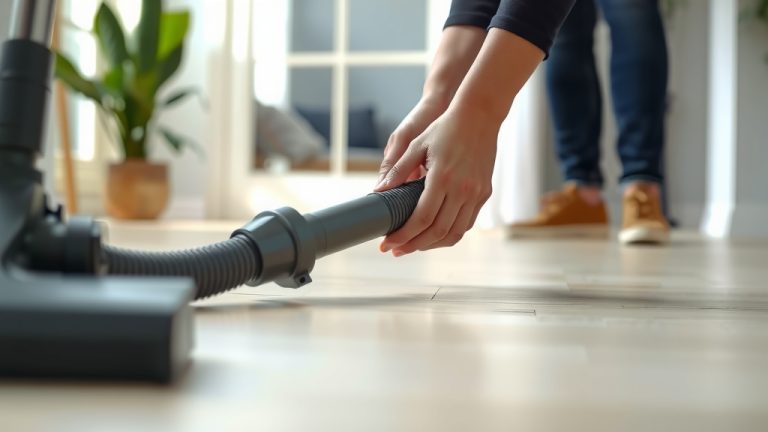
Clearing the Hose and Attachments
Hoses are notorious for blockages, especially if you’ve been vacuuming larger items by mistake. Remove the hose from both ends of the vacuum. Hold it up to a light source.
Can you see through it? If not, use a broom handle or a long, thin object to gently push through any clogs. Be careful not to puncture the hose. You will be amazed at what can get stuck in there!
Washing Your Attachments
Your vacuum attachments also gather dust and grime. They are usually easy to clean. You can wash them in warm, soapy water.
Use an old toothbrush to scrub away stubborn dirt. Just like with filters, let them air dry completely before storing them away. Damp attachments can smell musty.
Wipe Down the Exterior
Don’t forget the outside! A simple wipe-down can make your vacuum look brand new. Use a damp cloth to clean the main body, wheels, and handle.
Avoid getting water into any electrical components. A little bit of shine goes a long way and protects your machine from external grime buildup.
Reassembly and Final Checks
Once everything is clean and completely dry, it’s time to put your vacuum back together. Work backward from how you disassembled it. Ensure all parts click securely into place.
Do a quick check to make sure the brush roll spins freely. This is a good habit to ensure everything is ready for its next cleaning session. You are now ready to vacuum with a machine that feels like new!
| Vacuum Part | Cleaning Frequency | Method |
|---|---|---|
| Dust Bin / Bag | After every use | Empty, rinse if needed, dry completely |
| Washable Filters | Every 1-3 months | Tap, rinse, air dry (24 hrs) |
| Brush Roll | Monthly (or as needed) | Cut away hair/debris |
| Hose | Every 3-6 months | Check for blockages, clear |
| Attachments | Every 3-6 months | Wash with soap and water, dry |
| Exterior | Monthly | Wipe with damp cloth |
Maintaining a clean vacuum is not just about aesthetics; it’s about performance and hygiene. It can seem like a chore, but it really makes a difference.
Regular maintenance can prevent breakdowns and costly repairs (Consumer Reports). It saves you money and keeps your home healthier.
Vacuum Deep Clean Checklist
- Unplug the vacuum safely.
- Empty the dust bin or change the bag.
- Clean or replace all filters.
- Remove hair and debris from the brush roll.
- Check the hose for any blockages.
- Wash all removable attachments.
- Wipe down the entire exterior.
- Allow all washed parts to dry completely before reassembly.
Conclusion
Deep cleaning your vacuum cleaner might feel like an extra task, but it’s an investment in your home’s cleanliness and your machine’s longevity. You will notice a real difference in its suction power and overall performance.
Taking these simple steps ensures your vacuum can effectively tackle dirt, dust, and allergens, keeping your living space fresh and healthy. Give your vacuum the care it deserves, and it will keep your home shining.
How often should I deep clean my vacuum cleaner?
You should deep clean your vacuum cleaner every 3 to 6 months, depending on how frequently you use it and if you have pets. Regular emptying and filter cleaning after each use helps prolong the time between deep cleans.
Can I wash all vacuum cleaner filters?
No, not all vacuum cleaner filters are washable. Foam and felt filters are often washable, but HEPA filters typically are not. Always check your vacuum’s user manual to confirm your specific filter type and its cleaning instructions.
What should I do if my vacuum hose is clogged?
If your vacuum hose is clogged, first remove it from the vacuum. Then, carefully inspect it for visible blockages. You can use a broom handle or a similar long, blunt object to gently push the clog through. Avoid sharp objects that could puncture the hose.
Why is my vacuum cleaner losing suction even after I empty the bin?
Losing suction even after emptying the bin often points to a clogged filter, a blocked hose or brush roll, or a full dust bag. A deep clean addressing these components usually restores suction. Sometimes, a worn seal can also be the problem.
Is it really important to let vacuum parts air dry completely?
Absolutely. It is very important to let any washed vacuum parts, especially filters and dust bins, air dry completely for at least 24 hours. Reassembling damp parts can lead to mold growth, bad odors, and can also damage the vacuum’s motor or filter integrity.