How To Sanitize A Vacuum Cleaner?
To sanitize a vacuum cleaner, first disassemble removable parts like the dustbin, filters, and brush roll. Then, thoroughly clean all components with soap and water, disinfect internal and external surfaces with an appropriate solution, and ensure everything is completely dry before reassembly.
Regularly sanitizing your vacuum cleaner helps eliminate odors, prevent the spread of bacteria and allergens, and keeps your cleaning tool effective and hygienic for a healthier home environment.
TL;DR: Here’s a quick overview of how to get your vacuum sparkling clean and germ-free:
- Empty and dispose of contents safely.
- Disassemble and wash removable parts with warm, soapy water.
- Clean and disinfect the dustbin, filters, and brush roll.
- Wipe down all internal and external surfaces with a sanitizing solution.
- Ensure all parts are completely dry before putting your vacuum back together.
How To Sanitize A Vacuum Cleaner?
Sanitizing your vacuum cleaner involves a thorough cleaning and disinfection process of all its components, from the dustbin to the brush roll, ensuring you eliminate germs, bacteria, and allergens for a truly clean home.
Ever thought about what might be lurking inside your trusty vacuum cleaner? It’s the unsung hero battling dust and dirt, but it can also become a breeding ground for unpleasant things if not cared for properly. We’re here to help you get it sparkling clean and hygienic.
Why Bother Sanitizing Your Vacuum?
You use your vacuum to clean, right? But if it’s not clean itself, is it really doing its best work? Many experts point out that a dirty vacuum can actually redistribute germs, dust mites, and odors back into your home (Mayo Clinic).
Imagine pushing around a machine that’s holding onto old pet dander and stale smells. Sanitizing isn’t just about appearances; it’s about creating a truly healthier living space for you and your family. It’s like giving your cleaning buddy a much-needed spa day.
The Hidden Germ Hotspots
Where do these sneaky germs hide? Research has shown that areas like the dustbin, filters, and even the brush roll can harbor bacteria and mold (University of Arizona research suggests household items can be surprisingly germy). These are prime spots for microscopic party-crashers.
Even the exterior handles and buttons can collect germs from your hands. Think about it: you touch them, then you touch other surfaces. It’s a chain reaction you want to break.
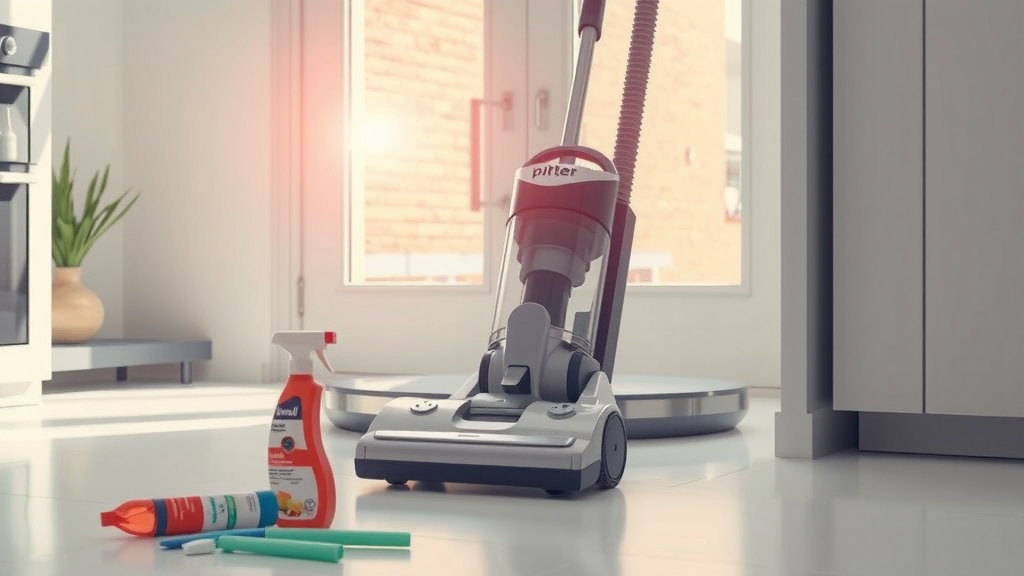
Gathering Your Sanitizing Toolkit
Before you start, let’s get organized. You’ll need a few common household items to make this process smooth and effective. Don’t worry, you probably have most of these already.
Here’s a simple checklist to get you started:
- Rubber gloves (definitely a good idea!)
- Warm water and mild dish soap
- Microfiber cloths or old towels
- Soft brush or old toothbrush
- Disinfectant spray (like diluted bleach solution or hydrogen peroxide)
- Optional: Baking soda for odor absorption
- Optional: Scissors or seam ripper for tangled hair
Step-by-Step: Sanitizing Your Bagged Vacuum
Bagged vacuums have their own quirks, but sanitizing them is straightforward once you know the steps. The key is proper disposal and thorough cleaning of the parts you can access.
Emptying and Disposing Properly
First things first, remove the full vacuum bag. Seal it tightly in a plastic bag before tossing it into your outdoor trash bin. This prevents dust and allergens from re-entering your home.
Always wear gloves during this step. We’ve found that proper disposal makes a huge difference in keeping your indoor air fresh.
Cleaning the Components
Once the bag is out, wipe down the inside of the bag compartment. Use a damp cloth with a little dish soap. Pay attention to any corners where dust might accumulate.
If your bagged vacuum has a filter, check your manual for cleaning instructions. Some are washable, while others need replacement. Don’t forget the hose – a long brush can help dislodge any clogs.
Disinfecting the Interior and Exterior
After cleaning, spray the bag compartment with a disinfectant solution. Let it sit for the recommended contact time, usually a few minutes, then wipe it dry. Do the same for the exterior of your vacuum, including the handle and wheels.
A simple solution of one part bleach to ten parts water works well for disinfection (CDC guidelines). Just make sure to ventilate the area well.
Step-by-Step: Sanitizing Your Bagless Vacuum
Bagless vacuums are popular for a reason—no bags to buy! But their dustbins and filters need special attention to stay hygienic. This means a bit more hands-on washing.
Emptying and Washing the Dustbin
This is where all the gross stuff collects. Empty the dustbin directly into a trash can. Then, wash it thoroughly with warm, soapy water. Use your brush to scrub away any stuck-on grime.
Rinse it completely and let it air dry. It must be bone-dry before you put it back; moisture can lead to mold, and nobody wants that.
Cleaning Filters and Hoses
Most bagless vacuums have washable filters. Remove them and tap out any loose debris. Then, rinse them under cold water until the water runs clear. Resist the urge to use hot water, as it can damage some filter types.
Again, let them air dry completely, which can take up to 24 hours. For the hose, carefully dislodge any blockages. You might be surprised at what comes out!
Deep Cleaning the Brush Roll
The brush roll is the workhorse, but it also collects hair, string, and debris like crazy. Carefully remove it if possible. Use scissors to cut away any tangled hair or threads.
You can also use an old toothbrush and some soapy water to scrub the bristles clean. Let it dry fully before reinserting. A clean brush roll means better suction and a cleaner floor.
Don’t Forget These Key Areas!
Beyond the main components, a few other spots deserve your attention. Have you ever looked at the attachments? The crevice tool or upholstery brush can get pretty grimy too.
Wash attachments in warm, soapy water, rinse, and dry. Also, check the wheels of your vacuum; hair and dust can wrap around them, hindering movement. Give them a good wipe-down.
Natural vs. Chemical Sanitizers: What’s Best?
Choosing your weapon against germs is important. Do you prefer natural solutions or something with more chemical power? Both have their place, depending on your needs.
| Sanitizer Type | Pros | Cons |
|---|---|---|
| Natural Options (e.g., vinegar, baking soda) | Non-toxic, eco-friendly, great for odor removal. | May not kill all types of bacteria/viruses; requires longer contact. |
| Chemical Options (e.g., bleach, hydrogen peroxide) | Highly effective against a wide range of germs; fast-acting. | Can be harsh on some materials, requires good ventilation, skin irritant. |
Many people opt for a combination. They use natural solutions for regular cleaning and switch to a chemical disinfectant for a deeper sanitize, especially after cleaning up something particularly messy.
When Should You Sanitize?
How often should you put your vacuum through this spa treatment? We found that it really depends on how often you use it and what you’re cleaning up.
For average household use, sanitizing your vacuum cleaner every 3-6 months is a good baseline. However, if you have pets, allergy sufferers, or frequently clean up after spills or sickness, you might want to do it monthly. Listen to your vacuum; if it smells a bit funky, it’s probably time!
Conclusion
Sanitizing your vacuum cleaner isn’t just another chore; it’s an essential step in maintaining a truly clean and healthy home. By regularly disassembling, cleaning, and disinfecting its parts, you’re not only extending the life of your appliance but also ensuring it doesn’t spread unseen germs and allergens. Think of it as a crucial part of your cleaning routine, one that pays dividends in fresher air and a more hygienic living space. Keep your cleaning companion in top shape, and it will serve you well!
Can I use rubbing alcohol to sanitize my vacuum cleaner?
Rubbing alcohol (isopropyl alcohol) can be used to sanitize hard, non-porous surfaces of your vacuum cleaner, such as the exterior casing and attachments. Ensure the area is well-ventilated and test a small, inconspicuous spot first to prevent any potential damage or discoloration to plastics.
How do I remove persistent odors from my vacuum cleaner?
For persistent odors, after thoroughly cleaning and drying all parts, sprinkle baking soda inside the dustbin or bag compartment. Let it sit for several hours, or even overnight, to absorb odors before vacuuming it out. A few drops of essential oil on a cotton ball placed inside the dustbin (away from moving parts) can also help freshen the scent.
Is it safe to put vacuum cleaner parts in the dishwasher?
No, it is generally not recommended to put vacuum cleaner parts in the dishwasher. The high heat and harsh detergents can warp plastic components, damage filters, or degrade rubber seals, leading to poor performance or irreversible damage. Always hand wash parts with mild soap and water.
How often should I replace my vacuum’s filters?
Filter replacement frequency depends on your vacuum model and usage. Generally, HEPA filters should be replaced every 6-12 months, while other filters may need changing every 3-6 months, especially if you have pets or allergies. Always check your vacuum cleaner’s manual for specific recommendations.
What should I do if my vacuum cleaner smells like mildew after cleaning?
A mildew smell usually indicates that a component, most likely the dustbin or a washable filter, was not completely dry before reassembly, allowing mold or mildew to grow. Disassemble the vacuum again, re-wash the suspected parts, and ensure they are absolutely bone-dry before putting them back together. Air drying in direct sunlight can sometimes help.