
How to Vacuum a Mattress Properly?
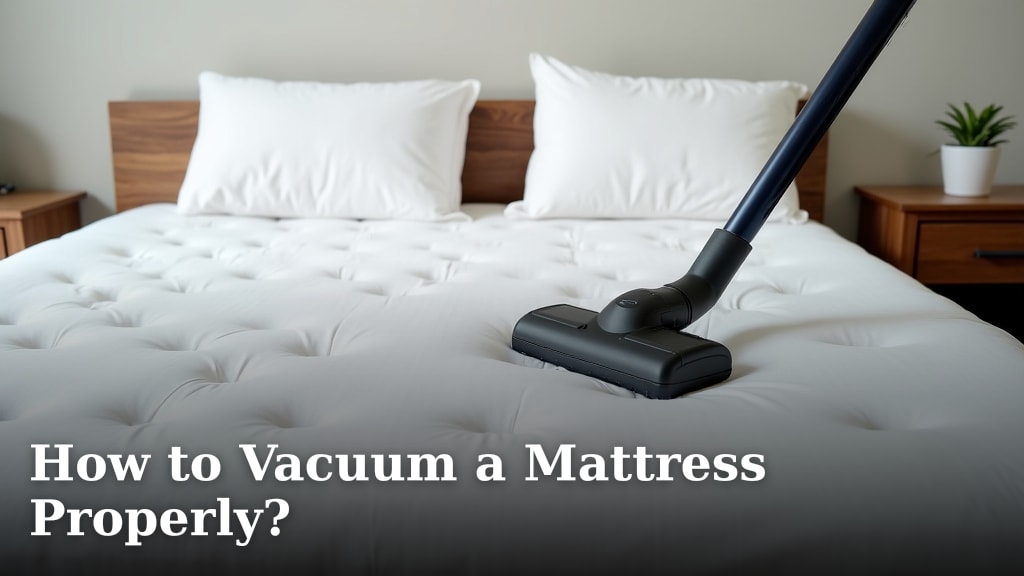
The best way to vacuum a mattress properly is by using the upholstery attachment on your vacuum cleaner. Move it slowly in overlapping horizontal and vertical strokes across the entire surface. This removes dust mites, dead skin cells, and other debris that can affect your sleep quality. It’s a simple step for a healthier sleep environment.
Taking care of your mattress regularly is more than just cleaning. It’s about maintaining a hygienic sleep space and potentially extending the life of your mattress. Many people overlook this often-neglected task, but it’s surprisingly simple to incorporate into your routine. Think of it as an essential part of your bedroom wellness.
- Use the upholstery attachment.
- Vacuum in slow, overlapping strokes.
- Cover the entire mattress surface.
- Don’t forget the sides.
Ready to give your mattress the deep clean it deserves? Let’s walk through exactly how to do it step by step, ensuring a fresh and clean sleep surface for you.
Giving Your Mattress a Thorough Vacuuming
Knowing how to properly vacuum your mattress is key to a cleaner, healthier sleep environment. You might be surprised by what lurks on your mattress! Knowing whether to dust or vacuum first can optimize your cleaning process.
Why Regular Mattress Vacuuming Matters
Your mattress is like a magnet for allergens and dust. Over time, it accumulates dead skin cells, dust mites, and sweat. This can trigger allergies and worsen asthma symptoms. Regularly vacuuming your mattress helps remove these irritants. It’s a simple step towards better sleep hygiene. Many experts recommend this practice for a healthier home environment (Cleveland Clinic).
Battling Dust Mites and Allergens
Dust mites are microscopic creatures that feed on dead skin cells. They thrive in warm, humid environments like your mattress. Their droppings are a common allergen. Vacuuming removes both the mites and their food source. This can significantly reduce allergens in your bedroom. A clean mattress means less sneezing and itchy eyes. You’ll breathe easier all night long.
Extending Your Mattress’s Lifespan
A clean mattress can last longer. Removing debris prevents premature wear and tear. Think of it like cleaning your car’s interior. It keeps things looking good and functioning well. Your mattress deserves similar care. Consistent cleaning helps maintain its structure and comfort. This means fewer mattress replacements down the road.
What You’ll Need to Get Started
Gathering your supplies makes the job much smoother. You don’t need fancy equipment. Most of what you need is probably already in your home.
Your Vacuum Cleaner and Attachments
The most important tool is your vacuum cleaner. Ensure it has good suction power. The upholstery attachment is your best friend here. This attachment is designed for fabric surfaces. It usually has a wider nozzle with brush bristles. This helps lift dirt and debris effectively. Some vacuums also come with a crevice tool. This is useful for those hard-to-reach spots. A good vacuum makes all the difference.
Optional Cleaning Aids
While not strictly necessary for vacuuming, some items can enhance your cleaning. You might consider a clean cloth or sponge. These are helpful for wiping down surfaces if needed. For tougher spots, a mild upholstery cleaner might be useful. However, always spot-test any cleaner first. Ensure it doesn’t damage your mattress fabric. Most of the time, just vacuuming is enough.
Step-by-Step Guide to Vacuuming Your Mattress
Let’s break down the process into easy-to-follow steps. You’ll have a refreshed mattress in no time.
Preparation is Key
Start by stripping your bed completely. Remove all sheets, blankets, and pillows. This gives you unobstructed access to the entire mattress surface. It’s also a good time to wash your bedding. Freshly washed linens on a clean mattress are pure bliss. Make sure your mattress is dry if you’ve recently cleaned it. Dampness can encourage mold growth.
Attaching the Right Tool
Attach the upholstery nozzle to your vacuum cleaner’s hose. This attachment is designed to safely clean fabric surfaces without causing damage. If your vacuum doesn’t have an upholstery attachment, use the widest brush attachment available. Ensure it’s clean and free of debris from previous cleaning jobs. A clean attachment ensures you’re not spreading dirt. If you have a wet and dry vacuum, ensure you use the correct settings for dry debris.
Tackling the Top Surface
Begin vacuuming the top surface of your mattress. Use slow, deliberate movements. Work in overlapping horizontal strokes first. Then, repeat the process with overlapping vertical strokes. This ensures you cover every inch of the surface. Don’t rush this step. Pay special attention to areas where you sleep the most. These spots tend to accumulate more debris. Think of it like painting a wall; you want even coverage.
Don’t Forget the Sides and Edges
Your mattress has sides that also need cleaning. Use the upholstery attachment to vacuum along the edges and sides of the mattress. These areas can harbor dust and allergens too. Pay close attention to the seams and tufts. These are common hiding spots for dust mites. The crevice tool can be helpful here if you have one. Get into all the nooks and crannies. This thoroughness makes a big difference.
Flipping and Repeating (If Applicable)
If your mattress is flippable, you’ll need to repeat the process on the other side. Many modern mattresses are one-sided. Check your mattress manufacturer’s instructions. If it’s flippable, carefully flip it over. Then, vacuum this side thoroughly, just as you did the first. Make sure to vacuum the sides again after flipping. This ensures a complete clean.
Tips for a Deeper Clean
Want to go the extra mile? Here are a few additional tips to make your mattress even cleaner.
Dealing with Stains
While vacuuming removes dry debris, it won’t tackle stains. If you notice any stains, address them separately. You can use a mild detergent solution. Or, try a specialized upholstery cleaner. Always blot stains gently. Avoid rubbing, which can spread the stain. After cleaning a stain, let the area air dry completely. Ensure it’s totally dry before vacuuming again or putting bedding back on. Moisture is the enemy of a dry mattress.
Using Baking Soda for Odors
If your mattress has developed an odor, baking soda is your friend. Sprinkle a generous layer of baking soda over the entire mattress surface. Let it sit for several hours, or even overnight if possible. Baking soda absorbs odors effectively. After it has had time to work, vacuum it up thoroughly. You’ll be amazed at how much fresher your mattress smells. This is a natural and safe way to deodorize.
How Often Should You Vacuum Your Mattress?
Consistency is key to maintaining a clean sleep space. Aim to vacuum your mattress at least every three to six months. More frequent vacuuming might be necessary if you have allergies or pets. Many sources suggest this frequency for optimal hygiene (CDC).
Factors Influencing Cleaning Frequency
Consider your personal circumstances. If you have dust mite allergies, vacuuming every two months is advisable. If you have pets that sleep on the bed, you might need to vacuum more often. Hot and humid climates can also encourage dust mite populations. Adjust your cleaning schedule based on these factors. A little extra effort can lead to a lot more comfort.
Checklist for a Clean Mattress
Here’s a quick checklist to help you remember the important steps:
- Remove all bedding.
- Attach the upholstery attachment.
- Vacuum in slow, overlapping strokes.
- Clean the mattress sides and edges.
- Flip and vacuum the other side (if applicable).
- Consider baking soda for odors.
Conclusion
You’ve now learned how to give your mattress the deep clean it deserves. Vacuuming your mattress regularly is a simple yet effective way to improve your sleep environment. It helps reduce allergens, combat dust mites, and can even extend your mattress’s lifespan. By following the steps and tips we’ve covered, you’re on your way to a fresher, healthier sleep. So, grab your vacuum and give your mattress the attention it needs for your best sleep yet. Your body will thank you for it.
Frequently Asked Questions
Can I vacuum my mattress with a regular vacuum cleaner?
Yes, you can use most regular vacuum cleaners. The key is to use the correct attachment, typically the upholstery tool. This attachment is designed to safely clean fabric surfaces without causing damage. Ensure your vacuum has good suction for the best results.
How often should I vacuum my mattress if I have allergies?
If you suffer from allergies, especially dust mite allergies, it’s recommended to vacuum your mattress more frequently. Aim for every two months instead of the standard three to six months. This consistent cleaning helps minimize allergen buildup.
What if my mattress has stains? Can vacuuming help?
Vacuuming primarily removes dry debris like dust and skin cells. It won’t remove stains. For stains, you’ll need to treat them separately with a mild detergent or upholstery cleaner. Always blot gently and allow the area to dry completely before vacuuming again.
Do I need to vacuum both sides of my mattress?
You should vacuum both sides if your mattress is flippable. Check your mattress manufacturer’s guidelines. Even if it’s a one-sided mattress, ensure you vacuum the top, bottom, and all sides thoroughly to remove accumulated dust and allergens.
Is it okay to use baking soda on my mattress before vacuuming?
Yes, using baking soda is a great way to tackle odors. Sprinkle a generous amount over the mattress and let it sit for several hours or overnight. Baking soda absorbs moisture and neutralizes smells. Afterward, vacuum it up thoroughly along with the other debris for a fresher mattress.
