Is It Safe to Vacuum Insulation from an Attic?
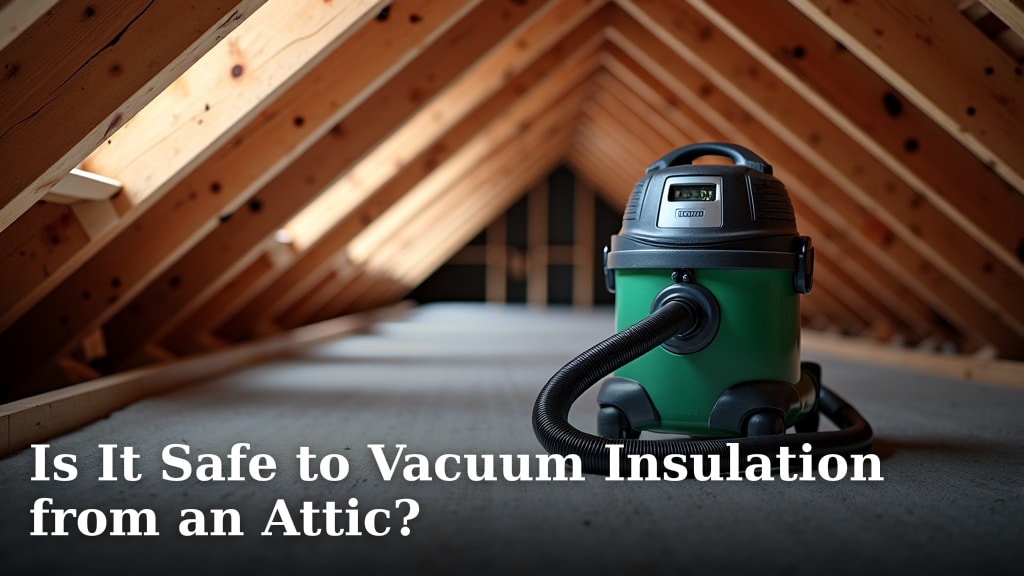
Yes, you can safely vacuum insulation from an attic, but it’s often best left to professionals. Doing it yourself can be messy and requires specific safety precautions. Handling old insulation, especially, needs care.
Removing attic insulation is a big job. You need the right equipment and protective gear to do it correctly. This process often deals with dust, debris, and sometimes even hazardous materials. We found that proper ventilation is key to a safe removal.
- You can vacuum insulation, but it’s often a job for pros.
- DIY removal needs specialized tools and safety gear.
- Old insulation can be messy and potentially unhealthy.
- Proper ventilation is crucial during insulation removal.
Let’s break down everything you need to know about safely vacuuming insulation from your attic.
Vacuuming Insulation: Is It a DIY Job or Pro-Territory?
You can vacuum insulation from your attic, but it often becomes a job best handled by professionals. Doing it yourself requires careful planning and the right tools. It’s not just about the vacuum; it’s about your safety and the cleanliness of your home.
Why You Might Need to Remove Insulation
Sometimes, removing old insulation becomes necessary. Maybe it’s damaged by water or pests. Or perhaps you’re upgrading to a more efficient type of insulation. We’ve found several common reasons homeowners choose to remove attic insulation.
Water Damage and Mold
If your roof leaks, insulation can get wet. Wet insulation loses its insulating power. It also creates a perfect breeding ground for mold. Removing moldy insulation is vital for your home’s air quality (CDC).
Pest Infestations
Rodents, insects, and other pests love to nest in insulation. Their droppings and nests can make your attic unsanitary. We’ve seen insulation heavily contaminated by animal waste. Removing this tainted material is a health priority.
Outdated or Inefficient Insulation
Older homes often have less effective insulation. Some older types, like vermiculite, might contain asbestos. Upgrading to modern, energy-efficient materials can save you money on utility bills. This often means removing the old first.
Home Renovations
Planning a major attic renovation? You might need to clear out the old insulation. This creates a clean slate for new construction or a new insulation system. It’s part of preparing your space for its next chapter.
The Risks of DIY Insulation Removal
Attempting to vacuum insulation yourself carries several risks. These range from health hazards to damaging your home. Understanding these risks helps you decide if DIY is truly for you. We always advise caution.
Health Hazards You Should Know About
Your health is paramount. Insulation, especially old material, can release harmful particles into the air. Breathing these in can cause serious problems. It’s not a job for the faint of lung.
Dust and Irritants
Fiberglass, cellulose, and rock wool insulation create a lot of dust. This dust can irritate your skin, eyes, and respiratory system. We found that proper masks are non-negotiable. Even small exposures can cause discomfort.
Asbestos Exposure
If your home was built before the 1980s, your vermiculite insulation might contain asbestos. Asbestos fibers are extremely dangerous when airborne. They can cause severe lung diseases (NIH). Always test suspected vermiculite before disturbing it.
Mold Spores and Pests
Disturbing moldy insulation releases spores. These can trigger allergies or asthma attacks. Pest droppings also contain bacteria and viruses. You don’t want these airborne in your home. It’s a health risk we take seriously.
Potential Damage to Your Home
Beyond health, there’s a risk of damaging your property. Insulation removal, if done improperly, can create new problems. This can lead to costly repairs down the line. We aim to help you avoid these pitfalls.
Contamination of Living Spaces
Without proper containment, dust and debris can spread throughout your house. This means more cleaning for you. Worse, hazardous particles could settle in your living areas. A good seal is absolutely necessary.
Damage to HVAC and Electrical Systems
Attics often house HVAC ductwork and electrical wiring. Mishandling insulation removal can damage these systems. Repairing them can be expensive and disruptive. You need to know what you’re doing up there.
The Essential Equipment for Safe Removal
If you choose the DIY route, you’ll need specialized equipment. This isn’t your everyday vacuum cleaner. Investing in the right tools is crucial for safety and effectiveness. Don’t cut corners here.
Specialized Vacuum Systems
A standard shop vac won’t cut it. You need a powerful insulation removal vacuum. These are designed to handle large volumes of bulky material. They also filter the air more effectively.
- High-powered motor: For strong suction.
- Large capacity: To minimize bag changes.
- HEPA filtration: To trap fine particles and allergens.
- Long, wide hoses: For efficient material transfer.
Personal Protective Equipment (PPE) Checklist
Your safety gear is your first line of defense. Never enter an attic for insulation removal without proper PPE. We’ve compiled a checklist of must-have items.
- Respirator mask: N-95 or P100 rated, to protect your lungs from dust and fibers.
- Disposable coveralls: With a hood and elastic cuffs, to protect your skin and clothing.
- Gloves: Heavy-duty work gloves to prevent skin irritation and cuts.
- Goggles or safety glasses: To shield your eyes from dust and debris.
- Headlamp: Attics are often dark, and you need both hands free.
- Knee pads: For comfort and protection while kneeling.
The DIY Insulation Removal Process: Step-by-Step
Ready to tackle it yourself? Here’s a general overview of the steps involved. Remember, preparation is key to a smooth and safe operation. Don’t rush any of these stages.
Here’s a quick glance at the process:
| Step | Description |
|---|---|
| 1. Prepare the Area | Seal off the attic, cover floors, ensure ventilation. |
| 2. Don Your PPE | Full protective gear before entering the attic. |
| 3. Set Up Vacuum | Place the vacuum outside, run the hose into the attic. |
| 4. Vacuum Insulation | Work systematically, bagging material directly. |
| 5. Post-Removal Cleanup | Thoroughly clean attic and dispose of waste. |
Prepping Your Home for Removal
Before you even touch the insulation, you need to prepare your home. This prevents contamination and ensures a safer workspace. Think of it as creating a clean zone.
Sealing Off the Attic
Use heavy-duty plastic sheeting and painter’s tape to seal off the attic access point. Cover any open vents or ductwork in the attic. This creates a barrier against dust. We found that a good seal makes a huge difference.
Protecting Living Spaces
Lay down drop cloths or plastic sheeting on floors leading from the attic. Cover furniture in rooms directly below the attic. This protects your belongings from dust. You want to avoid tracking insulation particles through your home.
Ensuring Proper Ventilation
Open attic vents, if possible. Consider using exhaust fans to create negative air pressure. This helps pull dusty air out, rather than into your home. Good airflow is essential for minimizing airborne particles.
The Removal Itself
Once prepped and geared up, you can start the actual vacuuming. Work slowly and methodically. This isn’t a race; it’s a careful operation. We always recommend taking your time.
Setting Up the Vacuum System
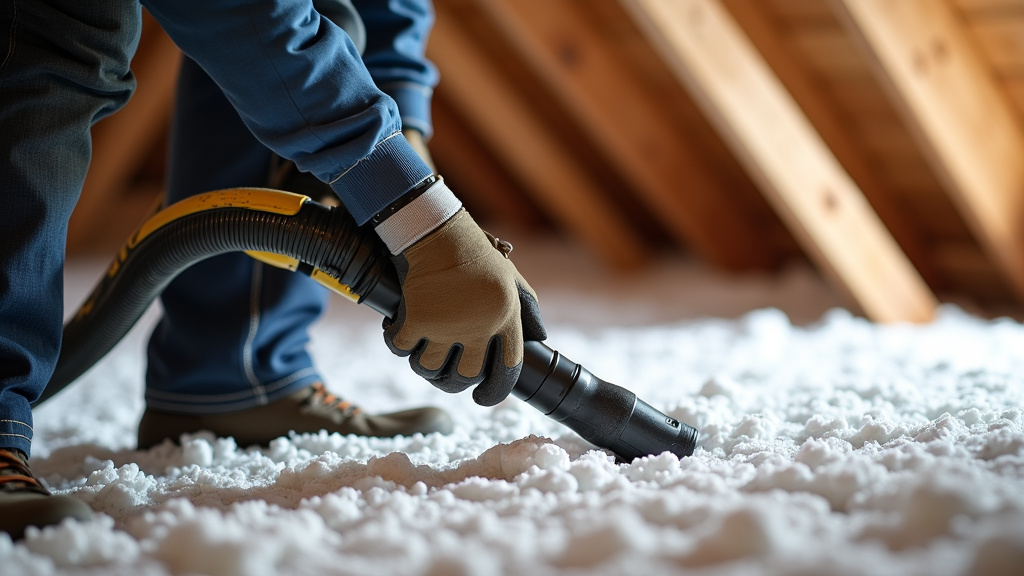
Position your insulation vacuum unit outside your home. Run the large vacuum hose through a window or another opening into the attic. This keeps the noisy, dusty machine out of your immediate workspace. It also helps with dust control.
Systematic Vacuuming
Start vacuuming from the furthest point in the attic and work your way towards the access point. Use the wide nozzle to suck up the insulation. Ensure the material goes directly into the collection bags. Don’t just push it around.
When to Call the Professionals
Sometimes, calling in experts is the smartest move. This is especially true for certain situations. Professionals have the experience, tools, and certifications for safe removal. It can save you time, hassle, and potential health issues.
Signs It’s a Job for Pros
You might be wondering if your situation warrants professional help. We’ve identified several key indicators. If any of these apply to you, it’s probably best to call a specialist.
- Suspected asbestos: If you have vermiculite insulation, get it tested. If it contains asbestos, professionals are a must.
- Heavy mold contamination: Extensive mold requires specialized cleanup protocols.
- Large pest infestations: Dealing with biohazards is best left to those with proper training.
- Extremely difficult access: If your attic is hard to reach or navigate, pros have the right setup.
- Lack of proper equipment: Renting or buying specialized gear can be costly.
- Time constraints or physical limitations: It’s a physically demanding job that takes time.
Benefits of Professional Insulation Removal
Hiring a professional service offers several advantages. They bring expertise and efficiency to a challenging task. Many homeowners find the investment well worth it.
Safety and Compliance
Professionals follow strict safety protocols. They’re trained in handling hazardous materials like asbestos or mold. They also comply with local regulations for disposal. This gives you peace of mind (EPA).
Efficiency and Speed
They have powerful, industrial-grade equipment. This allows them to remove insulation much faster than a DIY approach. They can get the job done quickly and effectively, minimizing disruption to your home.
Thorough Cleanup
Professional services ensure a complete cleanup. They leave your attic clean and ready for new insulation. This includes vacuuming up fine dust and debris. They know how to prevent cross-contamination in your home.
Conclusion
Vacuuming insulation from your attic is certainly possible, but as we’ve explored, it demands careful consideration. Your safety and the integrity of your home are paramount. We found that while DIY can be an option with the right gear and precautions, recognizing when to call in professionals is often the wisest choice. Weigh the risks and benefits for your specific situation.
Before you proceed, always assess the age and condition of your insulation. If in doubt, or if you suspect hazardous materials, consult with a qualified insulation removal specialist. They can provide peace of mind and ensure a safe, efficient process for your home.
Frequently Asked Questions
What kind of vacuum do I need to remove attic insulation?
You need a specialized, high-powered insulation removal vacuum. A standard shop vac is not sufficient. Look for units with strong suction, large capacity, HEPA filtration, and long, wide hoses designed for bulk material.
Can I just use a regular shop vac for insulation removal?
No, a regular shop vac is generally not recommended. It won’t have the necessary power or filtration. Regular shop vacs can clog easily and may release fine dust and harmful particles back into your home’s air.
How long does it typically take to remove attic insulation?
The time it takes varies based on attic size, insulation type, and whether you’re DIYing or hiring pros. For professionals, a typical attic might take a few hours to a full day. DIY can often take significantly longer.
What should I do if I find mold or pests in my attic insulation?
If you discover mold or signs of a pest infestation, it’s highly recommended to call professionals. They have the expertise and specialized equipment to safely handle biohazards and ensure a thorough, healthy cleanup.
Is it cheaper to remove attic insulation myself or hire a professional?
DIY removal can seem cheaper initially, but you must factor in equipment rental/purchase, your time, and potential health risks or mistakes. Professionals offer efficiency, safety, and proper disposal, which often makes their service a more cost-effective and secure option in the long run.