How To Use A Vacuum Cleaner For The First Time?
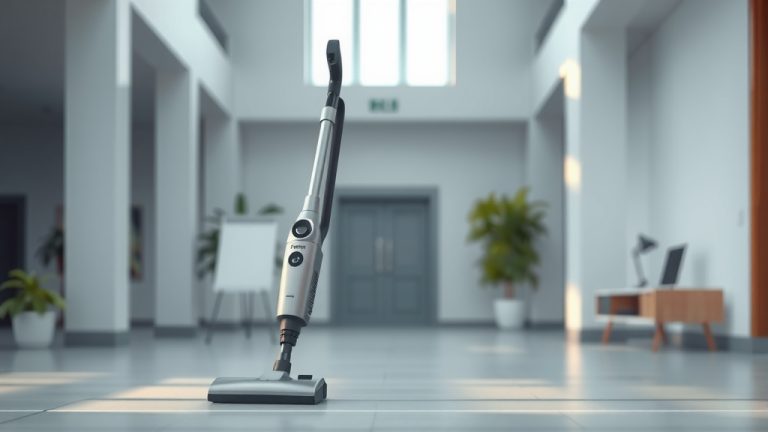
To use a vacuum cleaner for the first time, start by assembling it, plugging it in, and selecting the correct floor setting. Move the vacuum slowly over surfaces in overlapping paths for best cleaning.
Before you begin, ensure the dustbin is empty and any cords or small items are picked up from the floor to prevent damage or clogs.
- Get ready: Clear clutter, check the dustbin.
- Assemble it if needed, then plug it in safely.
- Choose the right setting for your floor type.
- Vacuum slowly, using overlapping strokes.
- Empty the bin and clean the filter after use.
How To Use A Vacuum Cleaner For The First Time?
Using a vacuum cleaner for the first time involves a few simple steps: prepare your area, understand your machine’s basic functions, and then apply proper cleaning techniques.
Think of it as learning to ride a bike; once you get the hang of it, keeping your home clean becomes a smooth and efficient task.
You’ve just unboxed your new vacuum, and it might feel a bit intimidating, right? Don’t worry, it’s simpler than it looks. We’re here to walk you through each step with ease, ensuring you get the best clean from the start.
Getting Started: Your Pre-Vacuum Checklist
Before you even plug in your vacuum, a little preparation goes a long way. This initial setup prevents problems and ensures efficient cleaning from the start. It’s like stretching before a workout!
Clear the Path
Look around your room. Are there any small toys, coins, or loose socks? Pick up everything small that could get sucked up. These items can clog your vacuum or even damage its internal parts (Many experts say this is a common first-time mistake).
Even power cords can be a hazard. It’s always best to move them out of the way. You want a clear, open space for the vacuum to glide freely.
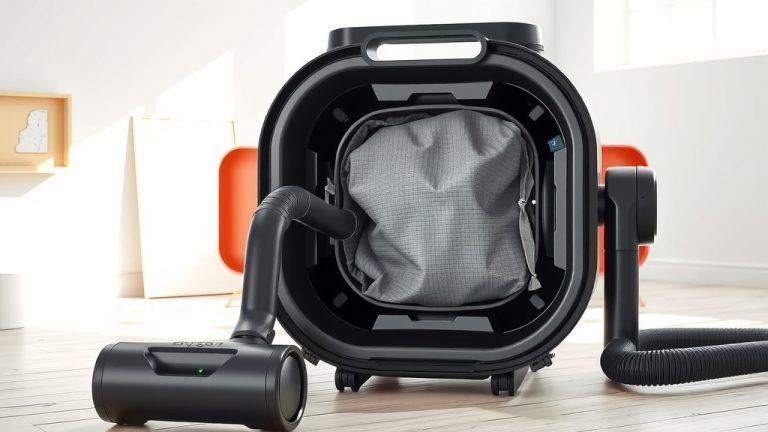
Check the Dustbin or Bag
Is your vacuum’s dustbin empty? If it’s a bagged model, is there a new bag inside? Starting with an empty receptacle ensures your vacuum has maximum capacity for dirt. We found that a full bin greatly reduces suction power.
Here’s a quick checklist before you power on:
- Remove small objects and cords from the floor.
- Confirm the dustbin is empty or a fresh bag is installed.
- Inspect the vacuum head for any tangled hair or debris.
- Check the power cord for any visible damage.
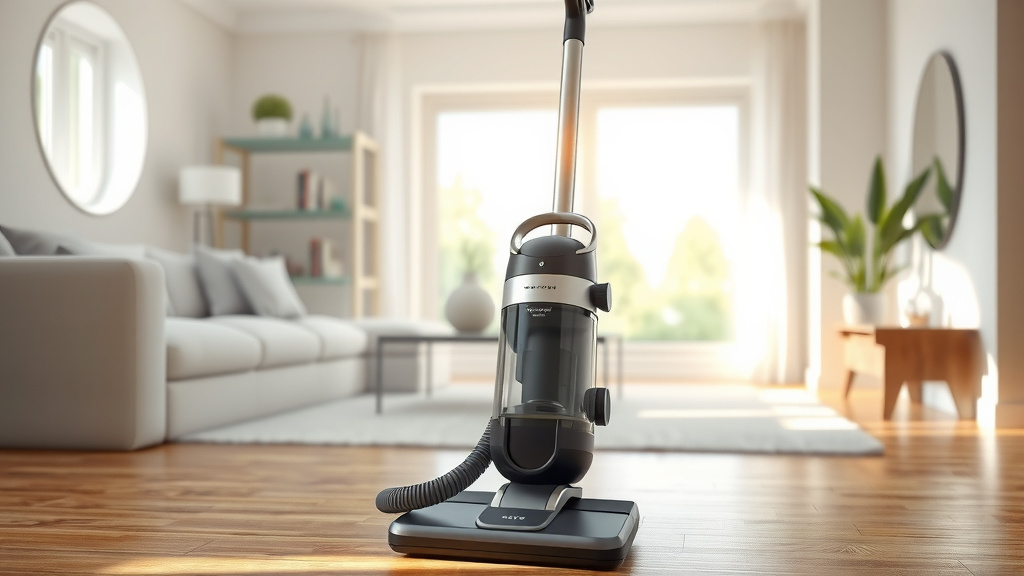
Assembling Your New Vacuum
Most vacuums come partially assembled. Don’t panic if yours needs a bit of setup. Usually, it involves snapping a few pieces together. Refer to your owner’s manual for specific instructions; it’s your best friend here!
Attaching the Handle and Hoses
For upright vacuums, you often just click the handle into place. Canister vacuums might require you to connect the hose to the main unit and then attach the wand and floor tool. Listen for a click, which usually means it’s secure.
Understanding Power and Settings
Where’s the power button? Usually, it’s on the main body or the handle. Then, look for floor height or surface settings. Many vacuums have different modes for carpets and hard floors. Setting it correctly is key for effective cleaning (NIH research suggests proper tool usage improves efficiency).
Consider this simple guide for settings:
| Floor Type | Recommended Setting | Why It Matters |
|---|---|---|
| Hardwood/Tile | Low pile or Hard Floor | Prevents scratching, maximizes suction. |
| Low-Pile Carpet | Medium pile | Optimizes brush agitation without resistance. |
| High-Pile Carpet | High pile | Allows easy movement, prevents bogging down. |
First Vacuuming Techniques
Now for the fun part! Plugging in your vacuum can feel like opening a portal to a cleaner home. But how do you actually push it effectively? It’s more than just back and forth.
The Right Pace and Pattern
Think of painting a wall. You want even, overlapping strokes. Vacuum slowly, pushing and pulling. Don’t rush! Slow passes allow the suction and brush roll to pick up more dirt. We found that two passes over the same area are generally more effective than one quick sweep.
Imagine your floor is divided into sections. Work one section at a time, moving methodically. This ensures you don’t miss any spots and achieve a consistently clean floor (Mayo Clinic often recommends systematic approaches for tasks).
Dealing with Different Floor Types
As discussed, adjust your vacuum’s setting for different surfaces. For hard floors, you might even turn off the brush roll if your model allows. This prevents scattering debris and protects delicate surfaces. For carpets, the brush roll is your friend, agitating fibers to lift dirt.
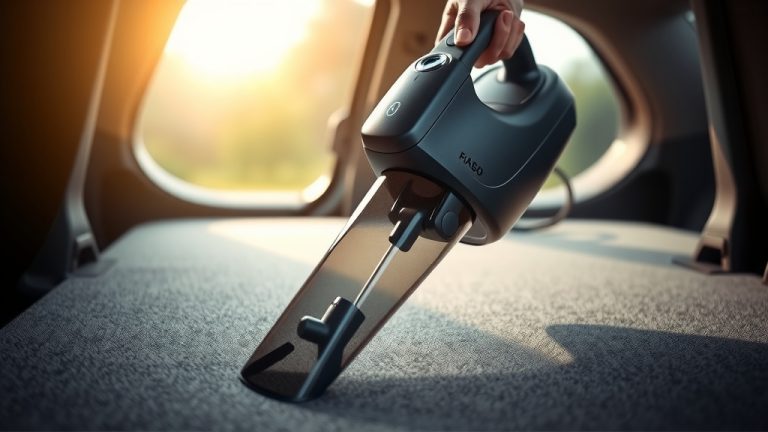
Using Attachments for Deeper Clean
Your vacuum isn’t just for floors. Those extra tools that came in the box? They’re like specialized brushes for tricky spots. Learning to use them expands your cleaning power dramatically.
Crevice Tool for Tight Spots
This long, narrow nozzle is perfect for reaching into corners, along baseboards, or between sofa cushions. It’s fantastic for sucking up dust bunnies hiding in those hard-to-reach areas. We often find it’s the most used attachment.
Upholstery Tool for Furniture
A wider tool, sometimes with a brush, designed for cleaning fabric surfaces. Use it on your sofas, chairs, and even curtains. It gently lifts pet hair, crumbs, and dust, revitalizing your furniture’s look.
After the Clean: Basic Maintenance
You’ve finished your first vacuuming adventure! To keep your machine running smoothly for years, a little after-care is super important. This step is often overlooked by beginners but is very important.
Emptying the Dustbin or Changing the Bag
Don’t wait until the next cleaning session. A full dustbin reduces suction and makes your vacuum work harder. Most bagless models have a button to release the bin; empty it into a trash can. For bagged models, replace the bag when full. This extends your vacuum’s lifespan.
Cleaning Filters for Better Suction
Many vacuums have filters that trap fine dust particles. Over time, these filters get clogged, reducing performance. Check your manual to see if your filters are washable or need to be replaced. Regular filter cleaning maintains powerful suction and cleaner air (Research often links clean filters to optimal vacuum performance).
Troubleshooting Common First-Time Issues
Even with perfect technique, sometimes things don’t go as planned. Don’t get discouraged! Many first-time vacuum cleaner “problems” have simple, quick fixes.
Why Is My Vacuum Not Picking Up?
Low suction is usually due to a few common culprits. Is the dustbin full? Is the filter clogged? Is there something stuck in the hose or brush roll? Check these three areas first. A quick inspection often reveals the problem, like finding a lost sock in the hose!
What If It Smells Funny?
A burning smell might mean something is tangled in the brush roll, causing it to strain. Turn off and unplug the vacuum immediately. Carefully cut away any hair or string. A dusty smell usually means the dustbin is full or the filter needs cleaning. Fresh filters make a big difference.
Conclusion
Congratulations! You’ve successfully navigated using a vacuum for the first time. It’s more than just pushing a machine around; it’s about understanding your tool and applying smart techniques. With a little practice, you’ll find yourself gliding through chores, keeping your home consistently clean and fresh.
Remember, your vacuum cleaner is a powerful ally in home maintenance. By following these simple steps and maintaining your machine, you’ll enjoy a spotless space with minimal effort. Happy cleaning!
Frequently Asked Questions
How often should I vacuum my home?
For general areas like living rooms and bedrooms, vacuuming once or twice a week is usually sufficient. High-traffic areas, pet owners, or allergy sufferers might benefit from more frequent vacuuming, perhaps every other day or daily in specific spots.
Can I use a vacuum cleaner on wet surfaces?
No, standard household vacuum cleaners are designed for dry dirt and debris only. Using them on wet surfaces can cause serious electrical hazards and permanent damage to the machine. You would need a specialized wet/dry vacuum for liquid spills.
What’s the difference between an upright and a canister vacuum?
Upright vacuums combine the motor, collection bag/bin, and cleaning head into one unit, making them generally easier to store and suitable for larger carpeted areas. Canister vacuums separate the motor and collection unit from the cleaning head, offering more flexibility with attachments and better maneuverability for hard floors, stairs, and tight spaces.
How do I know when to replace my vacuum cleaner bag or empty the dustbin?
For bagged vacuums, replace the bag when it feels full or when suction noticeably decreases. For bagless models, empty the dustbin after each use or when the “max fill” line is reached, whichever comes first. Don’t wait until it’s overflowing to maintain optimal suction.
Is it okay to vacuum over small rugs or mats?
Yes, you can vacuum over most small rugs or mats. However, be cautious with very lightweight or delicate rugs, as the vacuum’s suction might lift and potentially damage them. For these, consider using a lower suction setting or a specific attachment, or simply pick them up and shake them outside.