How To Use A Car Vacuum Cleaner?
To use a car vacuum cleaner effectively, first clear out large debris and loose items from your vehicle. Then, attach the appropriate nozzle for the area you are cleaning, such as a crevice tool for tight spots or a brush attachment for carpets, and systematically vacuum each section.
This approach ensures you tackle every corner, from dusty dashboards to crumb-filled seat crevices, leaving your car interior fresh and spotless.
- Quick Car Prep: Clear large trash and mats before you begin.
- Choose Your Tool: Select the right nozzle for each unique area.
- Systematic Clean: Work from top to bottom, front to back.
- Don’t Forget Details: Target vents, crevices, and under seats.
- Post-Clean Care: Empty and clean your vacuum for next time.
How To Use A Car Vacuum Cleaner?
Using a car vacuum cleaner might seem simple, but a few smart tricks can make a big difference. You can achieve a surprisingly professional clean with the right technique. Let’s make your car sparkle inside!
Why Bother Vacuuming Your Car?
Your car’s interior collects more than just dust and crumbs. It’s a magnet for dirt, pet hair, and allergens. Regular vacuuming helps you breathe easier and keeps your car feeling new.
Many experts say a clean interior also helps maintain your car’s resale value (Kelley Blue Book). It shows you care about your vehicle, inside and out.
Understanding Car Vacuum Types
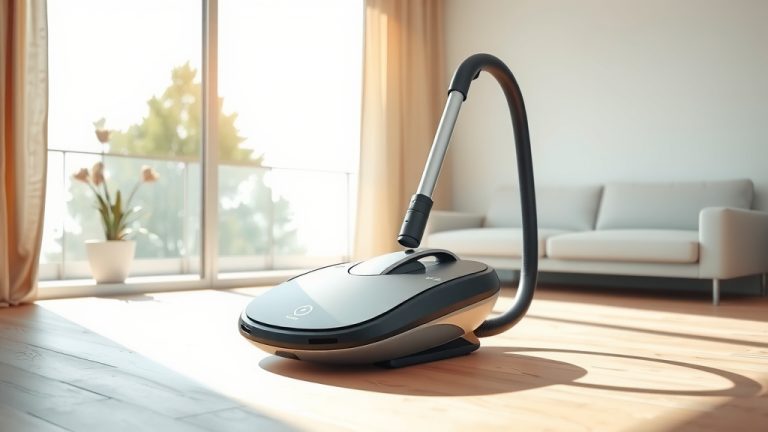
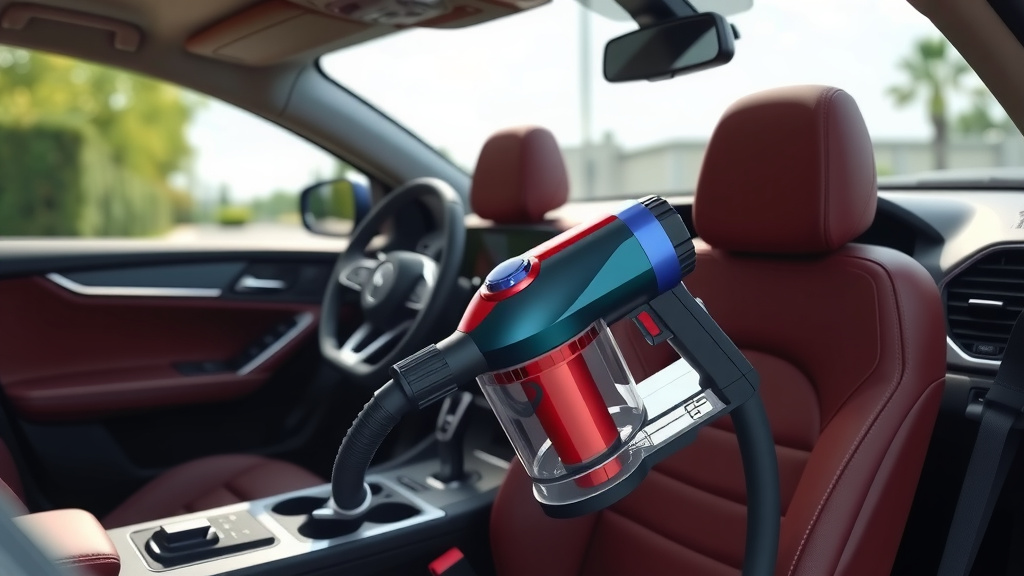
Before you start, know your vacuum. Is it a portable handheld, or a more powerful shop-vac? Each has its own strengths for different cleaning jobs.
We found that cordless models offer freedom, while corded ones provide consistent power. Choosing the right one for you means thinking about your car’s needs.
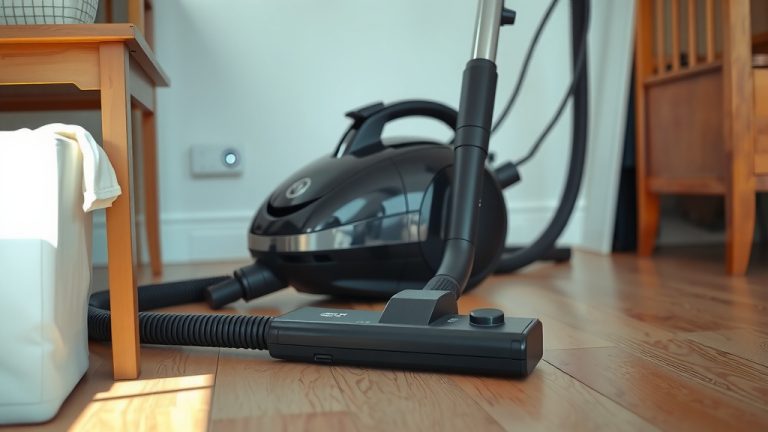
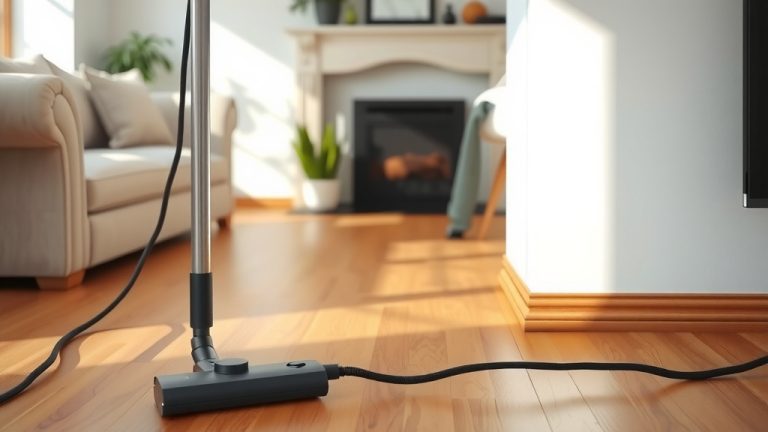
Corded vs. Cordless: Which Is Best?
Both types have their advantages. Corded vacuums often deliver stronger suction, never running out of battery mid-job. Cordless vacuums offer unmatched convenience and portability.
Consider how often you clean and where you’ll be doing it. An outdoor driveway clean might benefit most from a cordless option, for example.
| Feature | Corded Car Vacuum | Cordless Car Vacuum |
|---|---|---|
| Power Source | Plugs into outlet (AC) or car (DC) | Battery-powered, rechargeable |
| Suction Power | Generally stronger and constant | Good, but may decrease with battery |
| Runtime | Unlimited as long as plugged in | Limited by battery life (15-30 min) |
| Portability | Limited by cord length and outlets | Highly portable, no outlet needed |
| Price Range | Often more budget-friendly | Can be higher due to battery tech |
Gather Your Supplies: What You’ll Need
Preparation is key for any cleaning task. Before you even plug in or charge up, make sure you have everything ready. This prevents frustrating pauses later.
Having your tools at hand makes the process smoother and more efficient. Think of it like a chef preparing their ingredients before cooking.
- Your car vacuum cleaner (charged or plugged in)
- A few micro-fiber towels
- An all-purpose interior cleaner
- A detailing brush or old toothbrush
- Trash bags for large debris
- Perhaps a small bucket of water
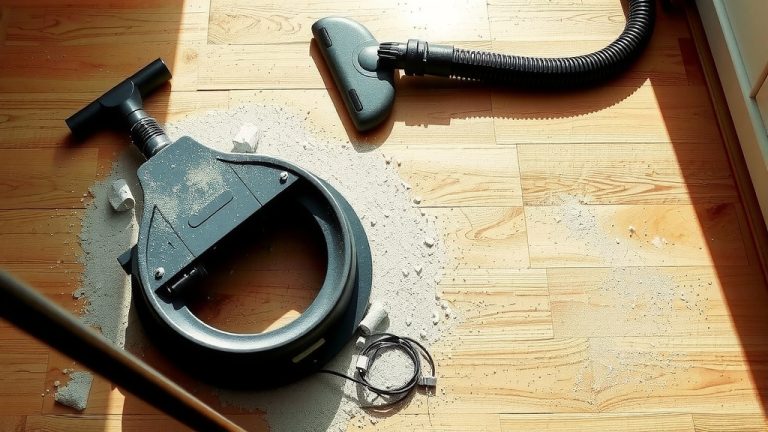
Pre-Vacuuming Steps: Clear the Clutter
Imagine trying to sweep a floor covered in toys. It’s impossible! Your car is no different. You need to clear the area before the vacuum can do its best work.
This initial step helps your vacuum cleaner perform optimally. It also prevents accidentally vacuuming up something important.
Remove Mats and Trash
Take out all floor mats. Shake them vigorously outside to remove loose dirt and debris. Then set them aside to vacuum separately later.
Collect all visible trash, empty cup holders, and remove any personal items. This includes coins, papers, and empty food wrappers.
Brush Away Loose Debris
Use a detailing brush or an old toothbrush to loosen dirt from crevices. Get into seams, air vents, and around buttons. This makes it easier for the vacuum to pick it up.
This step is often overlooked, but it’s crucial for a really deep clean. We found that this small effort yields big results.
Getting Started: Your Vacuuming Strategy
Now that your car is prepped, it’s time to vacuum. But don’t just randomly suck away! A systematic approach saves time and ensures no spot is missed.
Think of it as dividing your car into sections. Work one section at a time, moving from top to bottom, and then from front to back.
Choosing the Right Nozzle for the Job
Your car vacuum likely came with several attachments. These aren’t just for show; they serve specific purposes. Using the correct nozzle makes cleaning easier.
The crevice tool is perfect for tight spots. The brush attachment works wonders on fabric and stubborn dirt. Don’t be shy about experimenting with different tools.
Techniques for Different Areas
Start with the highest surfaces first, like the dashboard and console. Any dust you dislodge will fall down, ready to be vacuumed from the floor later.
Move your way down to the seats and then finally the floor. This top-down method ensures you’re not re-dirtying already cleaned areas.
Cleaning Floor Mats Thoroughly
Since you removed them earlier, now’s the time for a dedicated mat cleaning session. Place them on a clean, flat surface outside your car.
Use the strongest suction setting and a brush attachment. Go over them multiple times, especially where foot traffic is heavy. Many detailers suggest cleaning both sides.
Tackling Upholstery and Seats
For cloth seats, use a brush attachment to agitate fibers and lift embedded dirt. Move slowly, overlapping your strokes. This ensures maximum dirt removal.
Leather seats require a softer touch. Vacuum gently, then wipe with a damp microfiber cloth and a dedicated leather cleaner. Always test cleaners in an inconspicuous spot.
Reaching Those Pesky Tight Spaces
The crevice tool is your best friend here. Get into the gaps between seats, console, and doors. Don’t forget under the seats where crumbs love to hide.
Sometimes, a flexible hose attachment can also help you reach really awkward angles. We found that patience is key for these hidden spots.
Dealing with Stubborn Pet Hair
Pet hair can be a challenge. A rubber brush or a specialized pet hair attachment works best. These tools create static, making hair clump together for easier pickup.
You can also wear a damp rubber glove and wipe the surfaces. The hair sticks to the glove, allowing you to then vacuum the clumps.
Post-Cleaning Maintenance: Keep Your Vacuum Ready
Once your car is spotless, don’t just toss the vacuum aside. A little post-cleaning care will keep your device performing its best for years to come.
Think of it as thanking your cleaning partner! Proper maintenance extends the life of your equipment and ensures efficiency.
Emptying and Cleaning Your Vacuum
Immediately after use, empty the dustbin. A full bin reduces suction power. If your vacuum has filters, check them.
Most filters can be rinsed with water and air-dried completely. Research often connects clean filters with consistent suction (Vacuum Cleaner Manufacturers Association).
Storing Your Car Vacuum Properly
Store your vacuum in a dry, cool place. Coil the cord neatly if it’s a corded model. If it’s cordless, ensure it’s charged or ready for its next use.
Keeping attachments organized will save you time next time you clean. Many vacuums come with a storage bag for all the accessories.
Common Mistakes to Avoid
Even seasoned cleaners can make simple errors. Being aware of these common pitfalls helps you get a better clean and protect your car’s interior.
Learning from these mistakes means you’ll vacuum more effectively each time. Who wants to redo a job unnecessarily?
- Not Clearing Debris First: Leads to clogs and reduced suction.
- Using the Wrong Attachment: Can be ineffective or even damage surfaces.
- Rushing the Job: Missed spots are inevitable with hurried cleaning.
- Ignoring the Filters: A clogged filter drastically cuts suction power.
- Overlooking Hidden Spots: Crumbs and dirt hide everywhere, check them all.
When to Consider Professional Detailing
You’ve done your best, but sometimes a car needs more. If your car has deep-set stains, lingering odors, or simply needs a total refresh, a professional detailer can help.
Professional services use stronger tools and specialized cleaners. They can restore your car to a near-showroom condition, which is tough to achieve at home.
Conclusion
Using a car vacuum cleaner effectively transforms your vehicle from a cluttered space to a clean, inviting haven. By following these steps, from prep to proper technique, you’ll achieve fantastic results.
A clean car isn’t just about appearances; it improves your driving experience and can even extend your car’s life. So, grab your vacuum and enjoy a fresher ride!
How often should I vacuum my car?
For most cars, a thorough vacuuming every 2-4 weeks is ideal to prevent excessive dirt and debris buildup. If you have pets or frequently eat in your car, you might need to vacuum more often, perhaps weekly.
Can I use my home vacuum cleaner for my car?
Yes, you can use some home vacuum cleaners for your car, especially if they have hose attachments. However, dedicated car vacuums are generally smaller, more maneuverable, and come with specialized nozzles perfect for tight car spaces.
What’s the best way to remove sand from car carpets?
To remove sand, first thoroughly loosen it with a stiff brush or by gently hitting the carpet from underneath. Then, use a powerful vacuum with a narrow crevice tool or brush attachment. Repeat passes until the sand is gone.
How do I prevent my car vacuum from losing suction?
To prevent loss of suction, always empty the dustbin after each use. Regularly check and clean or replace the filters as recommended by the manufacturer. A full bin or clogged filter is the most common cause of weak suction.
Are car vacuums safe for all interior surfaces?
Generally, yes, car vacuums are safe. However, always use the appropriate soft brush attachment for delicate surfaces like dashboards or leather to avoid scratching. For very sensitive areas, consider wiping with a microfiber cloth instead of direct vacuum contact.