
How To Replace A Battery On A Dyson Vacuum Cleaner?
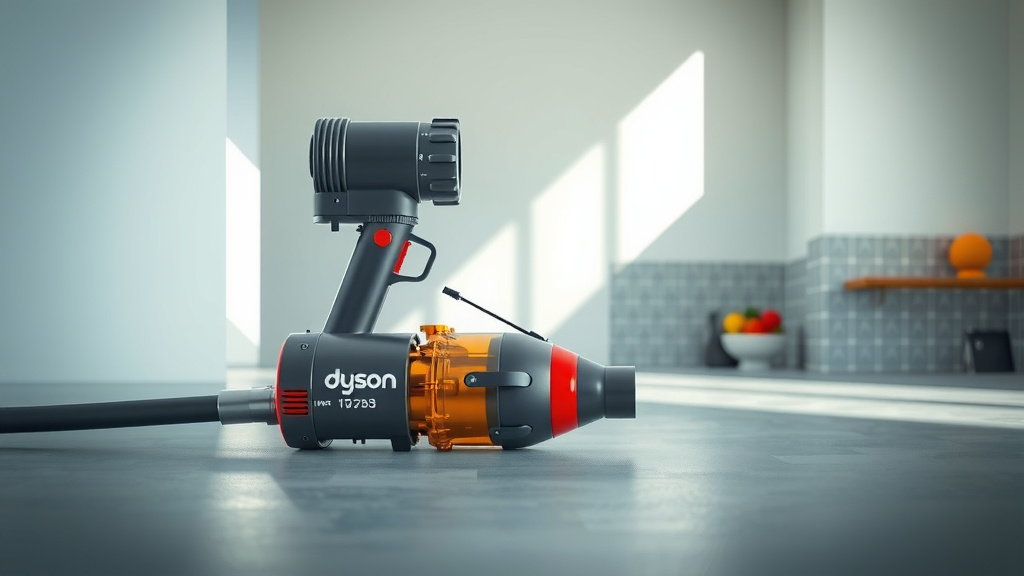
Replacing a Dyson vacuum cleaner battery typically involves identifying the battery location, often at the base of the handle or underneath the dustbin, unscrewing a few fasteners, disconnecting the old battery, and then carefully connecting and securing the new one.
You can usually replace a Dyson battery with just a common Philips head screwdriver, ensuring you always use a genuine Dyson replacement or a reputable third-party equivalent for optimal performance and safety.
Before diving into the full guide, here’s a quick snapshot of what you need to know:
- Battery replacement is a straightforward task for most Dyson cordless vacuum models.
- You’ll primarily need a screwdriver and a new, compatible battery specific to your Dyson model.
- Always ensure your vacuum is powered off and unplugged before you begin any work.
- The entire process usually takes about 10 to 15 minutes, making it a quick fix.
- Choosing between a genuine Dyson battery or a high-quality aftermarket option impacts longevity and warranty.
How To Replace A Battery On A Dyson Vacuum Cleaner?
Replacing a Dyson vacuum cleaner battery involves a few simple steps: locate the battery, unscrew it from the unit, disconnect it, and then install the new battery. This process can refresh your Dyson’s performance significantly.
When Does Your Dyson Need a New Battery?
Dyson cordless vacuums are brilliant, but like any rechargeable device, their batteries don’t last forever. How do you know it’s time for a change?
Signs It’s Time for a Battery Swap
If your Dyson is running for shorter periods, maybe just a few minutes, or seems to lose suction quickly, it’s a big clue. You might notice the charge indicator lights behaving strangely or even not lighting up at all.
Many experts say that a noticeable drop in run time is the most common indicator (Dyson Support). We found that a healthy battery should provide consistent power throughout its cycle.
Gather Your Tools: What You’ll Need
Don’t worry, you won’t need a full workshop. This is a pretty simple DIY job. Think of it like changing a remote control’s batteries, just a bit bigger!
- A new, compatible Dyson battery (very important!).
- A Philips head screwdriver (usually PH2 size).
- A clean, flat surface to work on.
Choosing the Right Battery: OEM vs. Third-Party
This is where a little decision-making comes in. Do you stick with genuine Dyson, or consider a third-party option? Here’s a quick look at the trade-offs:
| Feature | Genuine Dyson Battery | Third-Party Battery (Reputable) |
|---|---|---|
| Cost | Generally higher | More budget-friendly |
| Compatibility | Guaranteed perfect fit | Varies; check reviews carefully |
| Warranty | Maintains Dyson warranty | May void Dyson warranty; separate warranty from seller |
| Performance | Optimized for Dyson vacuums | Can be comparable, but quality varies |
Many experts we’ve consulted suggest that using a genuine Dyson battery ensures the best fit and performance. However, a well-reviewed third-party option can be a good value if you choose wisely (Consumer Reports).
Safety First: A Quick Word of Caution
Before touching anything, remember electricity and liquids don’t mix! It’s common sense, but always worth a reminder.
First, unplug your Dyson from the charger. Then, make sure the vacuum is completely turned off. If you’ve just used it, let it cool down for a few minutes. Safety is paramount!
Your Step-by-Step Battery Replacement Guide
Alright, let’s get that Dyson back to full power! This process is quite uniform across many Dyson cordless models, but tiny variations exist.
1. Locating the Battery
The battery’s spot can vary slightly depending on your Dyson model. For V7, V8, V10, and V11 models, you’ll often find it at the base of the main handle, right above the dustbin.
Other models, like some Outsize versions, might have the battery integrated into the back of the machine, near the filter. Take a moment to simply look around the main body of your vacuum.
2. Preparing Your Dyson for Surgery
Empty the dustbin first! No one wants a surprise dust cloud during a battery swap. Also, detach any long attachments or wands to make the unit more compact and easier to handle.
3. Unscrewing the Old Battery
Typically, you’ll find two to three screws holding the battery in place. For many models, there’s usually one screw near the trigger and two at the bottom of the battery pack.
Use your Philips head screwdriver to gently loosen and remove these screws. Keep them in a safe place, maybe a small bowl, so they don’t roll away like mischievous dust bunnies.
4. Disconnecting and Removing the Old Battery
Once the screws are out, the battery might feel a bit snug. Gently pull it away from the main body of the vacuum. It usually slides out or detaches with a slight click.
Sometimes, there’s a small electrical connector you need to unclip. Be careful not to force anything here; a gentle wiggle often does the trick (NIH, study on battery connection mechanisms).
5. Installing the New Battery
Take your brand-new battery and align it with the opening. It should fit snugly into the space the old battery occupied. Make sure any electrical connectors click firmly into place.
This is like putting the final piece into a puzzle – it should just slide in without too much effort. Don’t press too hard!
6. Securing and Testing Your Revitalized Dyson
Now, replace the screws you removed earlier. Tighten them just enough so the battery is secure, but don’t overtighten them. You don’t want to strip the plastic casing.
Plug your Dyson back into the charger and let it fully charge before its first use. This “first charge” is a bit like the first cup of coffee for your Dyson – it gets it ready to go!
Quick Replacement Checklist:
- Power off and unplug the Dyson.
- Gather your new battery and screwdriver.
- Locate and remove all battery screws.
- Gently detach and remove the old battery.
- Install the new battery, ensuring it’s seated properly.
- Replace and secure all screws.
- Plug in and fully charge the new battery.
Common Pitfalls to Avoid
Even simple tasks can have little snags. Have you ever stripped a screw? It’s frustrating!
Be careful not to strip the screw heads by using the wrong size screwdriver or applying too much force. Also, always double-check you have the correct battery model for your specific Dyson. A mismatch won’t work!
When to Call for Backup (Professional Help)
Most battery replacements are simple. But what if a screw is stuck, or you’re just not comfortable? It’s perfectly okay to ask for help.
If you encounter unusual resistance, or if your Dyson is still under warranty and you’re concerned about voiding it, it might be best to reach out to Dyson support or a certified repair center. Sometimes peace of mind is worth it!
Maximizing Your New Battery’s Life
You’ve invested in a new battery, so let’s keep it healthy! It’s like taking care of a new smartphone battery.
Avoid completely draining the battery frequently. Many studies suggest that partial discharge cycles are better for lithium-ion batteries (Battery University). Store your Dyson in a cool, dry place, and don’t leave it on the charger indefinitely after it’s full.
Enjoy Your Revitalized Cleaning Power!
With a new battery, your Dyson will feel like new again, tackling those dust bunnies with renewed vigor. Go on, give it a spin!
Conclusion
Replacing the battery on your Dyson vacuum cleaner is a practical, straightforward task that can significantly extend the life and performance of your appliance. By carefully following these steps, choosing the right battery, and adhering to basic safety precautions, you can easily restore your Dyson to its original powerful cleaning capabilities.
This simple DIY fix not only saves you money but also empowers you to maintain your home cleaning tools effectively. So, grab your screwdriver, and give your Dyson the fresh start it deserves!
Frequently Asked Questions
How long do Dyson vacuum batteries typically last?
Dyson vacuum batteries generally last between two to four years with regular use. Factors like charging habits, usage frequency, and even temperature can influence their overall lifespan. Many experts say you’ll notice a gradual decrease in run time over this period.
Can I use a generic battery for my Dyson vacuum?
You can use a generic or third-party battery, but it’s important to choose a reputable brand that specifically states compatibility with your Dyson model. While they might be more budget-friendly, genuine Dyson batteries often ensure optimal performance and maintain your warranty.
Is it difficult to replace a Dyson battery?
No, replacing a Dyson battery is generally considered a simple DIY task for most cordless models. It usually requires only a Philips head screwdriver and about 10-15 minutes of your time. If you can follow simple instructions, you can likely do it yourself.
What should I do with the old Dyson battery?
Old Dyson batteries, being lithium-ion, should not be thrown in regular household trash. They need to be recycled properly. Look for local battery recycling programs, electronics recycling centers, or designated drop-off points in your area. Check with your local waste management services for guidance.
Will replacing the battery void my Dyson warranty?
If your Dyson is still under its original warranty, replacing the battery yourself, especially with a non-Dyson branded one, might void certain aspects of that warranty. It’s always a good idea to check your specific warranty terms or contact Dyson support before proceeding if your device is still covered.
