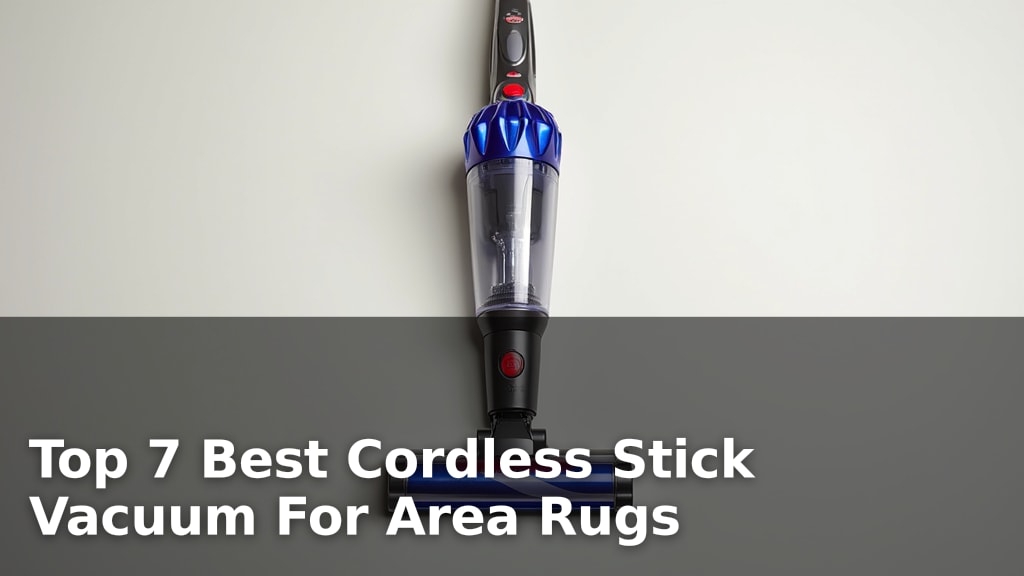
How to Charge a Cordless Vacuum?
On this page (3 sections)
To charge a cordless vacuum, you simply plug its charger into a wall outlet and connect the other end to the vacuum’s charging port or base. Most models feature an indicator light that shows when charging is complete, ensuring your device is ready for its next cleaning session.
Keeping your cordless vacuum charged properly means it will always be ready for quick clean-ups, which is super convenient, right? We found that understanding your vacuum’s battery type and charging time can really extend its lifespan and performance.
- Plug in the charger.
- Connect to your vacuum’s charging port or dock.
- Look for the indicator light.
- Charge fully before first use.
- Avoid overcharging for best battery health.
Ready to get the most out of your cordless cleaner? Let’s walk through exactly how to charge a cordless vacuum, step by step, ensuring you keep your home spotless with ease.
Getting Your Cordless Wonder Ready for Action
Charging your cordless vacuum is usually a straightforward task. You want to make sure it’s done right to protect your battery and keep your vacuum running smoothly.
Understanding Your Cordless Vacuum’s Charging Method
corded or cordless vacuums. We found there are usually a few common methods. Knowing yours helps prevent confusion and keeps things simple for you.
Direct Plug-In Charging
Many cordless vacuums have a charging port directly on the unit. You simply plug the charger into a wall outlet, then plug the other end into this port on your vacuum. It’s a very common and easy method. Think of it like charging your smartphone.
Charging Docks or Wall Mounts
Some models come with a charging dock or a wall-mounted station. You place your vacuum directly onto this dock. The dock then connects to the power outlet. This method often helps you store your vacuum neatly too. We find many users appreciate the organizational aspect of these docks.
Removable Battery Charging
A few cordless vacuums feature removable batteries. With these, you take the battery out of the vacuum and place it into a separate charging cradle. This is handy if you have extra batteries. You can charge one while using another. It means less downtime for cleaning!
Step-by-Step Charging Guide
Ready to charge your vacuum? Let’s walk through the steps together. It’s pretty simple once you know what to do.
- Find a Suitable Power Outlet: Look for a standard wall outlet. Make sure it’s easily accessible and not shared with too many other high-power devices.
- Connect the Charger: Plug the smaller end of the charger into your vacuum’s charging port or base. If you have a dock, gently place the vacuum on it until it clicks into place.
- Plug into Wall: Insert the larger end of the charger (or the dock’s power cord) into the wall outlet.
- Check for Indicator Lights: Most cordless vacuums have an indicator light. This light will tell you if it’s charging, fully charged, or if there’s a problem.
- Allow Full Charge: Let your vacuum charge completely. Don’t interrupt the cycle if you can help it. A full charge ensures you get maximum run time.
Decoding Your Vacuum’s Indicator Lights
Those little lights on your vacuum or charger are very important. They tell you a lot about the charging status. We found that understanding them helps you know when your vacuum is truly ready.
| Light Pattern | Meaning | What You Should Do |
|---|---|---|
| Solid Red/Orange | Battery is charging. | Leave it plugged in until the light changes. |
| Pulsing/Flashing Light | Charging in progress. | Keep monitoring; it indicates active charging. |
| Solid Green/Blue | Battery is fully charged. | Unplug the vacuum; it’s ready to use! |
| No Light | Could be off or not charging. | Check connections or consult your manual. |
| Rapidly Flashing Red | Error or overheating. | Unplug, let cool, or check manual for troubleshooting. |
Battery Basics: Types and Lifespan
The type of battery your cordless vacuum uses impacts how you should charge it. Most modern vacuums use lithium-ion batteries. These are efficient and powerful but have their own care needs. Many experts say proper charging habits make a big difference in battery lifespan (National Institutes of Health).
Lithium-Ion (Li-ion) Batteries
Most cordless vacuums today use lithium-ion batteries. These are great because they offer strong power and don’t suffer from a “memory effect.” We found this means you don’t have to fully drain them before recharging. In fact, partial charging is perfectly fine and can even be better for them in the long run.
Nickel-Cadmium (Ni-Cd) and Nickel-Metal Hydride (Ni-MH) Batteries
Older cordless vacuums might have Ni-Cd or Ni-MH batteries. These are less common now. Ni-Cd batteries could develop a “memory effect,” meaning they “remember” where you started charging them. This could reduce their capacity over time. For these older types, it was often recommended to fully drain them before recharging. But for most newer vacuums, don’t worry about this.
Optimizing Battery Health and Longevity
You want your cordless vacuum to last, right? good cordless vacuum features is key. We found that a few simple habits can really extend its life and performance.
Avoid Overcharging
Leaving a lithium-ion battery plugged in all the time, even after it’s full, isn’t ideal. While most modern chargers have protection circuits, constant trickle charging can still put undue stress on the battery over time. Think of it like constantly sipping water from a full glass; it doesn’t really help.
Don’t Fully Drain Every Time
Unlike older battery types, lithium-ion batteries prefer not to be run down to zero percent regularly. We found that handheld battery drain (when they hit about 20% charge) can actually prolong their overall life. It’s okay to do it sometimes, but not as a regular practice.
Store at a Partial Charge
If you’re going to store your vacuum for a long time (say, a few weeks or months), try to do so with the battery at about 50% to 60% charge. Storing a fully charged or completely empty battery for extended periods can shorten its lifespan. This is a common recommendation for many rechargeable devices (Electronics.com).
Keep it Cool
Batteries don’t like extreme temperatures. Charging or storing your vacuum in a very hot or very cold place can harm the battery. Always aim for room temperature for both charging and storage. Charging in direct sunlight or next to a heat source is a definite no-no.
Troubleshooting Common Charging Issues
Sometimes, things don’t go as planned. If your cordless vacuum isn’t charging, don’t panic! Here are a few things you can check.
- Is the Charger Plugged In? Start with the basics. Is both ends of the charger firmly connected?
- Check the Power Outlet: Is the outlet working? Try plugging in another small appliance to test it.
- Inspect the Charger and Cord: Look for any visible damage like kinks, cuts, or bent prongs. A damaged charger needs to be replaced.
- Clean Charging Contacts: Sometimes, dust or debris can block the connection. Gently wipe down the charging contacts on both the vacuum and the charger with a dry cloth.
- Consult Your Manual: Your vacuum’s manual is a treasure trove of specific troubleshooting tips. It often has diagnostic codes for indicator lights too.
Making Charging a Breeze: Your Checklist
Here’s a quick checklist to ensure your cordless vacuum is always ready and its battery stays healthy:
- Plug in the charger firmly at both ends.
- Charge your vacuum after each use, or when the power starts to drop.
- Always wait for the indicator light to show a full charge.
- Avoid leaving it plugged in indefinitely after it’s fully charged.
- Keep the vacuum and charger in a cool, dry place.
- Refer to your vacuum’s user manual for specific charging instructions.
By following these easy steps, you’ll keep your cordless vacuum powered up and ready for every crumb and dust bunny that dares to cross its path!
Conclusion
You now know the simple steps to effectively charge your cordless vacuum, whether it uses a direct plug-in, a convenient dock, or a removable battery system. We found that understanding indicator lights and your battery type is essential for optimal performance. By following easy charging habits, like avoiding constant overcharging and not fully draining your lithium-ion battery every time, you can significantly extend its working life. Keep these tips in mind, and you’ll always have a fully charged vacuum ready for action, making your cleaning routine much smoother.
Frequently Asked Questions
How long does it take to fully charge a cordless vacuum?
Charging times vary widely between models and battery types. Most modern cordless vacuums with lithium-ion batteries take anywhere from 3 to 5 hours for a full charge. Always check your specific vacuum’s user manual for the most accurate charging duration.
Can I leave my cordless vacuum on the charger all the time?
While many modern lithium-ion batteries have protection against overcharging, it’s generally best not to leave your vacuum on the charger indefinitely after it’s reached 100%. Constant trickle charging can put unnecessary stress on the battery over time and potentially reduce its lifespan.
What should I do if my cordless vacuum isn’t charging?
First, check both ends of the charging cord to ensure they are firmly plugged in. Then, confirm the power outlet is working by testing it with another device. Inspect the charger and cord for any visible damage. Finally, gently clean the charging contacts on both the vacuum and the charger.
Is it okay to charge my vacuum every time I use it, even for a short clean-up?
Yes, for cordless vacuums with lithium-ion batteries, it’s perfectly fine, and often recommended, to charge them after each use. These batteries prefer frequent, partial charges rather than being fully drained consistently. This practice helps maintain battery health and ensures your vacuum is always ready for the next task.
Does charging speed affect battery life?
Typically, using the charger supplied with your vacuum at its designed speed won’t negatively impact battery life. Fast charging, if supported, can generate more heat, but batteries are designed to handle this. Sticking to the manufacturer’s recommended charging practices is the best way to preserve your battery.