
How To Replace A Vacuum Cleaner Cord?
Replacing a vacuum cleaner cord involves carefully opening the vacuum’s housing, identifying the cord’s connection points, and securely wiring in a new, compatible power cord.
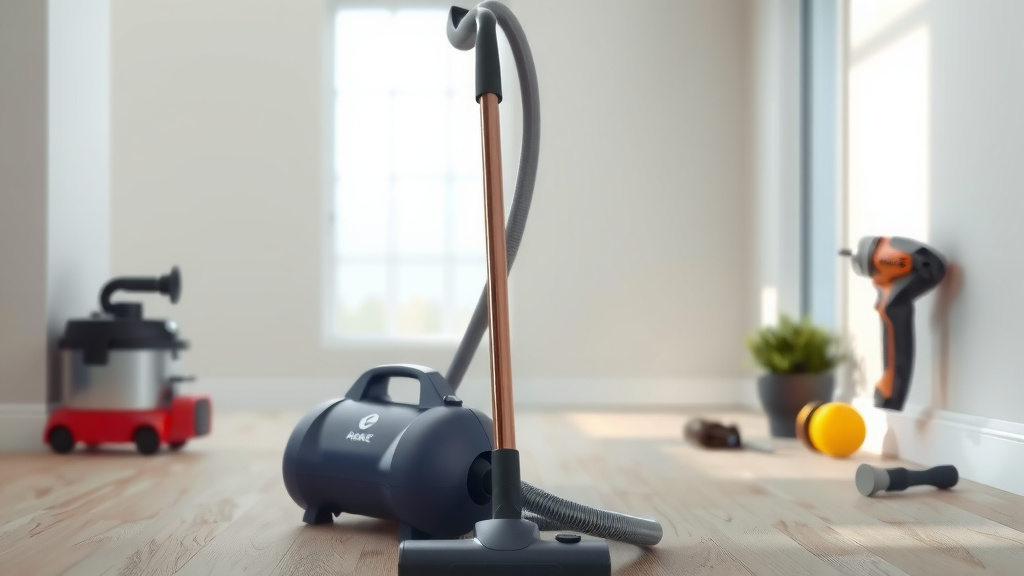
You’ll typically need basic tools like screwdrivers, wire strippers, and electrical tape for this DIY repair, always ensuring the vacuum cleaner is unplugged for safety.
Here’s a quick summary to get you started:
- Always unplug your vacuum first for safety.
- Gather basic tools and a matching replacement cord.
- Carefully open the vacuum’s casing.
- Disconnect and remove the damaged cord.
- Install the new cord following the original wiring.
- Reassemble and test your vacuum cleaner.
How To Replace A Vacuum Cleaner Cord?
You can replace a vacuum cleaner cord by safely disconnecting the old, damaged cord from its internal wiring and attaching a new, appropriate power cord. This process often saves you money compared to professional repairs or buying a new unit.
Why Does a Vacuum Cleaner Cord Need Replacing?
Vacuum cleaner cords work hard. They get pulled, bent, and sometimes run over by the vacuum itself. Over time, this wear and tear leads to damage, making the cord unsafe or causing your vacuum to stop working.
A damaged cord can be a real fire hazard or cause electrical shocks. We found that visible damage is a clear sign it’s time for a replacement (Consumer Product Safety Commission).
Common Cord Problems
You might notice a few issues with your vacuum’s cord. Sometimes, the outer insulation frays or cracks. Other times, the internal wires might break, even if the outside looks fine.
You could also experience intermittent power or sparks when using the vacuum. These are all warnings that your cord needs attention right away.
Safety First: Before You Begin
Working with electricity requires extreme caution. Before you even think about touching your vacuum’s cord, you must prioritize safety. It’s not just a suggestion; it’s a rule for your well-being.
Here’s a quick checklist before you start:
- Unplug the Vacuum: This is non-negotiable. Make sure it’s completely disconnected from any power outlet.
- Clear Your Workspace: Have enough light and space to work comfortably and safely.
- Wear Safety Glasses: Protect your eyes from dust or small flying parts.
- Use Insulated Tools: While you won’t be working with live wires if unplugged, insulated tools add an extra layer of protection.
- Read Your Vacuum’s Manual: Every vacuum is a bit different. Your manual might offer specific disassembly instructions.
Gathering Your Tools and Supplies
You don’t need a workshop full of specialized gear for this task. Most of the items you’ll need are probably already in your home toolbox. Having everything ready saves time and frustration.
- Screwdriver Set: You’ll likely need Phillips and flathead screwdrivers. Some vacuums use Torx screws.
- Wire Strippers: To strip the insulation off the new cord’s wires.
- Needle-Nose Pliers: Useful for gripping small wires or connectors.
- Electrical Tape or Wire Nuts: For securing connections. Many experts suggest using insulated wire nuts for better safety (UL Standards).
- Multimeter (Optional but Recommended): To test for continuity after the repair.
- New Replacement Cord: Crucial, of course!
Choosing the Right Replacement Cord
Selecting the correct replacement cord is vital. You can’t just grab any cord lying around. We found that the new cord should match the original in length, gauge (thickness), and plug type. Check your vacuum’s manual or the old cord for these details.
A cord that’s too thin might overheat. One that’s too short will be impractical. Always opt for a heavy-duty, grounded cord if the original was grounded.
Step-by-Step Guide: Replacing Your Vacuum Cord
Now, let’s get into the heart of the repair. Take your time with each step. Patience makes all the difference in DIY projects.
Step 1: Unplug and Disassemble
Double-check that your vacuum is unplugged. Seriously, do it again! Then, start carefully disassembling the vacuum’s housing. Look for screws around the main body, handle, and cord reel area. Keep track of which screws go where; a small container can help.
You might need to remove a few covers or panels to access the internal wiring. Don’t force anything. If a part isn’t moving, check for hidden screws or clips.
Step 2: Locate and Disconnect the Old Cord
Once inside, you’ll see where the power cord connects. This is usually to a terminal block, a switch, or directly to the motor. Take a photo with your phone before disconnecting anything. This visual reference will be your map for wiring the new cord correctly.
Carefully disconnect each wire of the old cord. Remember which color wire goes to which terminal. Typically, you’ll have a black (hot), white (neutral), and green (ground) wire.
Step 3: Prepare the New Cord
Take your new power cord and strip about half an inch of insulation off the end of each wire. Use your wire strippers for a clean, even cut. Be careful not to nick the copper strands inside.
If your cord has a strain relief or a grommet, make sure to thread the new cord through it before making connections. This prevents the cord from being pulled out of the vacuum.
Step 4: Connect the New Cord
Following your photo and memory, connect the new cord’s wires to the corresponding terminals. Twist the stranded wires together tightly before securing them under screws or crimping them into connectors. If using wire nuts, ensure they are tightly twisted on.
Verify that each connection is secure. Tug gently on each wire to confirm it won’t easily pull out. A loose connection can cause hazards or prevent your vacuum from working.
Step 5: Reassemble Your Vacuum
Once all connections are solid, carefully put the vacuum cleaner back together. Ensure no wires are pinched or in the way of moving parts. Route the cord through any internal channels it originally used.
Screw all panels and covers back into place. Don’t over-tighten screws, as this can strip the plastic. Make sure all parts fit snugly.
Testing Your Vacuum Cleaner
The moment of truth! Before plugging it in, do a visual check of your vacuum. Are all screws in? No gaps in the casing? Now, plug it into a power outlet. Stand back a bit and turn it on.
Listen for unusual noises. Does it power on correctly? If everything seems normal, try using it for a moment. If it works, pat yourself on the back!
Common Mistakes to Avoid
Even experienced DIYers can make small errors. Avoid these common pitfalls to ensure a smooth repair:
| Mistake | How to Avoid It |
|---|---|
| Not unplugging the vacuum | Always unplug; double-check before starting. |
| Not taking a photo of original wiring | Snap a pic before disconnecting anything. |
| Using the wrong cord type | Match gauge, length, and plug type to the original. |
| Loose wire connections | Ensure all connections are tight and secure. |
| Pinched wires during reassembly | Carefully route wires away from moving parts. |
When to Call a Professional
While replacing a cord is a common DIY fix, some situations warrant professional help. If your vacuum is complex or you feel uncomfortable with the wiring, it’s always wise to consult an expert.
If you connect the new cord and the vacuum still doesn’t work, there might be another issue at play. A professional can diagnose other electrical problems safely. Your peace of mind and safety are worth it.
Conclusion
Replacing a vacuum cleaner cord might seem intimidating, but it’s a manageable repair for many homeowners. By following safety precautions and taking each step carefully, you can extend the life of your vacuum. You’ll not only save money but also gain a satisfying sense of accomplishment. Keep your home clean and safe by addressing cord damage promptly!
How long does it take to replace a vacuum cleaner cord?
For most people, replacing a vacuum cleaner cord typically takes about 30 to 60 minutes. This includes time for gathering tools, disassembly, wiring, and reassembly. Experienced DIYers might complete it faster, while beginners should allow a bit more time for careful work.
Can I use any electrical cord as a replacement?
No, you should not use just any electrical cord. It’s important to use a replacement cord that matches the original in gauge (wire thickness), length, and plug type. Using a cord that is too thin could cause overheating and create a fire hazard for your vacuum cleaner.
Is it worth replacing a vacuum cord yourself?
For many common vacuum models, replacing the cord yourself is definitely worth it. It’s a cost-effective solution compared to buying a new vacuum or paying for professional repair. However, if your vacuum is very old, complex, or has other issues, a professional might offer a more comprehensive solution.
What if my vacuum cleaner still doesn’t work after replacing the cord?
If your vacuum still doesn’t power on after a cord replacement, the problem likely lies elsewhere. The issue could be a faulty power switch, a tripped thermal protector, a blown fuse, or even a motor problem. At this point, it’s best to consult a qualified repair technician to diagnose the deeper issue.
How can I prevent future cord damage?
To prevent future cord damage, always avoid pulling the plug by the cord; grasp the plug itself. Try not to run your vacuum cleaner over its own cord. Store the cord properly, either by winding it neatly or using the vacuum’s cord wrap feature, rather than just bundling it haphazardly. These simple habits significantly prolong cord life.


