
How to Fix a Robot Vacuum That Keeps Stopping?
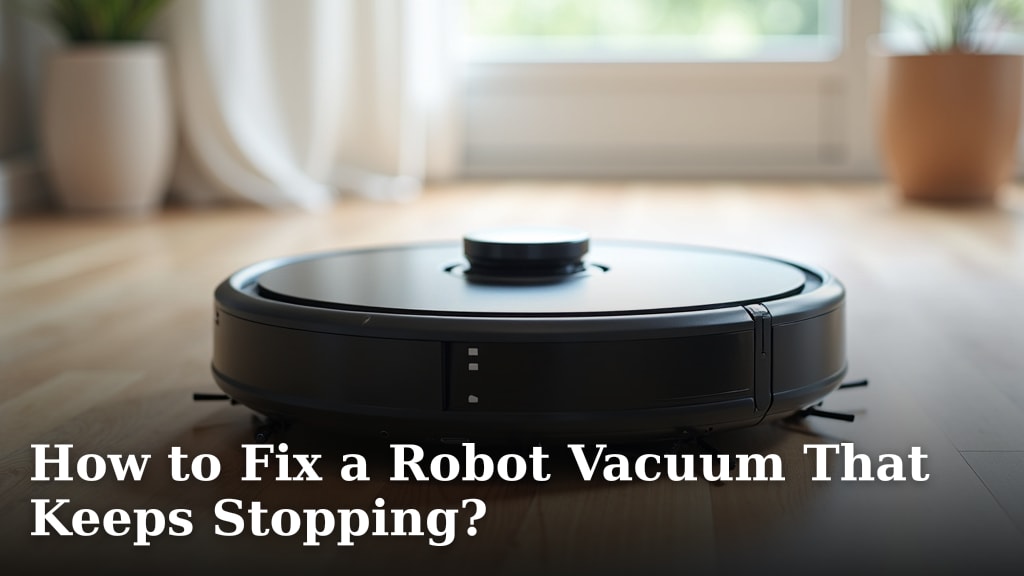
To fix a robot vacuum that keeps stopping, start by checking its dustbin and brushes for clogs. Often, a full bin or tangled brushes are the main reasons your robot vacuum stops unexpectedly. Make sure to also check its sensors.
Your robot vacuum is a handy helper, but when it keeps stopping, it can be really frustrating. We found that simple maintenance steps often solve the problem quickly. Don’t worry, you probably won’t need to be a tech wizard to get your little helper back on track. A few common issues are usually the culprits behind a frequently stopping robot vacuum.
- Check for full dustbins and tangled brushes.
- Clean dirt and debris from all sensors.
- Inspect wheels for obstructions or damage.
- Ensure the battery is charging correctly.
- Look for software updates or reset options.
Below, we break down everything you need to know to troubleshoot your robot vacuum and get it cleaning again. Let’s get your robot vacuum moving without interruptions!
Getting Your Robot Vacuum Moving Again
When your robot vacuum grinds to a halt, it’s often due to common, easy-to-fix problems. We’ll walk you through the most frequent culprits and how to address them, getting your little cleaning helper back on duty.
The Dustbin and Brushes: First Line of Defense
Think of your robot vacuum’s dustbin like a car’s gas tank. When it’s full, it can’t take in any more. A full dustbin is a very common reason for stops. Your robot vacuum might sense it’s overwhelmed or simply can’t clean effectively anymore.
Emptying the Dustbin
Most robot vacuums have a sensor that tells them when the dustbin is full. If yours keeps stopping, always check this first. Open the bin, empty the contents into a trash can, and then securely place it back. It sounds simple, but it’s often the immediate solution.
- Remove the dustbin from your robot.
- Open the dustbin and empty all debris.
- Tap out any remaining dust or fine particles.
- Reinstall the dustbin firmly until it clicks.
Cleaning the Brushes
Your robot vacuum’s main brushes and side brushes are its primary tools for gathering dirt. These can easily become tangled with hair, string, or pet fur. When the brushes can’t spin freely, the motor can strain, causing the vacuum to stop to prevent damage.
Carefully remove the main brush roll. Use scissors or a special cleaning tool (often included with your vacuum) to cut away tangled hair and fibers. Do the same for the side brushes, checking for any debris wrapped around their bases (Consumer Reports).
Sensor Sensitivity: The Robot’s Eyes and Ears
Robot vacuums rely heavily on their sensors to navigate, avoid obstacles, and prevent falls. If these sensors are dirty or blocked, your robot might think it’s about to fall off a cliff or has hit an obstacle, leading it to stop abruptly.
Cliff Sensors
These sensors are usually located on the underside of your vacuum. They detect drops, like stairs. If they’re covered in dust or dirt, your vacuum might mistakenly think there’s a drop everywhere, causing it to halt. Use a dry microfiber cloth or cotton swab to gently wipe them clean.
Bumper Sensors
The bumper on the front of your vacuum detects when it bumps into objects. Sometimes, tiny debris can get lodged in the bumper, making it seem like the vacuum is constantly hitting something. Gently press the bumper in and release it a few times to dislodge anything stuck.
Wall and Optical Sensors
Some robot vacuums have additional sensors that help them follow walls or navigate tight spaces. These can also accumulate dust. Give all visible sensors a good wipe down. We found that a clean sensor is a happy sensor.
Wheels and Movement: Keeping Things Rolling
Your robot vacuum’s wheels are what give it mobility. If they’re obstructed or damaged, your vacuum might struggle to move, triggering its safety mechanisms to stop. Think of it like a car with a flat tire; it simply can’t go.
Checking for Obstructions
Flip your robot vacuum over and inspect the wheels. Look for any hair, string, or debris wrapped around the axles. Use tweezers or a small tool to carefully remove anything that could be impeding their movement. Make sure they can spin freely.
Wheel Damage or Wear
While less common, sometimes wheels can become damaged or worn out, especially on older models. Check if the wheels appear warped, cracked, or if they don’t move smoothly. If a wheel is clearly broken, you might need a replacement part.
Power and Battery: The Heart of the Operation
A robot vacuum needs consistent power to function. Issues with its battery or charging system can cause it to stop unexpectedly, sometimes even mid-cycle, leaving you wondering what went wrong.
Charging Dock and Connections
Ensure your robot vacuum is making proper contact with its charging dock. Check the metal charging contacts on both the vacuum and the dock. They should be clean and free of corrosion. Use a dry cloth to wipe them if they look dirty. Sometimes, simply reseating the vacuum on the dock fixes charging issues.
Battery Health
Over time, robot vacuum batteries can degrade. A dying battery might not hold a charge as long, or it might struggle to provide enough power, causing your vacuum to stop randomly. Most robot vacuum batteries last between 1-3 years depending on usage (iRobot recommends replacement every 1-2 years for optimal performance).
If your vacuum always stops after a short period, even after a full charge, a new battery might be needed. Check your vacuum’s manual for battery replacement instructions and compatible models.
Software and Reset: Digital Solutions
Just like your phone or computer, robot vacuums run on software. Sometimes, a software glitch can cause unexpected behavior, including frequent stopping. A simple reset or an update can often clear these digital cobwebs.
Performing a Soft Reset
Most robot vacuums have a reset button or a simple way to perform a soft reset. This is like restarting your computer. It can clear temporary errors. Typically, you might hold down the CLEAN button for a few seconds, or press a small recessed button. Consult your vacuum’s manual for specific reset instructions.
Checking for Software Updates
Manufacturers often release software updates to improve performance, fix bugs, and add features. If your robot vacuum connects to a companion app, check the app for any available firmware updates. Keeping your vacuum’s software up to date is good practice for smooth operation.
Environmental Factors: The Robot’s Surroundings
Sometimes, the problem isn’t with the vacuum itself, but with the environment it’s trying to clean. Certain conditions can confuse your robot or make its job too difficult, leading to a stop.
Cluttered Spaces
Too many small objects on the floor can overwhelm your robot vacuum. It might get stuck on toys, cords, or throw rugs. Before running your vacuum, try to clear the floor of excess clutter. This helps your robot navigate much more efficiently.
Thick Carpets or Rugs
While many robot vacuums can handle different floor types, very thick carpets or high-pile rugs can sometimes be too challenging. Your vacuum might get stuck or exert too much effort, causing it to stop to prevent overheating. Consider using virtual boundaries or no-go zones if this is a recurring issue in specific areas.
Troubleshooting Checklist: Your Quick Reference
Here’s a quick checklist to run through when your robot vacuum decides to take an unscheduled break:
- Is the dustbin completely empty and properly seated?
- Are the main and side brushes free of tangles and debris?
- Are all sensors (cliff, bumper, optical) clean and unobstructed?
- Are the wheels free of hair or debris and moving smoothly?
- Is the vacuum charging correctly, and are the contacts clean?
- Have you performed a soft reset or checked for software updates?
When to Consider Professional Help or Replacement
If you’ve tried all these troubleshooting steps and your robot vacuum still keeps stopping, it might be time for a different approach. While many issues are DIY fixes, some problems are beyond basic maintenance.
Contacting Customer Support
If your robot vacuum is still under warranty, contact the manufacturer’s customer support. They might offer specific troubleshooting steps for your model, or arrange for a repair or replacement. Have your model number and purchase date ready.
Hardware Malfunctions
Sometimes, a component like a motor or a circuit board can fail. These are typically not user-repairable and would require professional service. If your vacuum is older and out of warranty, you might need to weigh the cost of repair against the cost of a new robot vacuum. We found that often, newer models offer significant improvements in navigation and cleaning power.
Conclusion
Don’t let a stopping robot vacuum disrupt your clean home. By systematically checking common culprits like full dustbins, tangled brushes, and dirty sensors, you can often quickly resolve the issue yourself. Remember, regular maintenance is key to preventing these problems. If all else fails, a quick software reset or a chat with customer support can get your cleaning companion back on track. You’ve got this; empower yourself with these simple steps to enjoy uninterrupted cleaning!
Frequently Asked Questions
Why does my robot vacuum stop after only a few minutes?
If your robot vacuum stops shortly after starting, it often points to a battery issue or a full dustbin. The battery might not be holding a charge, or the dustbin could be overflowing. Check the charging contacts and battery health first.
Can Wi-Fi problems make my robot vacuum stop?
While less common for direct stopping, poor Wi-Fi can prevent your robot vacuum from receiving commands or updates. This might cause it to appear unresponsive or stop if it relies on cloud-based mapping. Try rebooting your router and checking your robot’s connection.
My robot vacuum always gets stuck under furniture and stops. What can I do?
Many robot vacuums struggle with tight spaces or furniture with low clearance. Use virtual boundaries or no-go zones in your app to block off these problem areas. You can also physically block off areas with household items. We found this prevents many frustrating stops.
How often should I clean my robot vacuum’s sensors?
We recommend a quick wipe-down of all visible sensors at least once a week, especially if you have pets or a lot of dust. If your robot vacuum frequently stops, clean the sensors before each use. This ensures accurate navigation and prevents unnecessary halts.
Is it normal for a robot vacuum battery to need replacing?
Yes, robot vacuum batteries, like all rechargeable batteries, degrade over time. You might need to replace yours every 1-3 years depending on usage. If your vacuum’s run time has drastically decreased, a new battery is likely the solution.
