
How to Use a Shop Vac for Water?
To use a shop vac for water, you first need to remove the dry filter and install a foam wet filter. Then, make sure the hose and attachments are properly secured before starting to vacuum any standing water. This method allows your shop vac to safely and efficiently clean up liquid spills.
You’ve got a watery mess, and your trusty shop vac is staring back at you. Can it handle this? Absolutely! We found that a shop vac is designed for both wet and dry messes. Just be sure to do a quick setup change before tackling those puddles. It’s far more powerful and safer for water cleanup than a regular household vacuum.
- Remove dry filter, install foam filter.
- Secure hose and attachments tightly.
- Vacuum water, keeping the motor unit dry.
- Empty the tank frequently.
- Clean and dry all parts after use.
Below, we break down everything you need to know about preparing your shop vac for water, using it safely, and cleaning it up afterward. Let’s get that water gone!
Getting Your Shop Vac Ready for Water Cleanup
Diving into water cleanup with your shop vac requires a little preparation. You wouldn’t go swimming in your winter coat, right? The same idea applies here. Your shop vac needs the right gear for the job. Making these simple swaps prevents damage and keeps things running smoothly.
Changing Your Filter for Wet Use
This is arguably the most important step for safe and effective water pickup. We found that using the wrong filter can harm your motor (Consumer Reports). What does that mean for you? A broken shop vac and a still-wet mess!
The Dry Filter Dilemma
Most shop vacs come equipped with a pleated paper filter for dry debris. This filter is excellent for sawdust, dirt, and general workshop dust. It captures fine particles, preventing them from reaching the motor. But what happens when water hits it? It turns into a soggy, clumpy mess. This can restrict airflow, lead to motor overheating, and potentially propel water into the motor housing. It’s a lose-lose situation.
Introducing the Foam Filter
For liquid messes, you need a special filter: the foam wet filter. This filter is designed to let water pass through while still protecting the motor from larger debris. It’s usually a cylindrical foam sleeve that fits over the motor cage. Think of it like a sponge that allows water to drain but catches bigger bits. It also helps cool the motor as air (and a little water spray) moves through it. Make sure you have one on hand before any water emergency strikes.
Here’s a quick checklist for changing your filter:
- Unplug your shop vac from the power source – safety first!
- Unlatch the motor head and lift it off the collection drum.
- Carefully remove the dry paper cartridge filter. Set it aside to dry if you plan to reuse it.
- Slide the foam wet filter onto the filter cage on the bottom of the motor head. Ensure it fits snugly.
- Replace the motor head and secure the latches tightly.
Checking Hoses and Attachments
Once your filter is sorted, it’s time to look at the other components. Your shop vac’s hose and attachments are its direct interaction points with the watery world. You want them sealed and ready.
Sealing the Hose Connection
The hose needs to be securely connected to the shop vac’s intake port. A loose connection means reduced suction and potential leaks (Home Depot guidelines). We found that a simple twist-lock mechanism is common, but always double-check it. You want an airtight seal here to maximize suction power and prevent water from dripping out prematurely. If your hose has any cracks or holes, now is the time to replace it. Suction is key, and a compromised hose equals a compromised cleanup.
Choosing the Right Attachment
For water cleanup, you’ll want a wide, flat nozzle. These attachments are often called ‘squeegee’ nozzles or ‘utility’ nozzles. Why? They offer a broad path for water to enter the hose quickly. A smaller crevice tool might be good for tight spots, but for major puddles, wider is better. Avoid using attachments with brushes, as these can spread the water more than collect it. You want direct, powerful suction, not a scrub brush for your floor.
Operating Your Shop Vac for Liquid Cleanup
With your shop vac prepped, it’s time to tackle that watery mishap. But hold on a second. There are a few operational tips that can make a big difference. Think of it as knowing the fastest route to your destination – it saves time and effort.
Safety Considerations Before You Start
Water and electricity are not friends. Do we really need to say more? Ok, we will, because safety is important. Many experts and safety organizations, like OSHA, stress the importance of grounding and keeping electrical components away from fluids. Your well-being is more important than any spill.
Power Source and GFCI Outlets
Always connect your shop vac to a grounded electrical outlet. Even better, use a GFCI (Ground Fault Circuit Interrupter) outlet. These outlets are designed to trip and cut power immediately if they detect a short circuit or ground fault. This is your best defense against electrical shock, especially when working in wet environments. If you don’t have a GFCI outlet nearby, consider using a portable GFCI adapter. It’s a small investment for peace of mind.
Keeping the Motor Dry
While foam filters offer some protection, you should always treat the motor head with respect. It contains the electrical components. Never submerge the motor head in water. Avoid tipping the shop vac over during use, as this could allow water to splash up into the motor or even leak out. Keep the unit upright and stable on a flat surface. Your goal is to get the water into the tank, not into the motor.
Vacuuming Up the Water Effectively
Now, let’s get down to business. You’re ready to make that water disappear. It’s pretty straightforward, but a few pointers can make it even easier.
Working in Sections
Don’t try to vacuum up an entire flooded basement all at once. Work in manageable sections. Imagine you’re painting a floor; you go in strips, right? Start from one end of the wet area and systematically move the nozzle across the surface. Overlap your passes slightly to ensure you don’t miss any spots. For larger puddles, you might even scoop some of the water into buckets first to reduce the amount the shop vac has to handle. This also helps prevent overflow within the tank itself.
Monitoring the Tank Level
Your shop vac isn’t a bottomless pit. It has a finite tank capacity. Most wet/dry vacs have a built-in float mechanism. When the water level reaches a certain point, a float rises and blocks the suction intake. You’ll hear the motor pitch change or the suction will stop abruptly. This is a good thing – it prevents the tank from overflowing and protects the motor. When this happens, it’s time to empty the tank.
Here’s a comparison of common shop vac tank sizes and typical emptying frequency:
| Shop Vac Tank Size (Gallons) | Estimated Water Pickup (max) | Typical Emptying Frequency (General Use) |
|---|---|---|
| 2-6 Gallons | 1.5-5 Gallons | Frequent (every 1-3 minutes of active vacuuming) |
| 8-14 Gallons | 6-12 Gallons | Moderate (every 3-8 minutes of active vacuuming) |
| 16+ Gallons | 14+ Gallons | Less Frequent (every 8-15 minutes of active vacuuming) |
Remember, these are estimates. Always listen to your machine and empty it when suction drops.
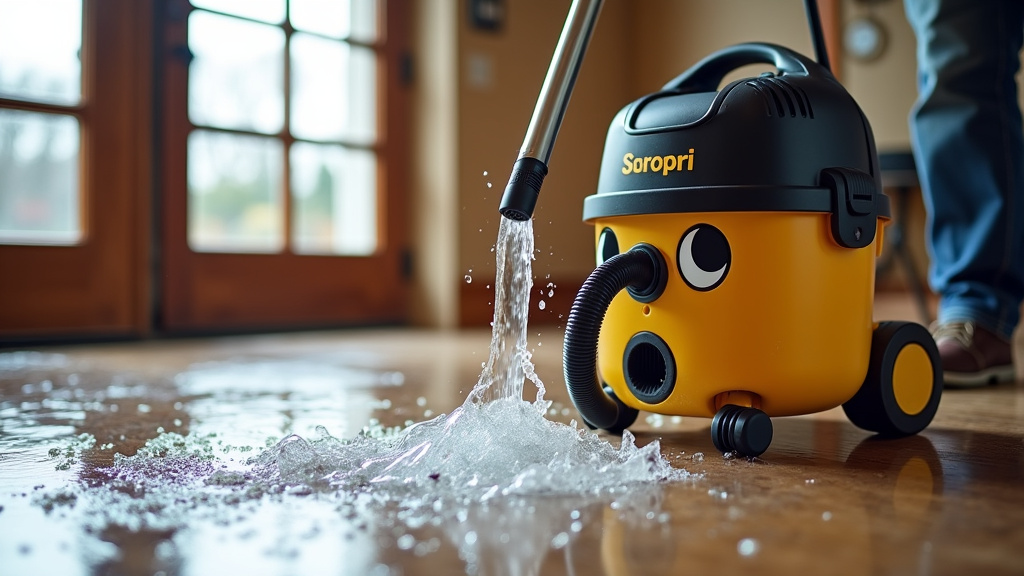
Post-Cleanup Care for Your Shop Vac
You’ve vanquished the watery foe! But your job isn’t quite done. Just like you wouldn’t put away a wet swimsuit, you shouldn’t put away a wet shop vac. Proper cleaning and drying will ensure it’s ready for its next adventure and prevents any unpleasant surprises, like mold or rust.
Emptying and Cleaning the Tank
After you’ve finished vacuuming, unplug the unit. Remove the motor head and carefully empty the water from the collection tank. If the water was particularly dirty, a quick rinse with clean water can remove any residue. A little dish soap can help too, especially if there were oily or muddy spills. Wipe the interior dry as best you can with a towel or paper towels. You want to discourage any mildew growth.
Cleaning and Drying the Filter and Attachments
The foam filter should be rinsed thoroughly under running water. Squeeze out excess water and then set it aside to air dry completely. This might take several hours, or even overnight. Make sure it’s bone dry before storing or reusing it for dry tasks. Any attachments used for water should also be rinsed and dried. Don’t forget the hose! If possible, hold it up and let any residual water drain out. Air circulation is your friend here.
Storing Your Shop Vac
Once everything is clean and completely dry, reassemble your shop vac. It’s a good practice to store it in a dry place, away from direct sunlight or extreme temperatures. By taking these few extra steps, you’ll extend the life of your shop vac and ensure it’s always ready for whatever wet or dry challenge comes its way. Think of it as thanking your reliable workhorse for a job well done!
Conclusion
As you can see, mastering your shop vac for water cleanup is all about a few simple preparations and careful execution. By always swapping to a foam filter, securing your connections, and prioritizing electrical safety, you’re ready for any watery challenge. Remember to monitor the tank and provide thorough post-cleanup care to ensure your shop vac remains a reliable tool. With these steps, you’ll efficiently handle spills and keep your workshop or home dry and safe.
Don’t hesitate any longer. Gather your foam filter and get ready to tackle that mess with confidence!
Frequently Asked Questions
Can a regular vacuum cleaner be used for water?
No, you should never use a regular household vacuum cleaner for water. These vacuums are not designed to handle liquids and attempting to do so can cause severe electrical shock, damage the motor, or create a dangerous fire hazard. Always use a wet/dry shop vac for any liquid spills.
What if I don’t have a foam filter for my shop vac?
If you don’t have a foam wet filter, it’s best to acquire one before attempting to vacuum water. While some people might remove the dry filter and vacuum without any filter, this significantly increases the risk of water or fine debris reaching and damaging the motor. It could also void your warranty.
How do I know when my shop vac tank is full?
Most shop vacs designed for wet pickup have a float valve mechanism. As the water level rises, a float will eventually block the intake, causing the suction to suddenly drop or the motor pitch to change. This is your sign that the tank is full and needs to be emptied immediately.
Can I vacuum hot water with my shop vac?
It’s generally not recommended to vacuum extremely hot water with your shop vac. While minor warm spills are usually fine, very hot liquids can potentially damage the internal components of your vacuum, including the hose, seals, or even the motor. Allow very hot water to cool before vacuuming.
How often should I clean my shop vac after wet use?
You should clean and thoroughly dry your shop vac immediately after every wet use. This prevents mold growth, mildew, unpleasant odors, and potential corrosion of internal components. Taking the time to clean it properly ensures it’s always ready for the next job.
