
How to Empty a Robot Vacuum?
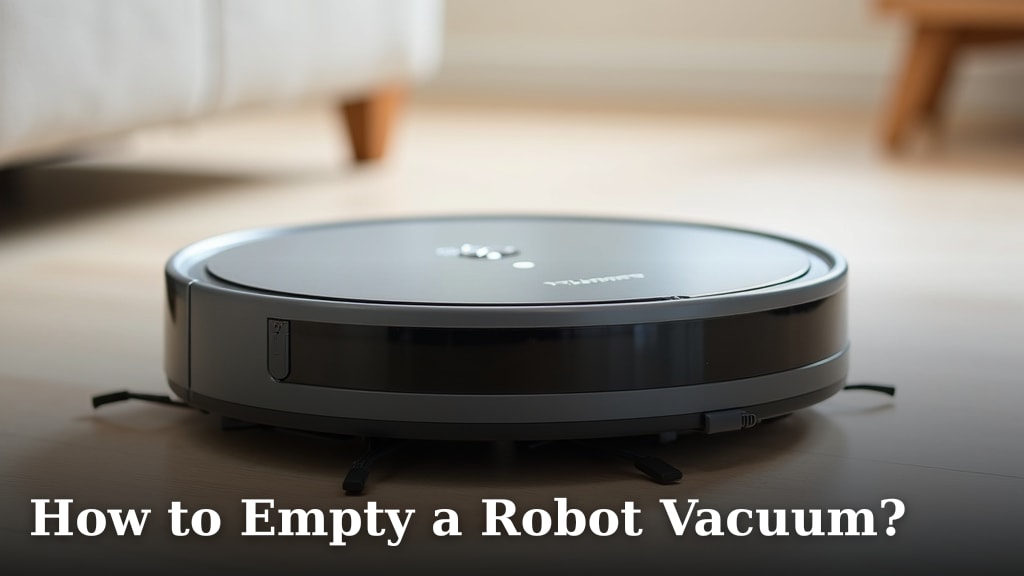
The easiest way to empty a robot vacuum is usually by removing its dustbin and dumping the contents into a trash can. Most robot vacuums have a clearly marked bin that detaches simply.
You might be wondering if there’s a special trick to it, or if all models are the same, right? We found that while the basic steps are similar, different brands and models can have slightly different dustbin designs. Knowing these small differences makes the task much easier, keeping your home cleaner and your robot vacuum working its best.
- Find your robot vacuum’s dustbin.
- Remove the bin carefully.
- Empty the debris into a trash can.
- Clean the bin and filter if needed.
- Reinsert the dustbin securely.
Let’s walk through exactly how to empty your robot vacuum, step by step, so you can keep everything running smoothly.
Getting Started: Emptying Your Robot Vacuum’s Dustbin
The first step to a clean home (and a happy robot vacuum) is knowing how to empty its dustbin. This is a task you’ll do often, so mastering it makes a big difference. Most robot vacuums follow a similar emptying process, even with different models.
Locating the Dustbin on Your Robot Vacuum
Where is that dustbin hiding? It’s usually quite accessible. We found that most robot vacuum manufacturers place the dustbin in one of two primary locations. Understanding where to look saves you time and frustration.
Top-Loading Dustbins
Many popular robot vacuum brands feature a top-loading design. You’ll find the dustbin under a hinged lid on the top surface of the robot. This design often makes it easy to access without flipping the robot over.
- Look for a button or latch near the edge.
- Press it, and the lid should pop open.
- Gently lift the dustbin out by its handle.
This design is generally user-friendly. It allows for quick emptying between cleaning cycles.
Rear or Side-Loading Dustbins
Other robot vacuums, particularly some slimmer models, might have a dustbin that slides out from the rear or side. You might need to turn your robot slightly to see it. These are usually designed to be compact and flush with the robot’s body.
- Look for a small recessed handle or a release tab.
- Pull or press the tab to unlock the dustbin.
- Slide the entire unit straight out from the housing.
Sometimes, these can be a little trickier to grasp, but they always have a clear release mechanism.
The Step-by-Step Process for Emptying Any Robot Vacuum
Ready to empty that bin? Even with slight variations, the core steps remain constant. We put together a clear guide to help you manage this cleaning chore efficiently. You want to make sure you don’t spill dust back onto your freshly cleaned floors.
Preparing for the Emptying Process
Before you remove the dustbin, consider where you’ll do the emptying. A trash can is the obvious choice. Some people prefer to empty directly over a larger garbage bin outside to minimize dust indoors. An empty bin is less likely to clog.
- Have a trash can nearby.
- Consider doing this outdoors if you have severe allergies.
- Always turn off or pause your robot vacuum first.
You don’t want the robot to suddenly start moving while you’re trying to remove its parts.
Removing the Dustbin Safely
With your preparation done, it’s time to take out the dustbin. Always handle it gently. Forcing it can damage the clips or the bin itself. Every dustbin has a specific release mechanism designed for easy removal.
- Press the designated release button or pull the latch.
- Carefully pull the dustbin straight out or lift it up.
- Be mindful of any loose debris that might fall.
Some dustbins might feel a little stiff the first few times you remove them. They usually loosen up with use.
Disposing of Dirt and Debris
Now for the main event: dumping the dirt! Most dustbins have a flap or an opening mechanism. You’ll tip the bin over the trash can and release the contents. This is where all that dust, hair, and crumbs finally go away.
- Locate the “open” or “empty” tab on the dustbin.
- Hold the dustbin securely over your trash can.
- Press the tab to open the bin and shake out the contents.
You might be surprised by how much your robot picks up, even on what looks like a clean floor.
Here’s a quick checklist to make sure you get all the gunk out:
- Is the dustbin completely empty?
- Did you tap the bin to dislodge stuck debris?
- Are there any larger items caught that need manual removal?
- Is the dustbin flap closing properly after emptying?
- Is the filter still secure in its place within the dustbin?
When to Clean and Maintain Your Robot Vacuum’s Dustbin and Filter
Emptying is great, but cleaning is even better for your robot’s longevity. Dustbins and filters accumulate fine particles that simple emptying won’t remove. A really dirty filter can significantly reduce your robot vacuum’s suction power. We often hear from users that regular cleaning extends battery life and performance (Consumer Reports).
Cleaning the Dustbin: Beyond Just Emptying
After you dump the main debris, you’ll see a fine layer of dust clinging to the inside of the bin. This is normal. You can wipe it out or, if the manufacturer allows, rinse it. Always check your specific model’s instructions.
- Use a dry cloth or small brush for a quick wipe.
- If rinsing is allowed, use cool water and mild soap.
- Ensure the dustbin is completely dry before reinserting.
Never put a wet dustbin back into your robot vacuum. This can damage internal electronics.
Maintaining the Filter for Optimal Performance
Your robot vacuum’s filter, often a HEPA-style filter, is critical for trapping allergens and fine dust. It needs regular attention. A clogged filter makes your robot work harder, which might lead to shorter run times and less effective cleaning.
- Tap the filter gently over a trash can to remove loose dust.
- Use the cleaning tool (often supplied with your robot) to brush off debris.
- Replace the filter according to the manufacturer’s guidelines, usually every 1-3 months.
Some filters are washable, but many are not. Always refer to your user manual to avoid damaging it.
Here’s a general guide on how often you might need to clean or replace parts:
| Component | Frequency (Estimate) | Action |
|---|---|---|
| Dustbin | After every 1-3 cleans | Empty and wipe clean |
| HEPA Filter | Every 1-2 weeks | Tap/brush clean |
| HEPA Filter | Every 1-3 months | Replace |
| Side Brushes | Every 2-4 weeks | Clean hair/debris |
| Main Brushroll | Every 1-2 weeks | Clean hair/threads |
Remember, these are estimates. If you have pets or a larger home, you might need to do these tasks more often.
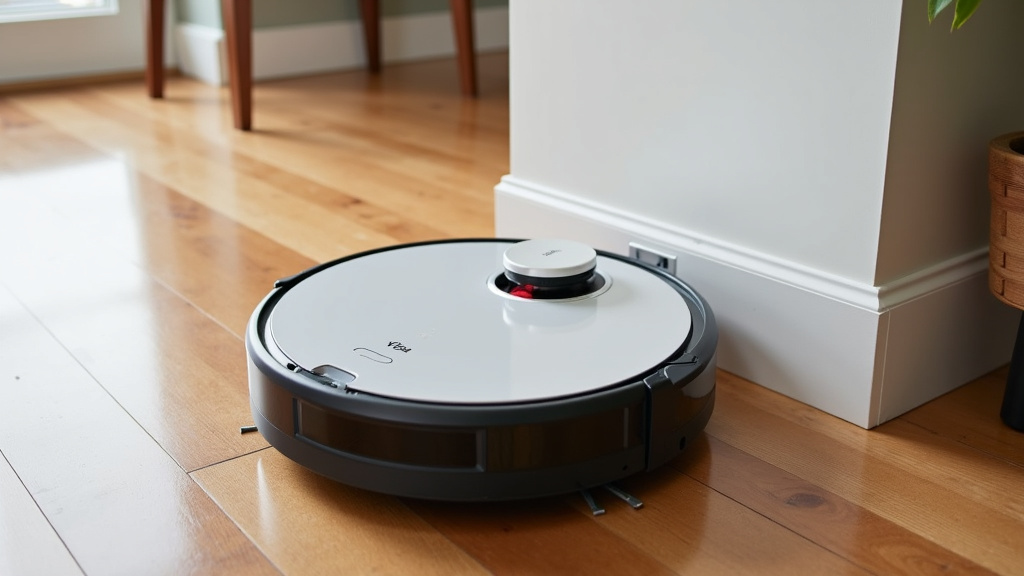
Reinserting the Dustbin and Next Steps
Once your dustbin is empty and clean, putting it back in correctly is important. A loose or improperly seated dustbin can prevent your robot from starting, or it might not pick up dirt effectively. You want to hear a click or feel it seat firmly in place.
Ensuring Proper Fit
Just like taking it out, reinserting the dustbin should be a smooth process. Don’t force it. If it doesn’t slide in easily, check its alignment. There are usually grooves or guides to help you position it correctly.
- Align the dustbin with the opening in your robot.
- Gently slide or push it back until it clicks or locks.
- For top-loading bins, ensure the lid clicks shut too.
A few models have a small indicator light that confirms the dustbin is properly installed. Pay attention to those signals.
What to Do If Your Robot Vacuum Isn’t Picking Up Dirt After Emptying
You’ve emptied the bin, cleaned the filter, and put it all back together, but your robot still isn’t performing well. What gives? This can be a sign of other issues, but often it relates back to the dustbin and filter. Check for common culprits before you panic.
- Double-check that the filter is not severely clogged or installed backward.
- Ensure the dustbin is seated perfectly. A slight misalignment can break the seal.
- Inspect the air intake port where the dustbin connects; sometimes debris gets stuck there.
- Make sure there isn’t a plastic bag or wrapper blocking the main suction area.
We found that most performance issues after emptying relate directly to the filter or an improperly seated bin. Addressing these first often solves the problem quickly.
Conclusion
You now have all the tools to keep your robot vacuum clean and performing its best. Regularly emptying and maintaining the dustbin and filter isn’t just about tidiness; it’s about preserving your robot’s suction power and extending its lifespan. We found that a few minutes of attentive care after each cleaning cycle makes a huge difference in your robot’s effectiveness. By following these simple steps, you’ll ensure your floors stay spotless and your robot remains a reliable cleaning companion. Keep up the good work; your clean home will thank you!
Frequently Asked Questions
What happens if I don’t empty my robot vacuum?
If you don’t empty your robot vacuum regularly, its dustbin will fill up, reducing suction power. This means it won’t pick up dirt effectively, leaving your floors less clean. A full bin can also put a strain on the motor, potentially shortening your robot’s life.
How often should I clean my robot vacuum’s filter?
We recommend cleaning your robot vacuum’s filter every 1-2 weeks, especially if you have pets or a large home. Simply tap it over a trash can to remove loose debris, or brush it gently with a cleaning tool. Regular filter cleaning helps maintain strong suction.
Can I wash my robot vacuum’s dustbin with water?
You can wash many dustbins with water, but always check your robot vacuum’s user manual first. If allowed, use cool water and mild soap, then ensure the dustbin is completely dry before reinserting it. Never put a wet bin back into your robot vacuum to avoid internal damage.
Why does my robot vacuum say the dustbin is full after I just emptied it?
If your robot vacuum still indicates a full dustbin after emptying, check the sensor on the bin itself or within the robot’s housing. Sometimes a small amount of debris can block this sensor, causing a false reading. A good wipe-down often solves this issue.
How do I know when to replace my robot vacuum’s filter?
Most manufacturers suggest replacing your robot vacuum’s filter every 1-3 months, depending on usage. You’ll notice a decrease in suction power, or the filter might appear discolored and heavily soiled even after cleaning. Keeping spare filters on hand is a good idea.
